When Mitch was in second grader he got all excited about fairy houses.
Mitch doesn’t usually get into fairies and elves, though he has been reading Harry Potter with his dad lately, so maybe that has something do with his new interest.
He insisted that we head out to the yard and build one, so obviously I tagged along with my camera.
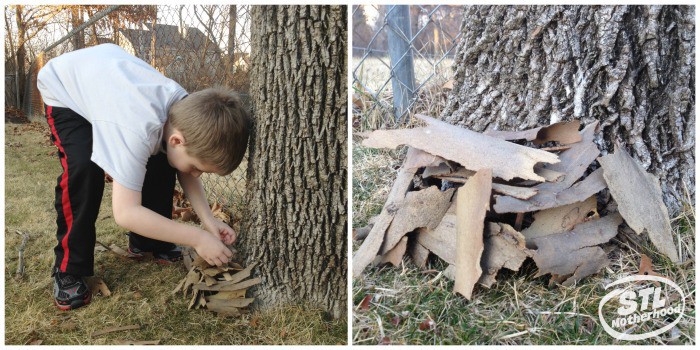

We gathered up sticks and bark from the scrubby woods behind our house.
He told me that fairy houses need to look like they’ve been built by fairies so they would attract a real fairy to live there. He pushed sticks into the ground and piled up bark for the walls like he was building a house of cards.
He was very proud of his work, but it was…um…kinda haphazard, shall we say?

The resulting pile of bark was scattered around the yard by the next day. So I decided we should make something a little more sturdy.
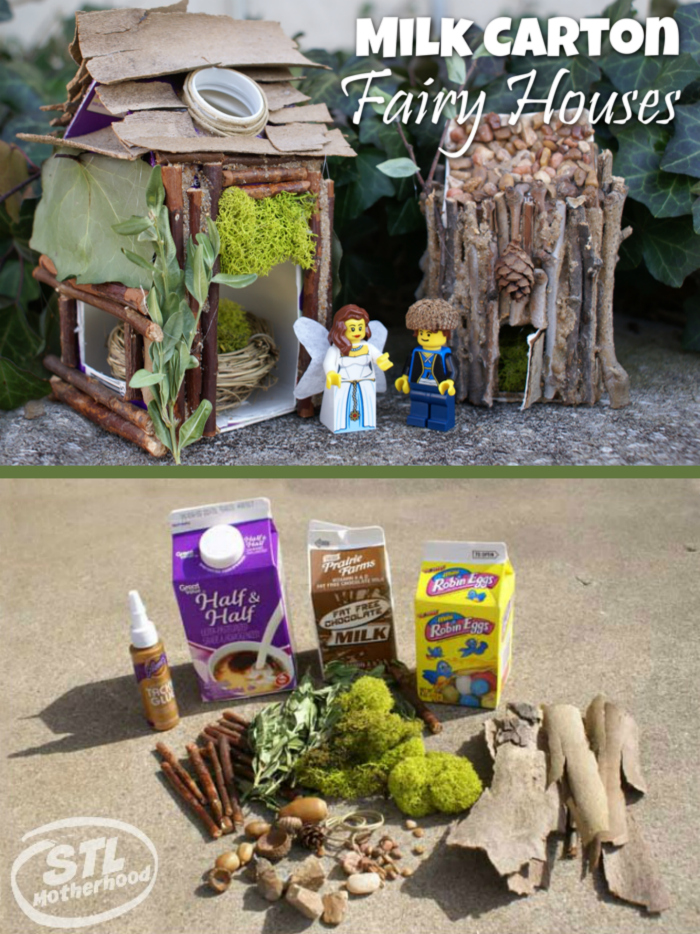
Milk Carton Fairy Houses
I was a little surprised when my internet search for fairy houses turned up piles of woodland debris, much like Mitch’s own attempt.
After all, I’ve seen plenty of fairy furniture at the craft store and in the Missouri Botanical Garden’s Garden Gate Shop.
So we improvised.

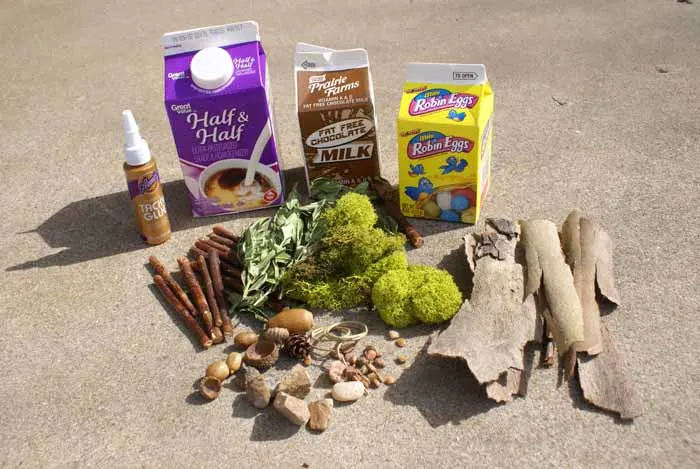
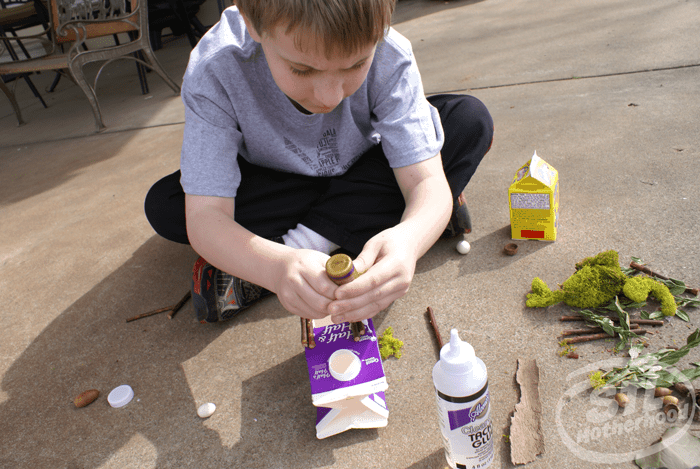
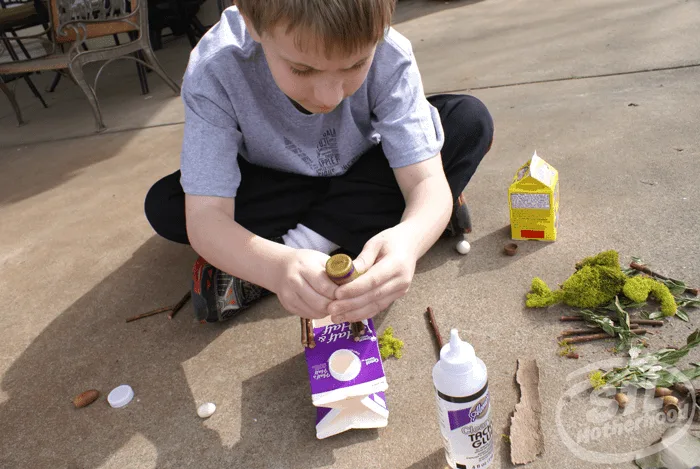
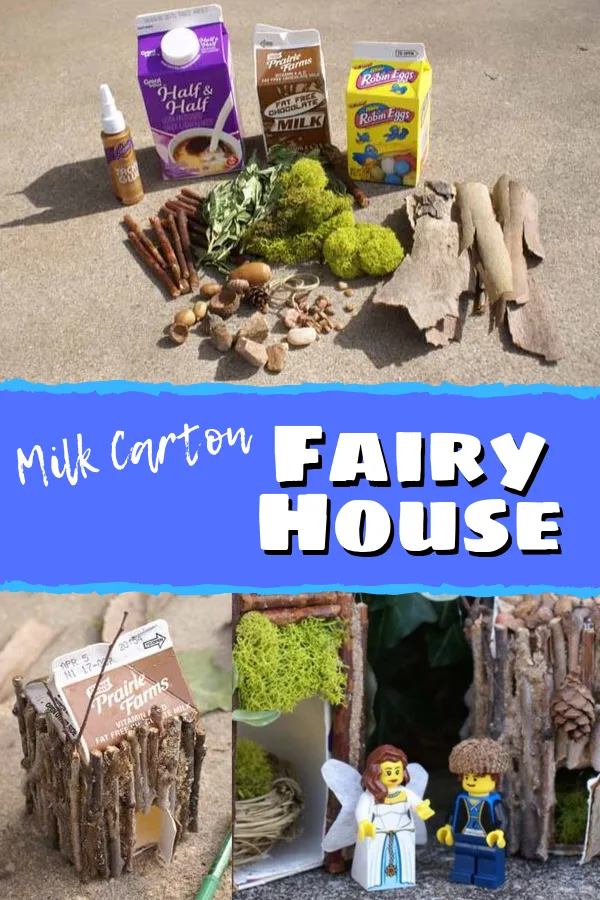
First I acquired a few small milk cartons.
We used one from my half and half and picked up two more just for the project: a half pint of milk like they serve at school and one full of Easter candy.
Mitch had no trouble emptying these boxes for me. When they were empty, I washed them out–after all, fairies don’t like the smell of spoiled milk. And neither do I.
We gathered up the bark from the first house, along with more sticks, pebbles, ivy leaves and scoop of sand from the sandbox.
I think in the summer we’d have more nature materials to choose from, so I cheated a little and dug out a bag of nature crafting goodies I bought from YuCanDu last spring–one of those crafty ideas that looked good in the store then I totally forgot about when it got it home.
We also needed some tools: scissors, pruning shears, razor knife, stapler, an old paint brush and white glue. Hot glue is optional, but really helpful.

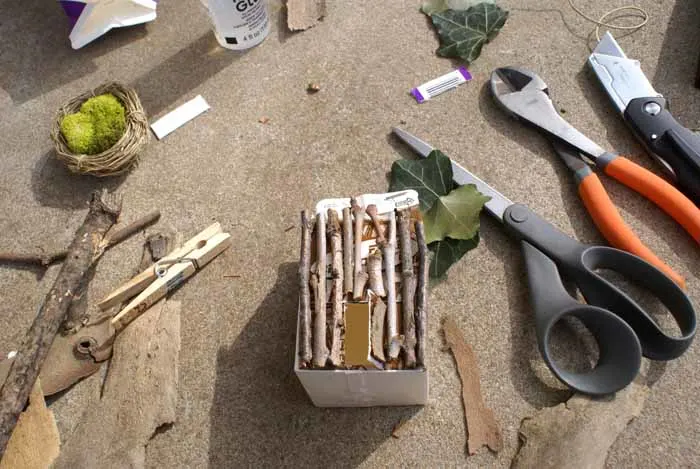
First I cut openings for the door and windows. Then I trimmed the sticks down to size with the pruning shears. After that, Mitch was able to glue the sticks and leaves to his carton.
We took a break and let the houses dry overnight.
They might have been ready sooner than that, but the kid only had so much focus power for gluing a bunch of sticks. I didn’t want him to lose interest, so we put it aside. Sometimes you just can’t rush a child artist!

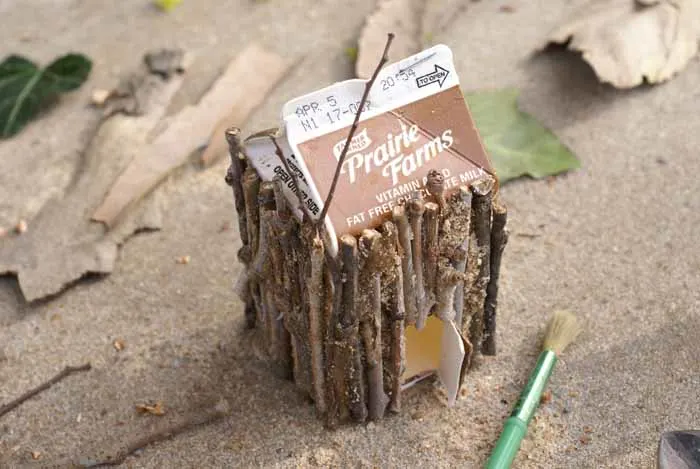
Mitch decided that covering all the sides of his house with sticks would be way too much work, so he opted for ivy leaves to cover his walls.
The roof was topped with bark–the sloped roof was a tricky surface, so we pulled out the hot glue gun for immediate results. My house was given a pebble roof.
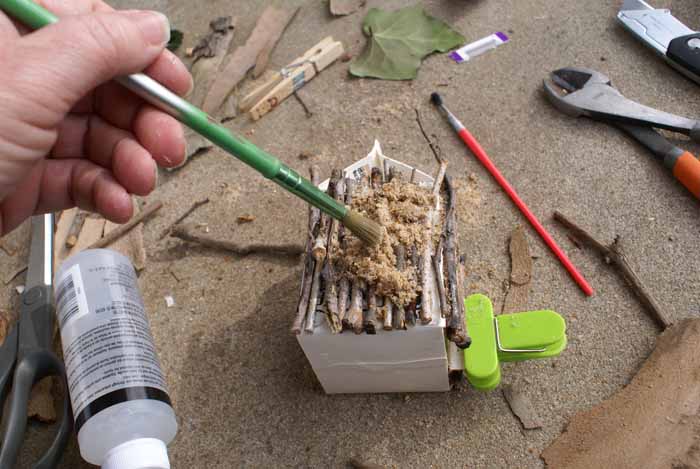
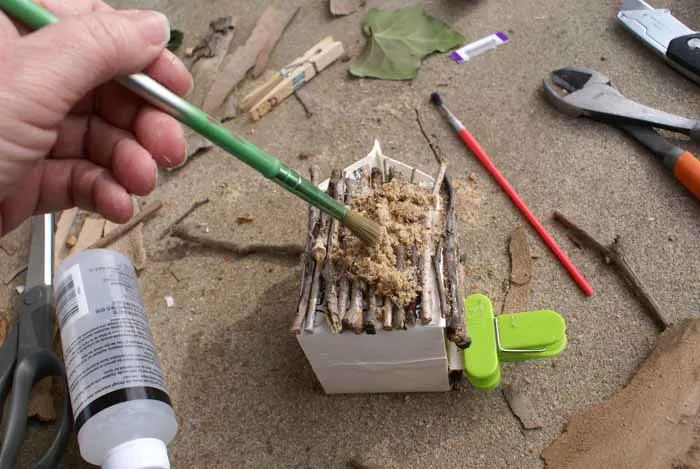
Once the house was dry we came back and added more glue between the sticks and anywhere the box was still exposed.
Then we sprinkled sand on the glue and brushed off the excess with an old paint brush. The result looks like grout, but without the hassle. We put it aside again to dry.
After the fairy house is completed you can play with it inside, set up next to some potted plants or put it out in the garden.
If you do display it outside, you might want to put some rocks inside to weigh it down. The fairies need some place to sit, after all.

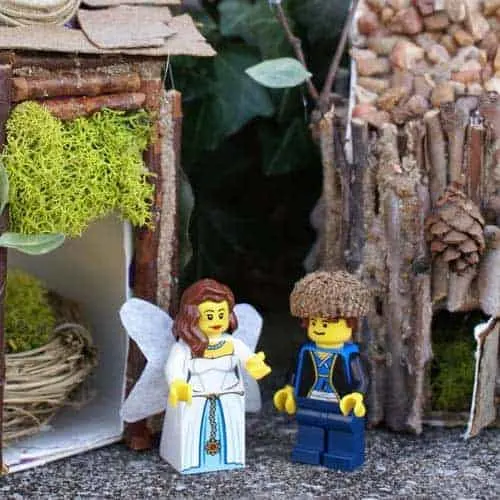

Note: The LEGO fairy is sporting a set of wings cut from a coffee filter and stuck on with double stick tape.