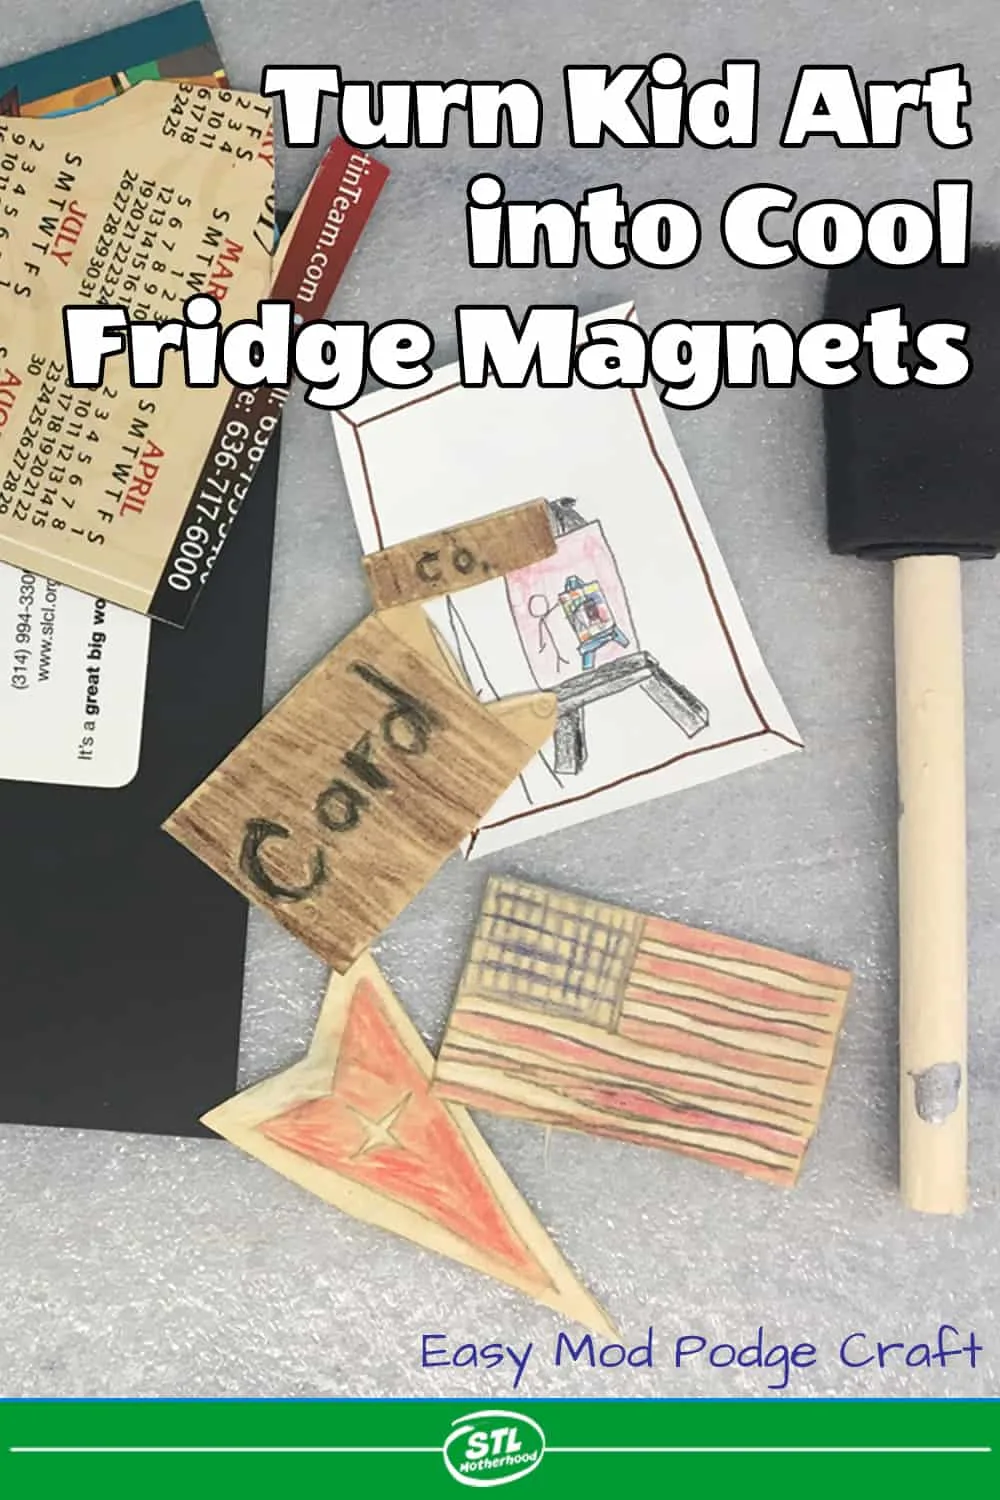
What do you do with a pile of art your kid has made and a stack of thin refrigerator magnets from your junk mail?? Well that’s easy...You make fridge magnets!
Homemade Mini Magnet Art
I don’t know about you, but I’ve got a LOT of Mitch’s doodles…and a lot of junk magnets! I know, I know, the advertisers who sent me all these magnetic Cardinal’s schedules didn’t think they were junk, but you know what I’m talking about, right? The magnets in question are thin sheets tucked into junk mail or handed out at events with “handy info,” contact number and game schedules…
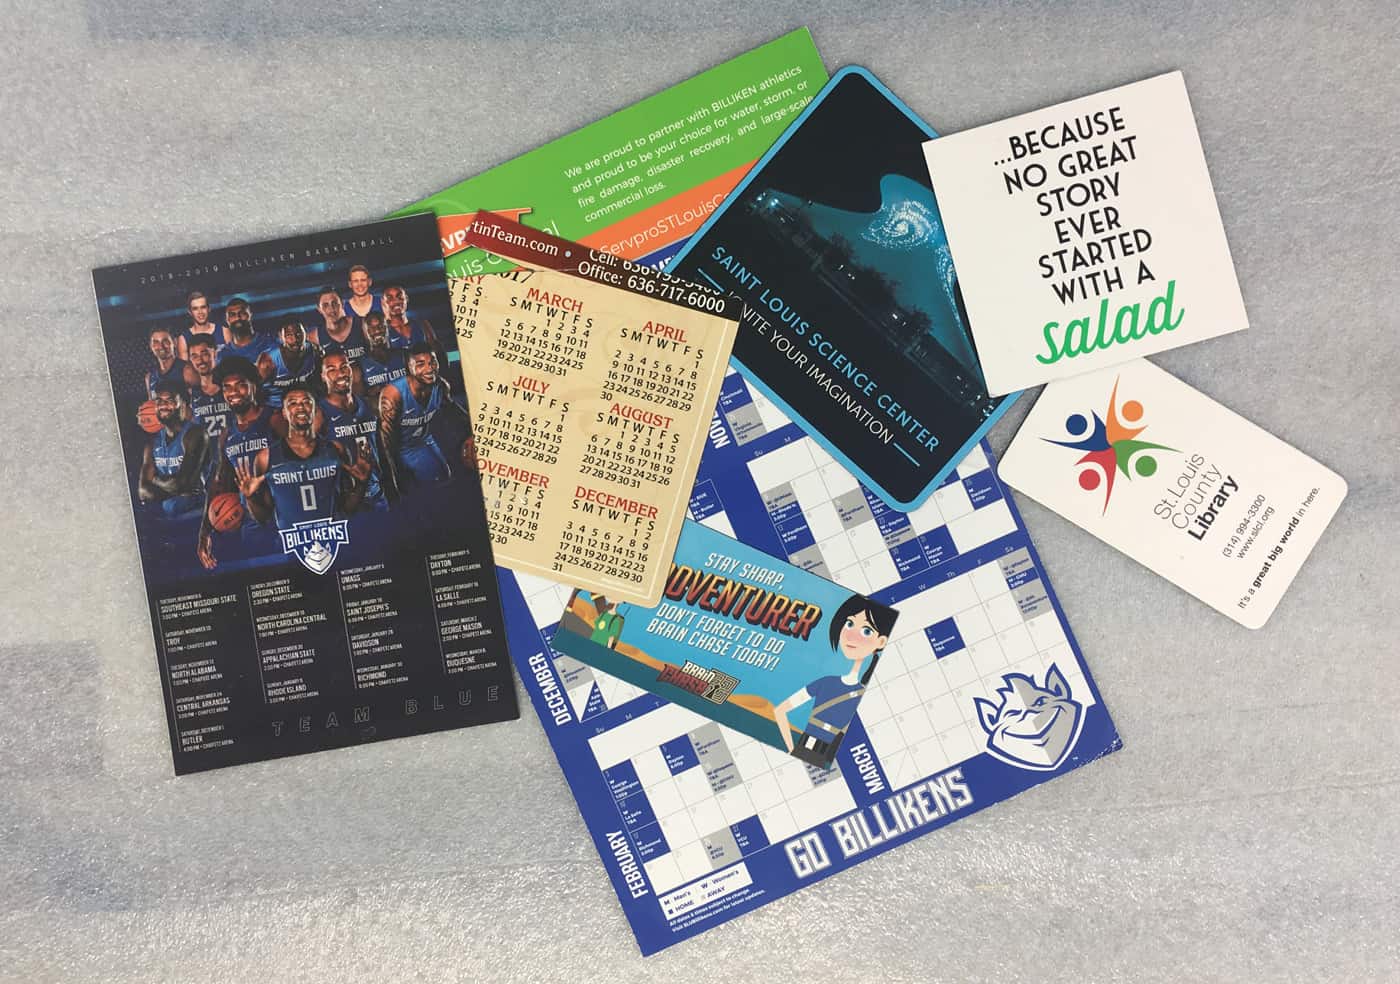
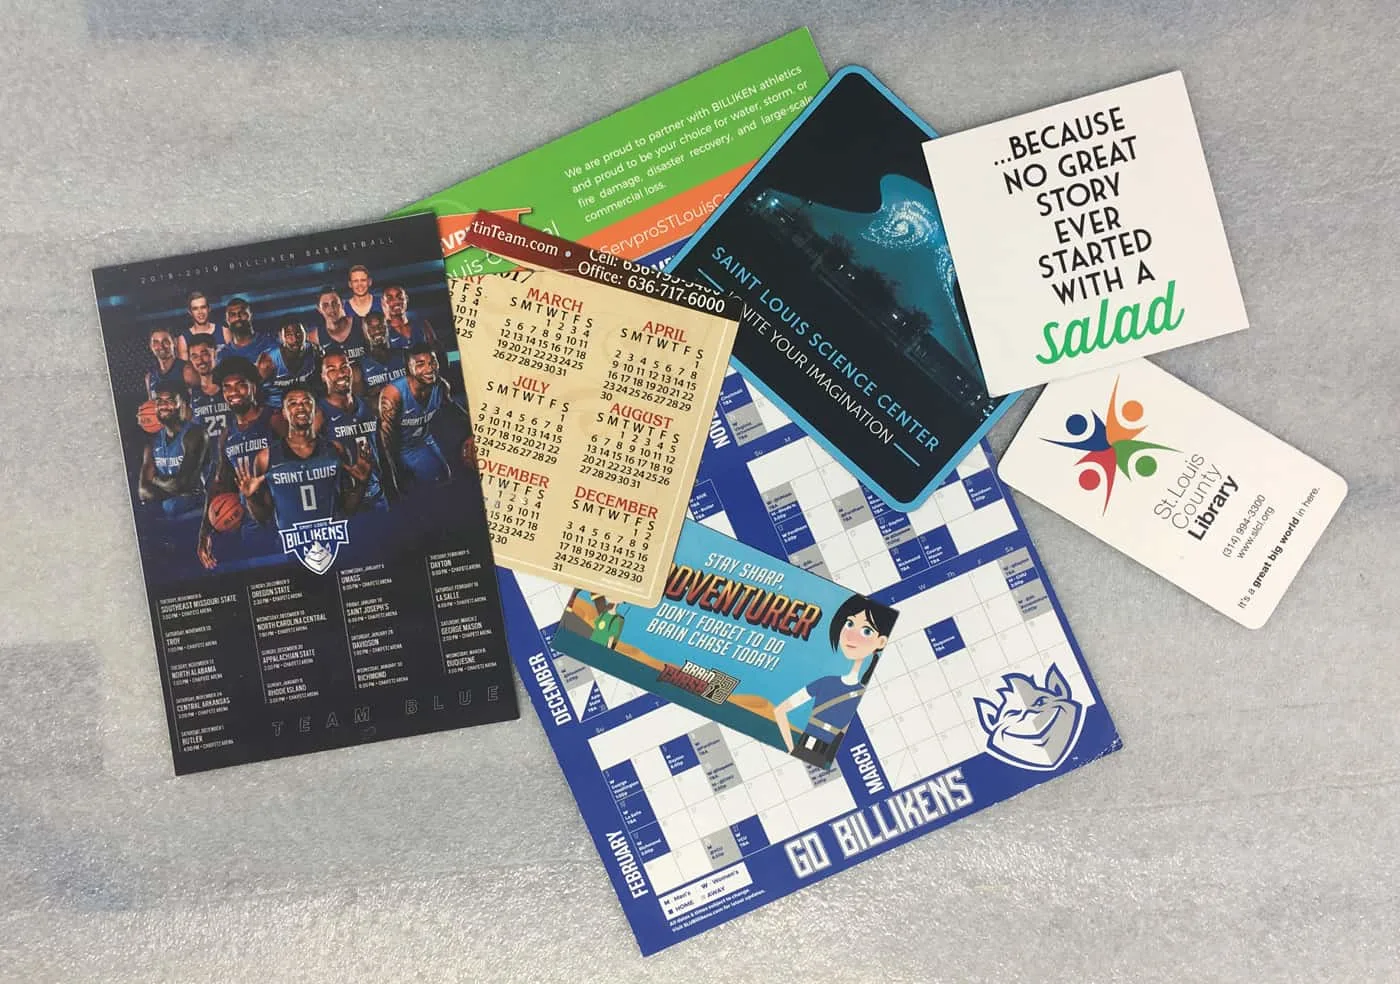
Maybe you’ve got a few on your fridge right now. But after that game season is over or you’ve memorized that “important info” you can put your magnet back to work–as art! I mean, who really needs a college basketball schedule from 2015?
Turn Junk Mail Fridge Magnets into Memories
Let’s use those leftover magnets as the backers for fun fridge art.
Mitch had some really nice art we had taped to the fridge…but soon it was looking beat up. ?

We decided to save the little drawings with decoupage–and magnets!

Draw Art for Fridge Magnets
If you’re not lucky enough to have a bunch of postcard-sized work of art laying around your kitchen, you can ask your kid to play “tiny Picasso”…quite literally…and make small sized art to turn into magnets.
How to Decoupage your Kid’s Doodles
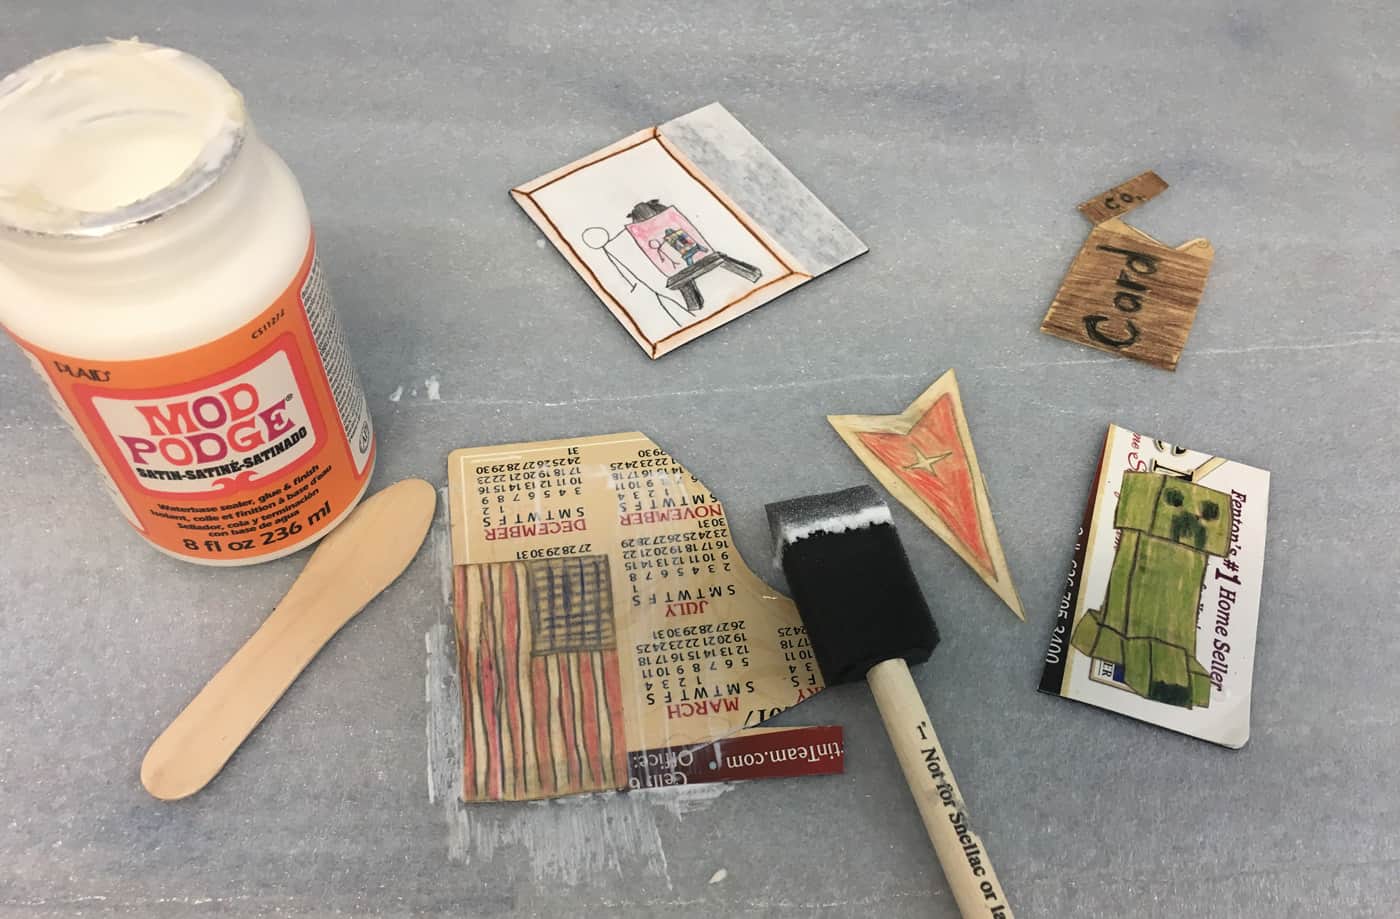
What you’ll need to make art magnets:
✨Mod Podge✨
Foam Brush (or bristle brush you don’t mind getting gluey)
Recycled Magnets (or these new magnet sheets)
Brayer (Optional)
Scissors
Toothpick or popsicle stick to keep your fingers off the art


You’ll also need something to keep your work surface clean–you can use paper plates, a trash bag or…in my case, a scrap of underlayment leftover from a flooring project. ?
Don’t want to buy Mod Podge? Don’t be fooled by DIY recipes…it often doesn’t work or preserve your memories like the real thing.
Before you break out the Mod Podge…
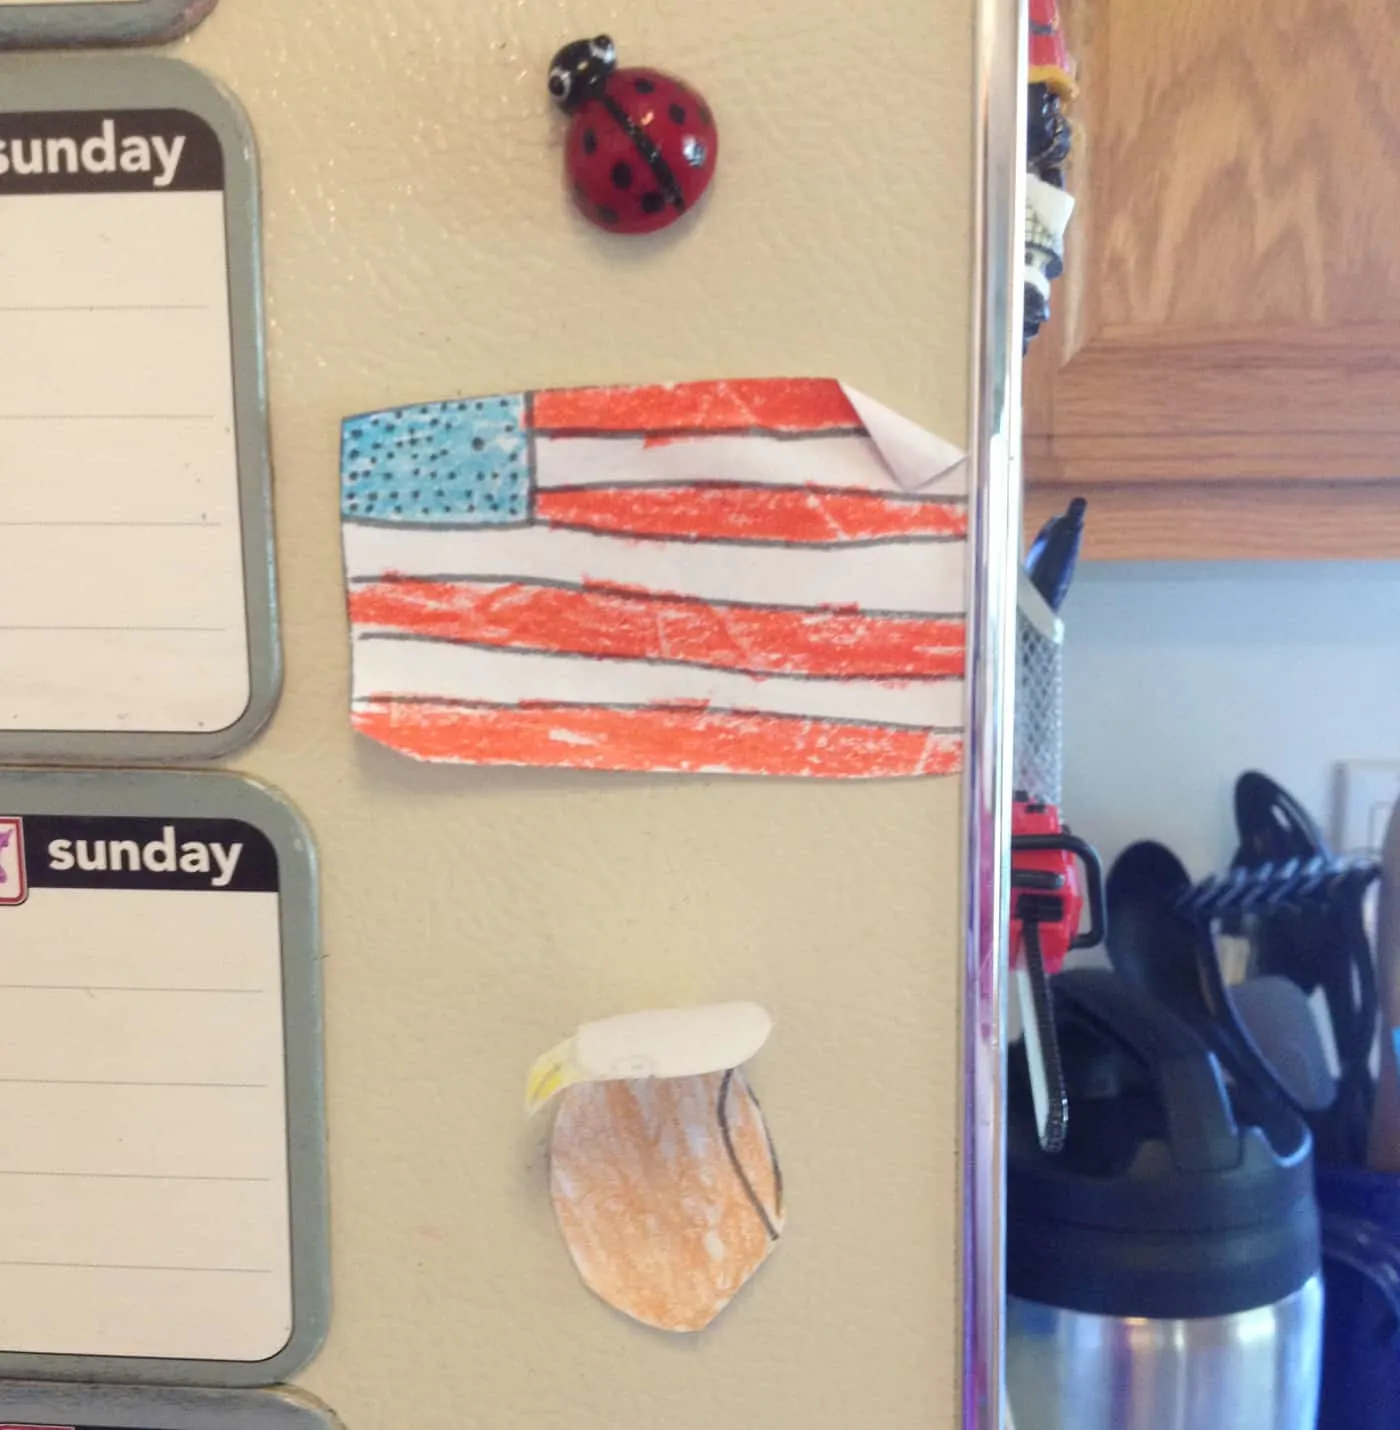
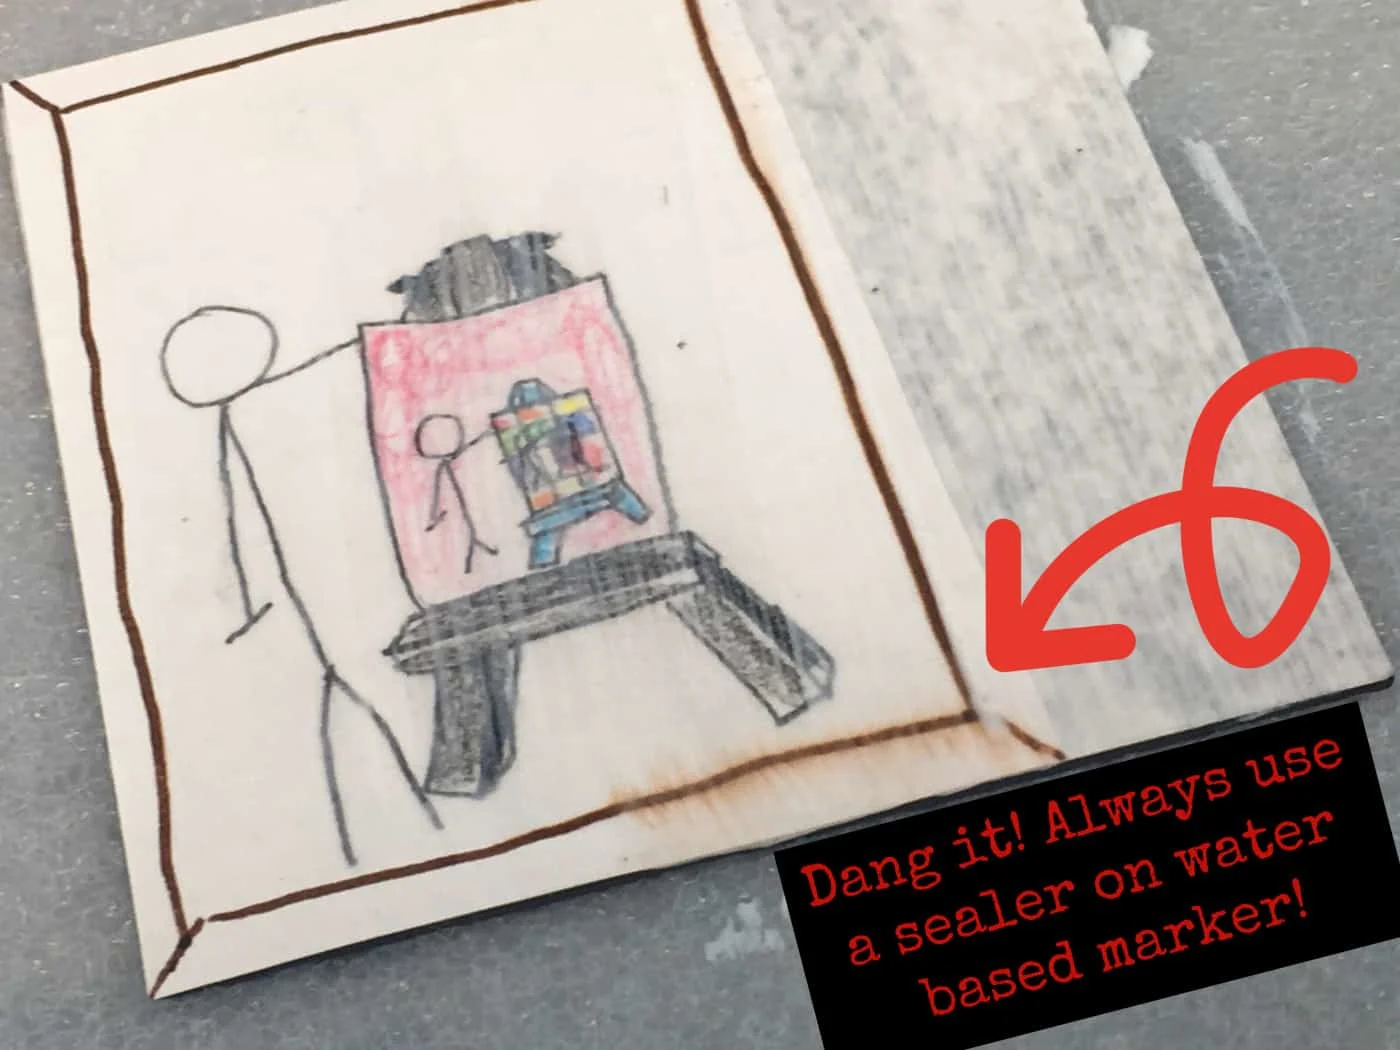
Make sure your kid’s art is NOT made with a water based marker–like a basic Crayola Marker. Because water based markers are WATER soluble you might have this happen:

You can avoid this by either:
A) throwing away all your child’s markers or
B) Spray your kid’s marker masterpieces with acrylic sealer first.
Next make sure your kid’s artwork isn’t on paper that is too thin, or that your recycled magnet isn’t too high contrast. You don’t want an image from the magnet to “bleed through” your kid’s artwork.
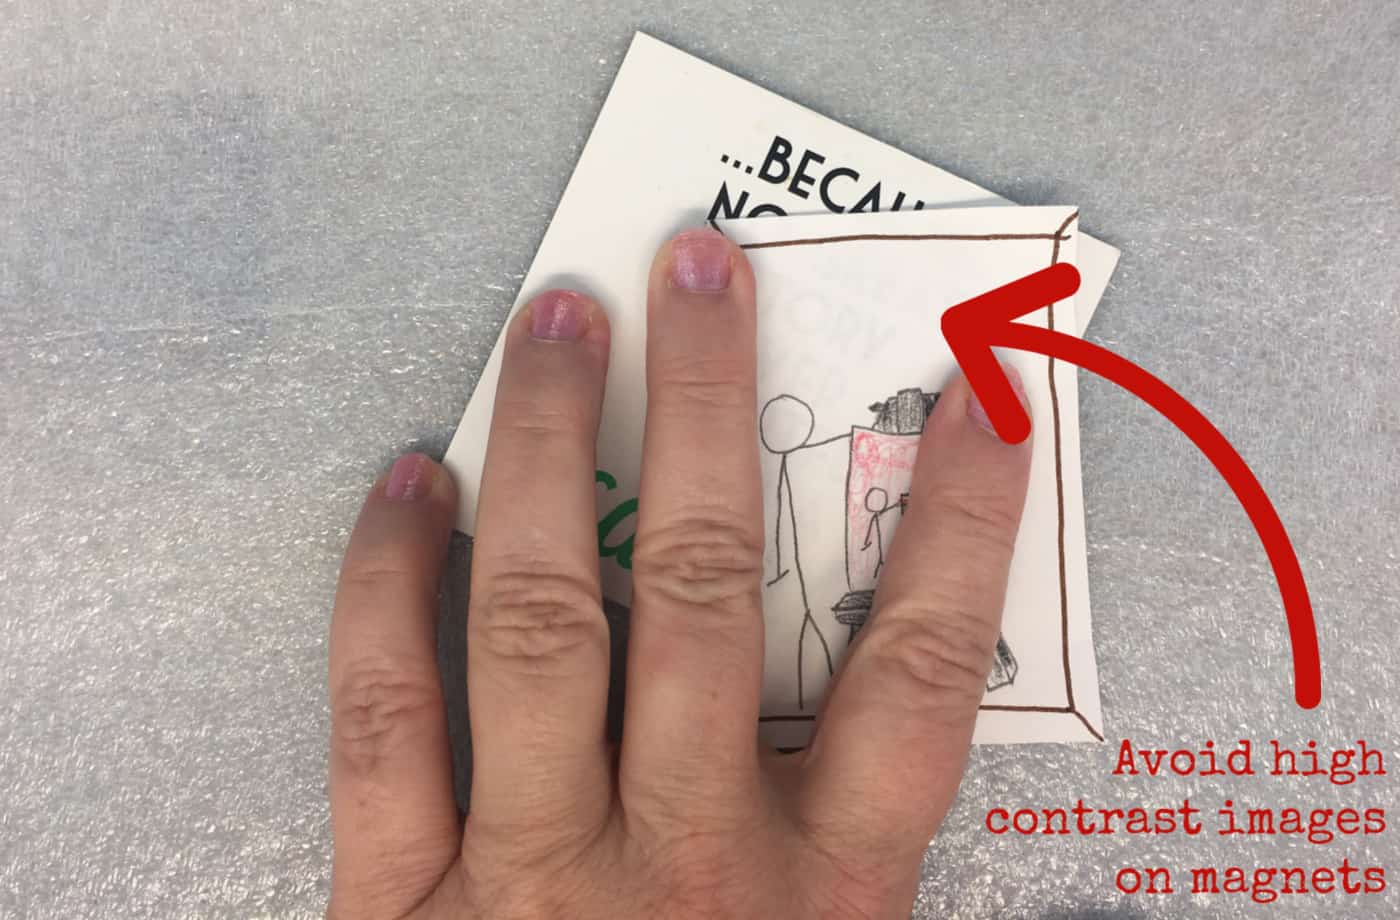

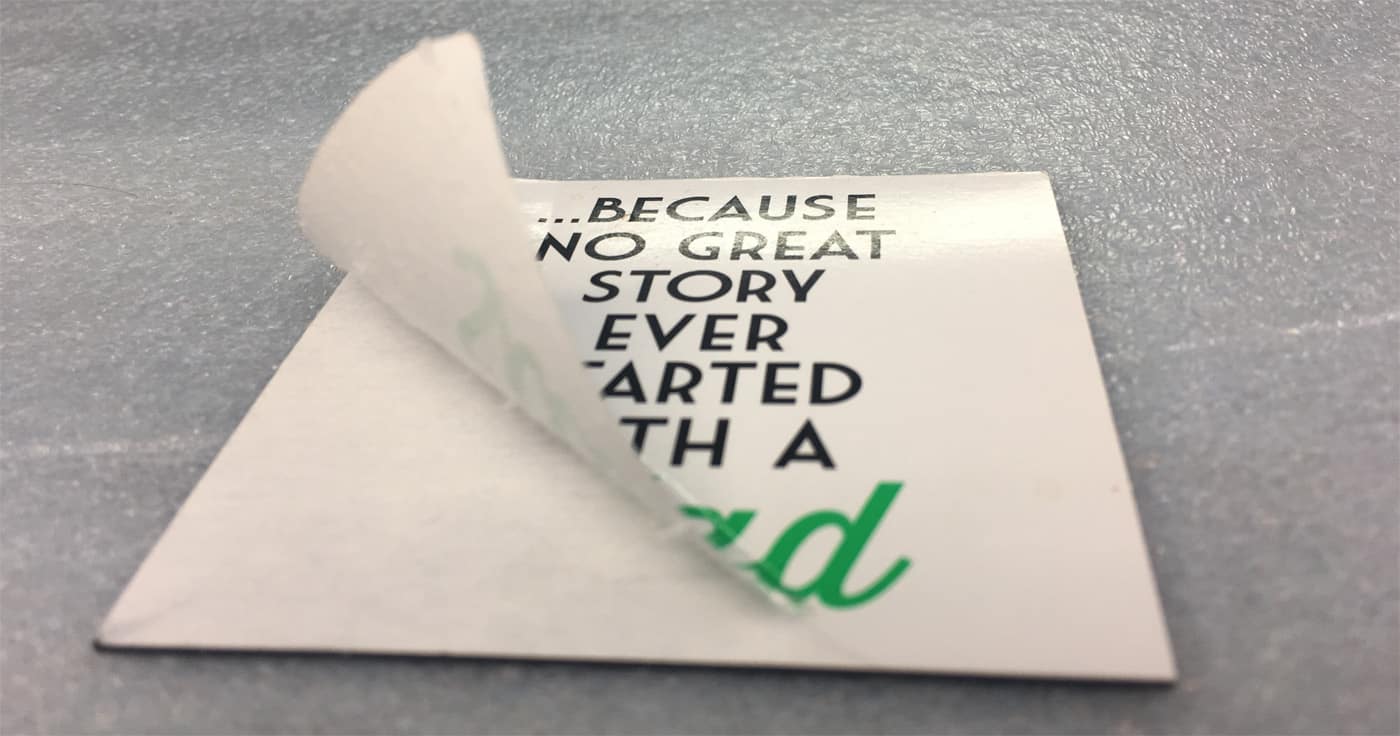
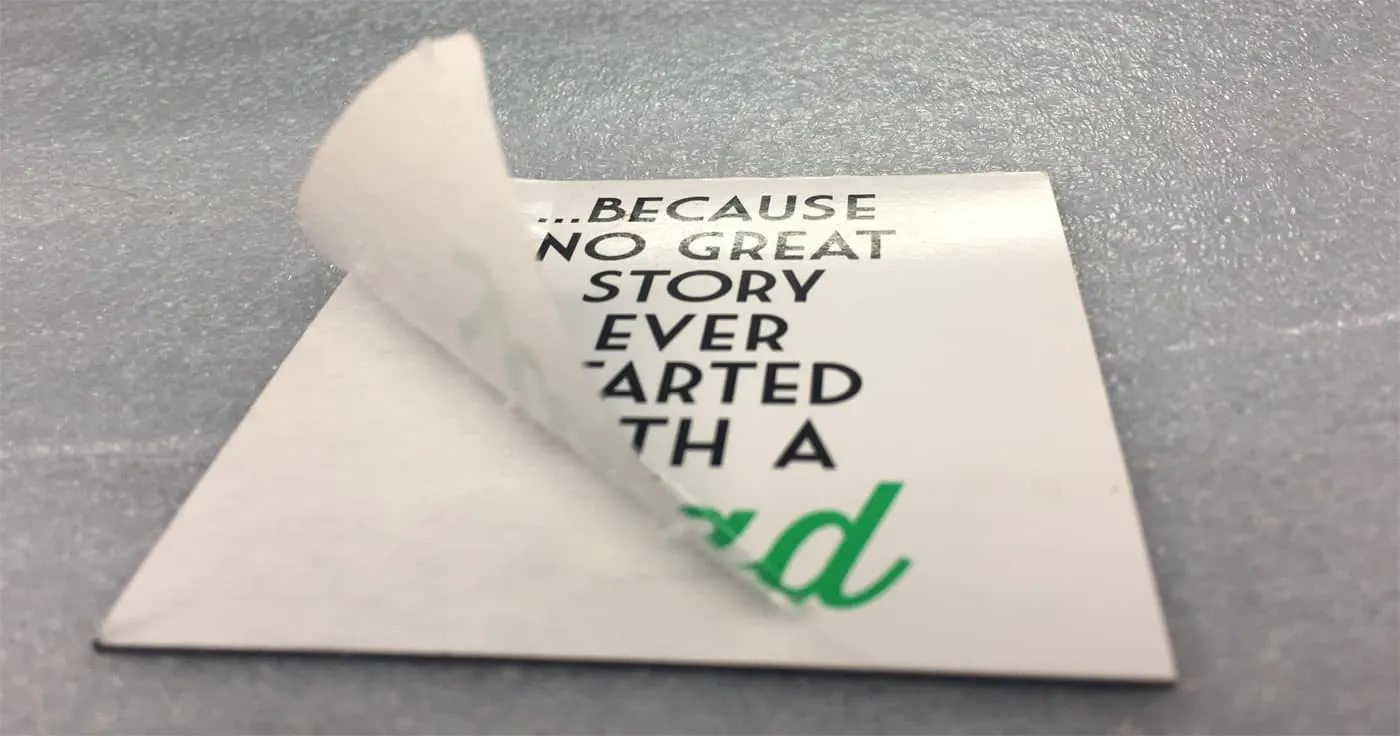
You can solve this problem by either gluing an extra layer of paper to the art–making it more opaque–or by peeling the paper off your magnet.
Use a foam brush to apply a thin layer of Mod Podge to magnet and stick the art down. Smooth out with dry fingers or use a brayer.
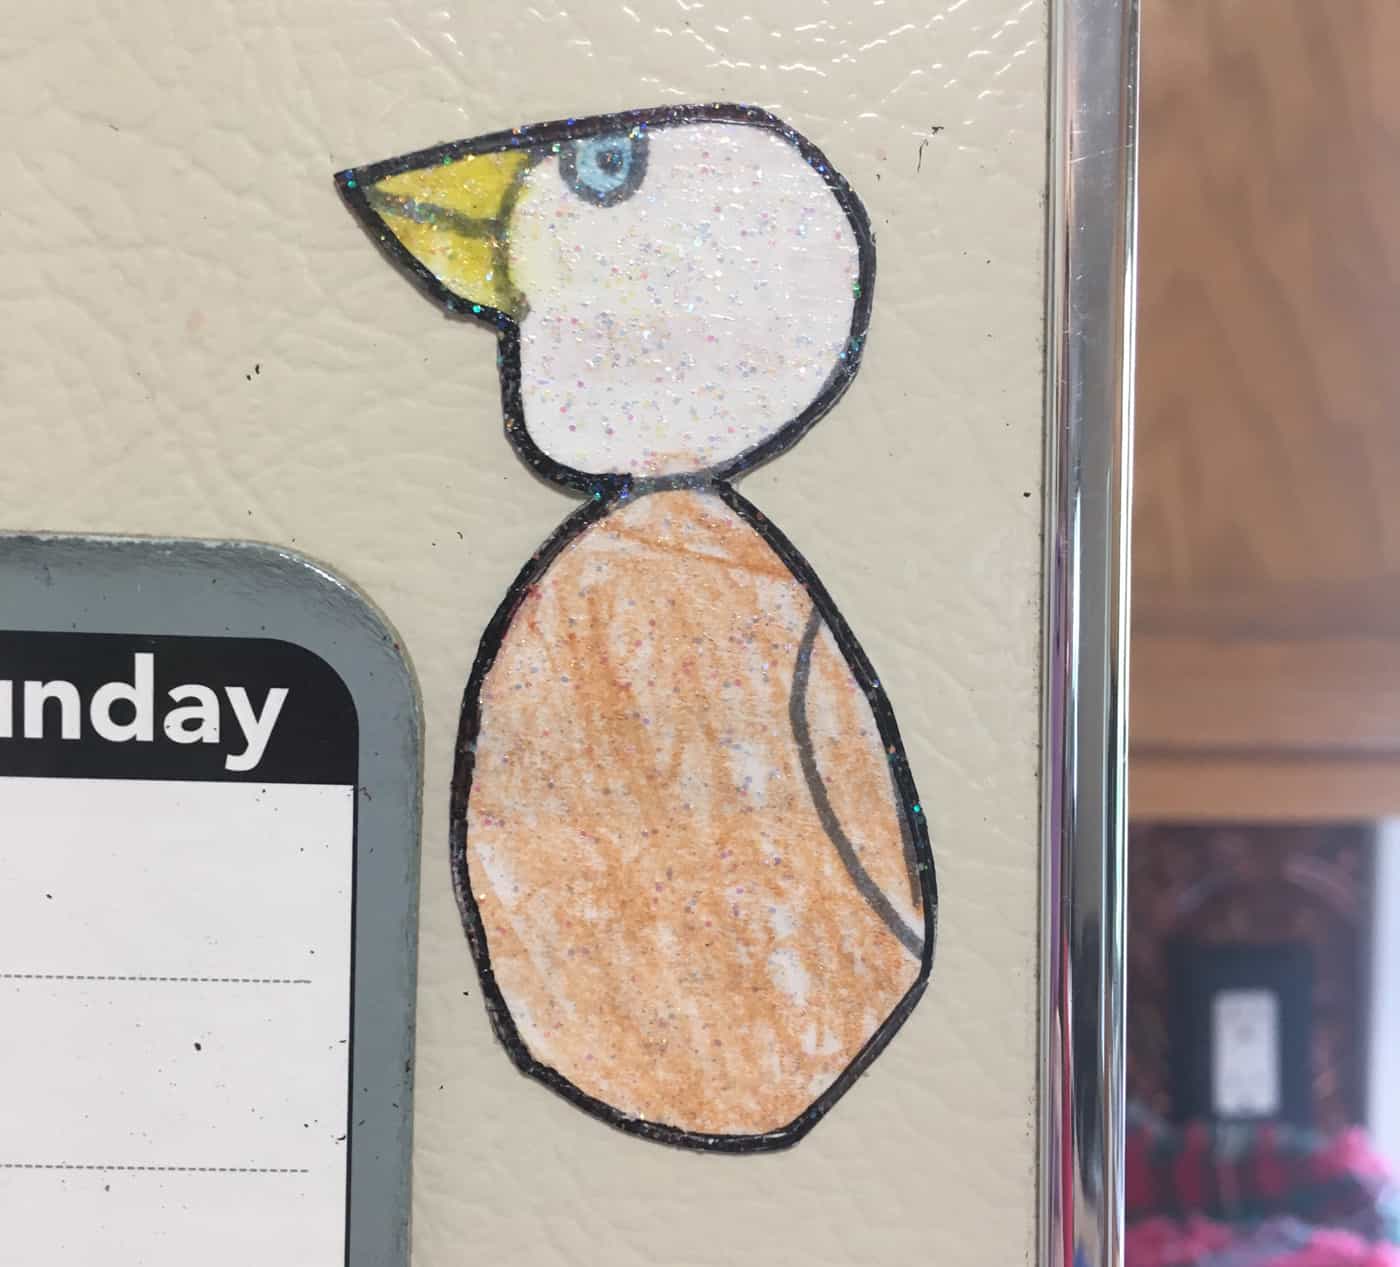
Then give it a top coat of Mod Podge. We gave the eagle coat of sparkle Mod Podge just to make it more eye catching.
Wait at LEAST 20 minutes, then give it a second coat of Mod Podge. Don’t worry, it dries clear!
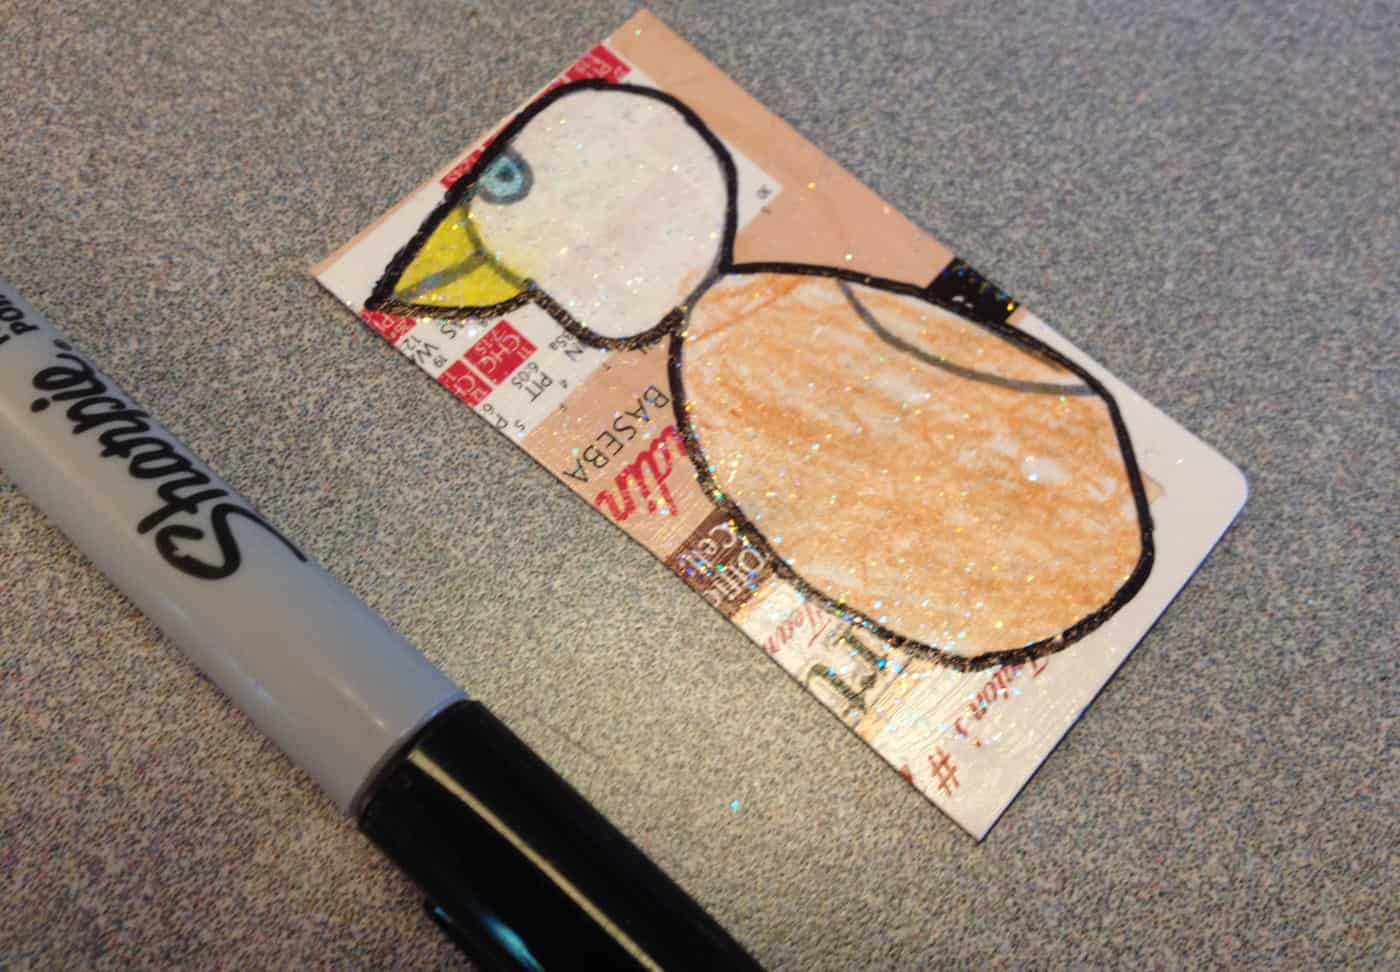

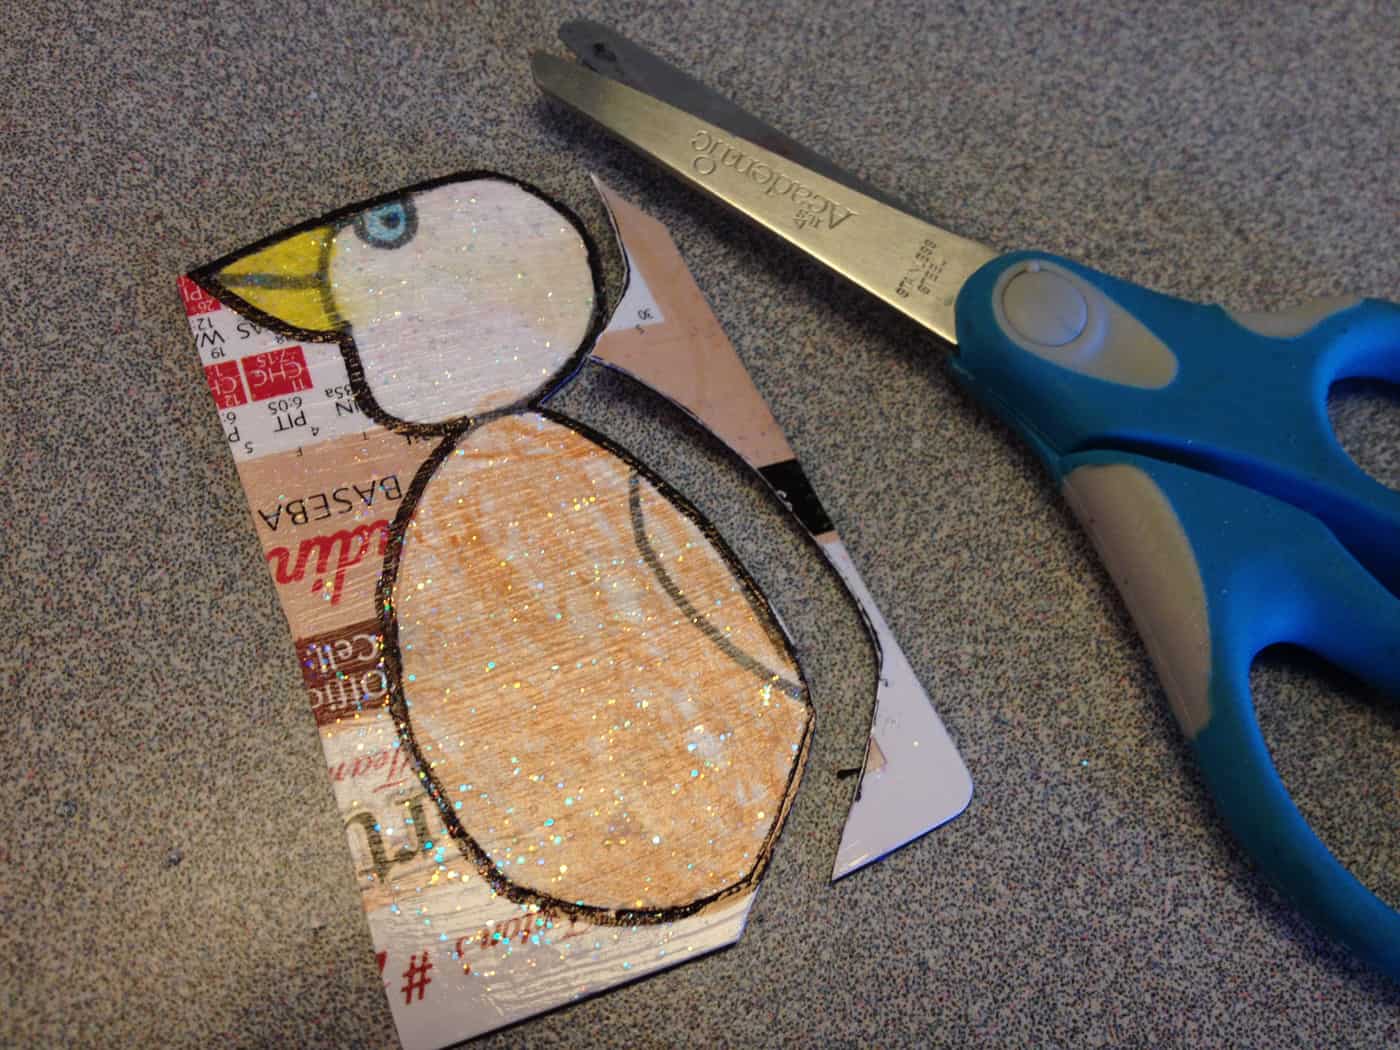
Once everything is dry, it’s time to cut the magnet down to size. However, I didn’t want to lose the black outline that Mitch used in his art, so I added it back in with a Sharpie.

Now doesn’t that look nice? My kid’s art is preserved, and I have a great new set of magnets.


Still feeling super crafty? Head over to YuCanDu this weekend for even more crafting fun with your kids!