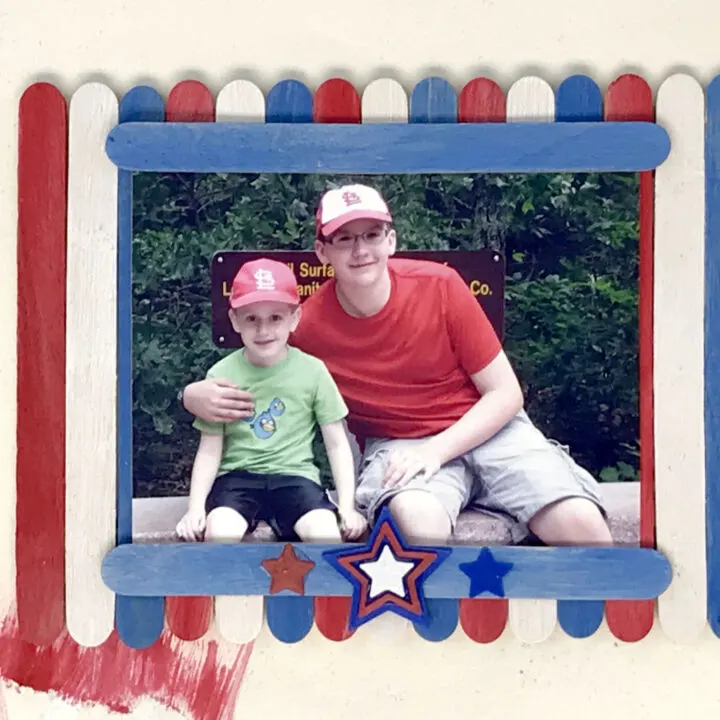
Make this All American Frame with craft sticks painted Red, White and Blue
Popsicle Stick photo frames are one of the simplest crafts your kids can master! All you need are a package of “craft sticks” from the hobby shop or the craft aisle and acrylic paint!
You can add patriotic flare with star shaped buttons, stickers or handmade stars cut from construction paper.
Let’s get started!

Paint those Sticks
You’ll need 5 sticks in each color to form the base of the frame, plus two more in your favorite accent color. I’m more fond of blue, however red would have picked up the color of the kid’s clothes in the photo we used.
A light coat of paint not only dries quicker, it looks more rustic. If you want more BOLD colors, give the sticks two or even three coats of paint.
Clean Hands Painting Tip
Use an old pair of pliers to hold the sticks to avoid getting your fingers messy! And of course, always cover your work surface to protect it from paint. We used a sheet of plain art paper.
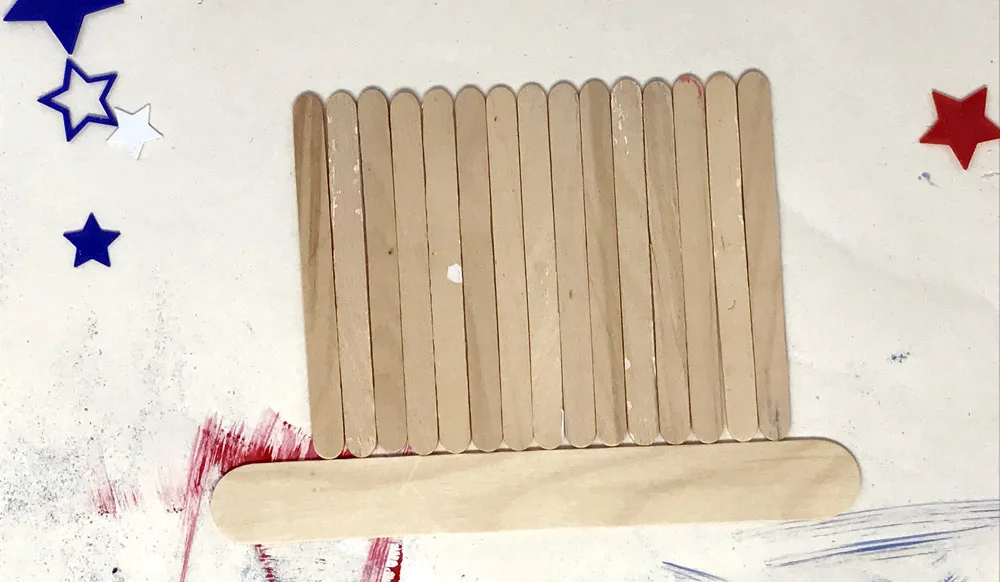
Line it Up!
Use an extra stick to help align your craft sticks into a perfect row. We used a GIANT stick from another package. (Maybe we should make a giant Popsicle stick frame??)

Choice of Glue
I’m a big fan of HOT glue–it holds firm and dries in seconds.
However, if you’re crafting with small kids you might want to stick to ordinary school glue.

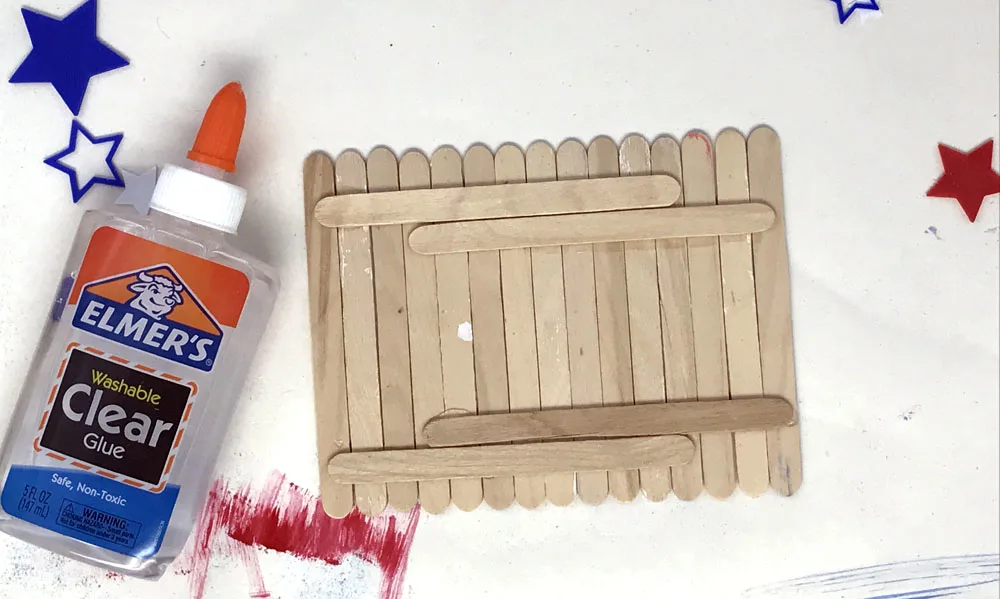
A thin coat of school glue or glue sticks work best for adhering the photos–since it dries slower you will have time to push the photo into the perfect spot.
Decorations
We used plastic stars made with our 3D printer to decorate the frame. You can also use scrapbook paper, construction paper or stickers.
Make a Stand
You can glue strong magnets to the back of this frame to display on your refrigerator or a filing cabinet. But we tried out the Clothes Clip stand on ours. It’s not exactly the most stable kick stand, but it IS inventive!
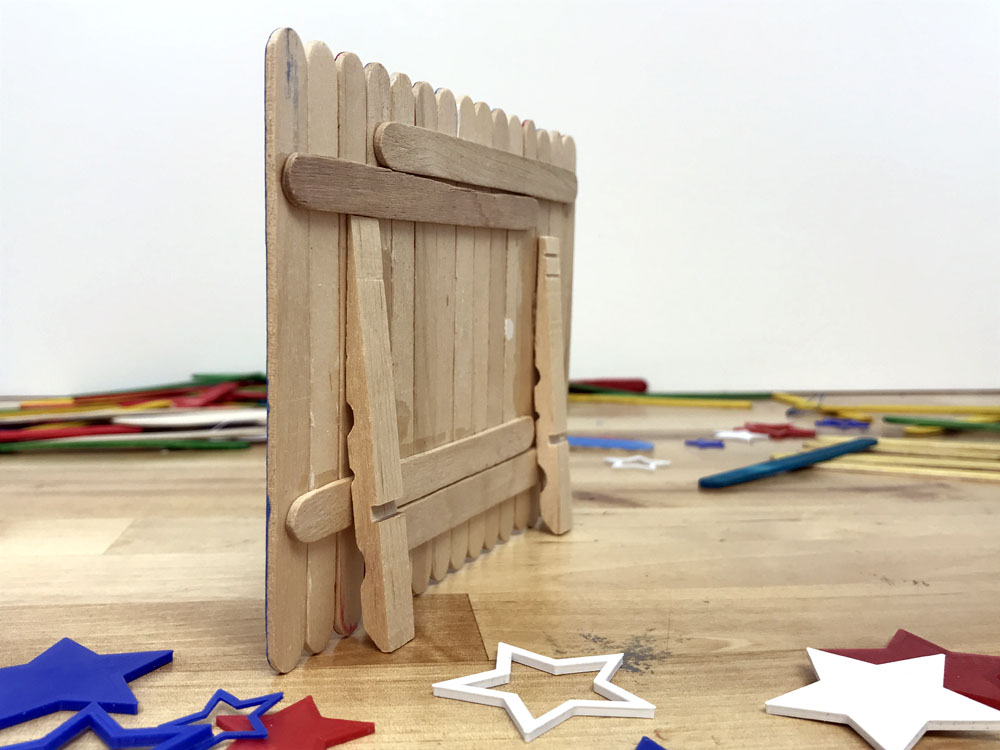
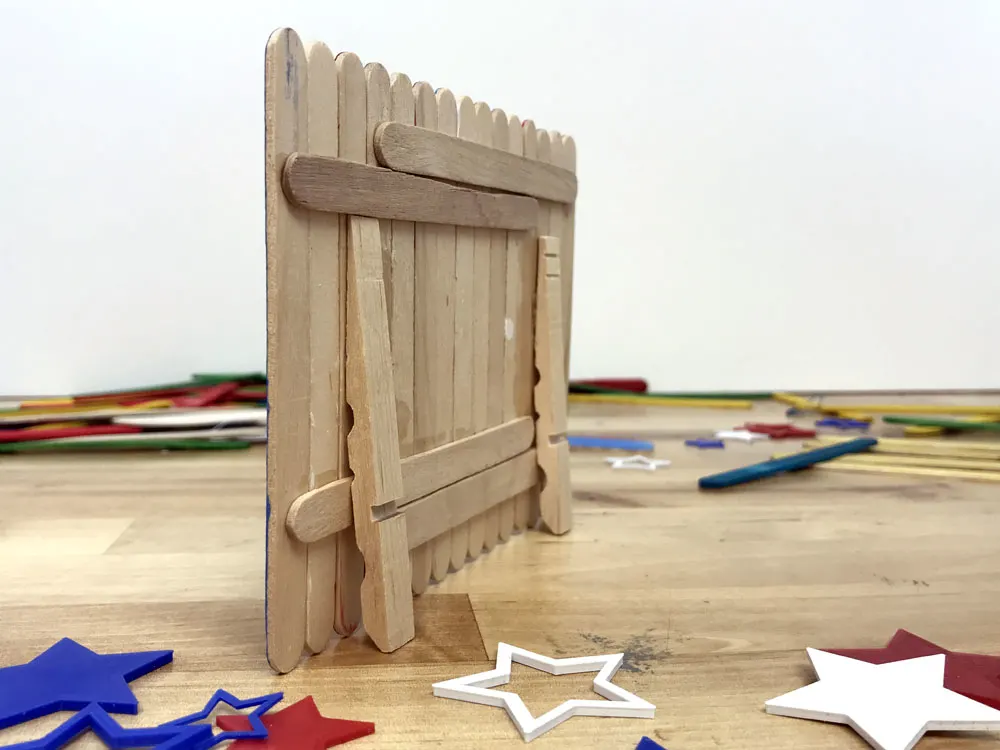
Simply remove the wire spring from a normal sized clothes pin and glue the angled part to the back of your frame. We used hot glue for strength and speed.

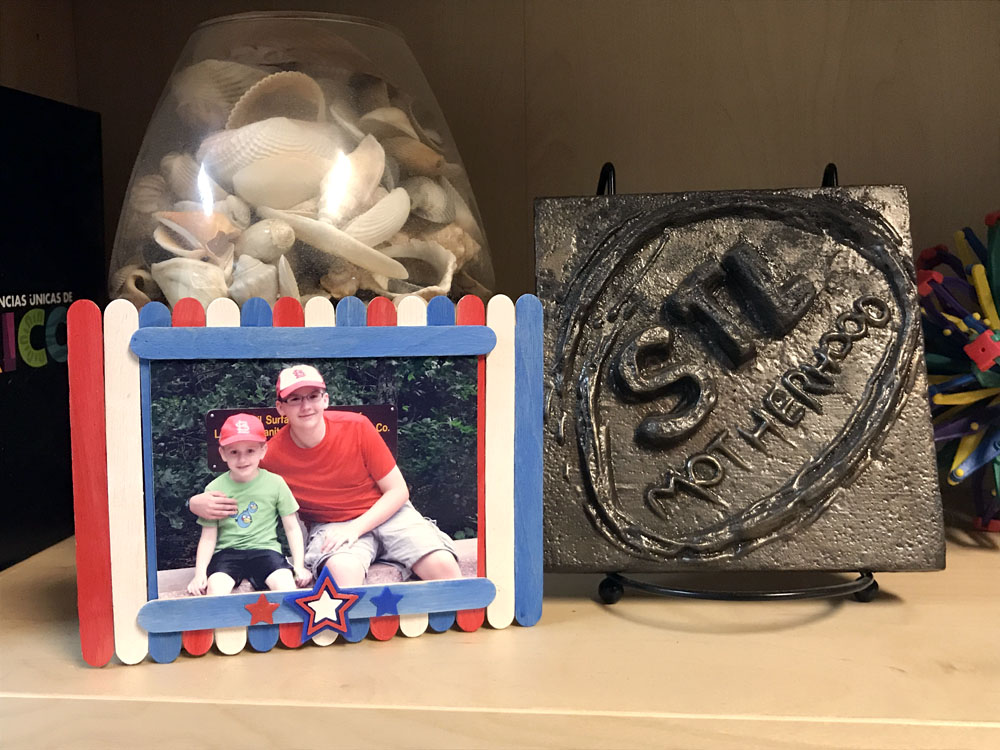
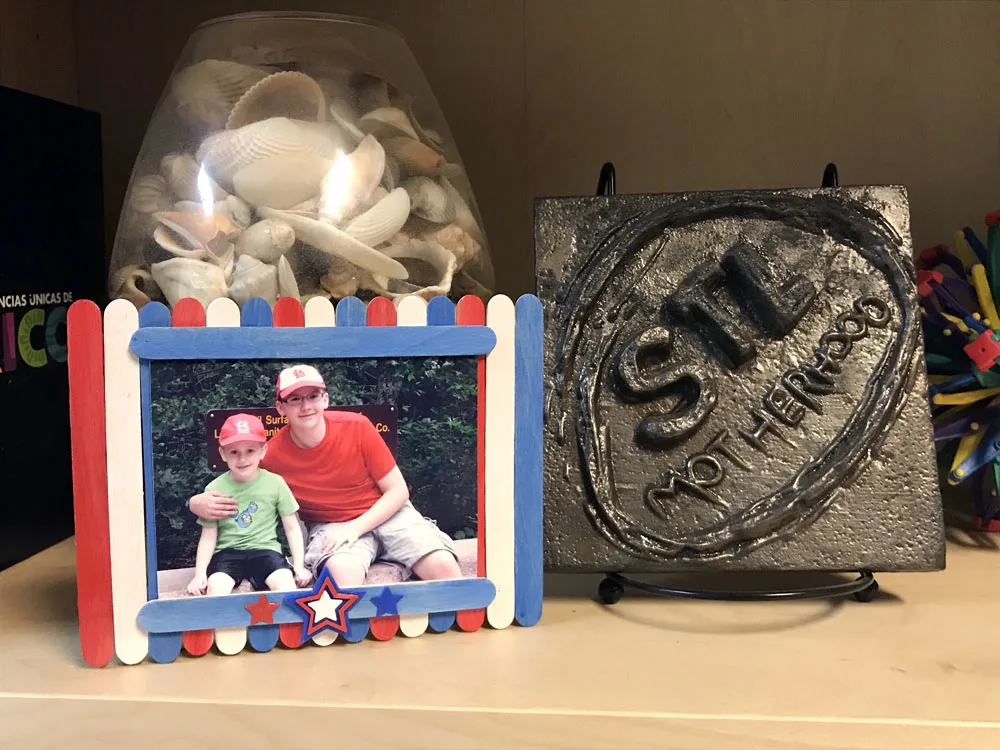
Red, White and Blue Popsicle Stick Frame
Make a patriotic popsicle photo frame to show off your kid's summer pictures!
Materials
- 21 Popsicle/Craft sticks
- 2 Clothes pins
- Acrylic Paint in Red, White and Blue
- Glue
- Photo
Tools
- Brush
- Scissors
Instructions
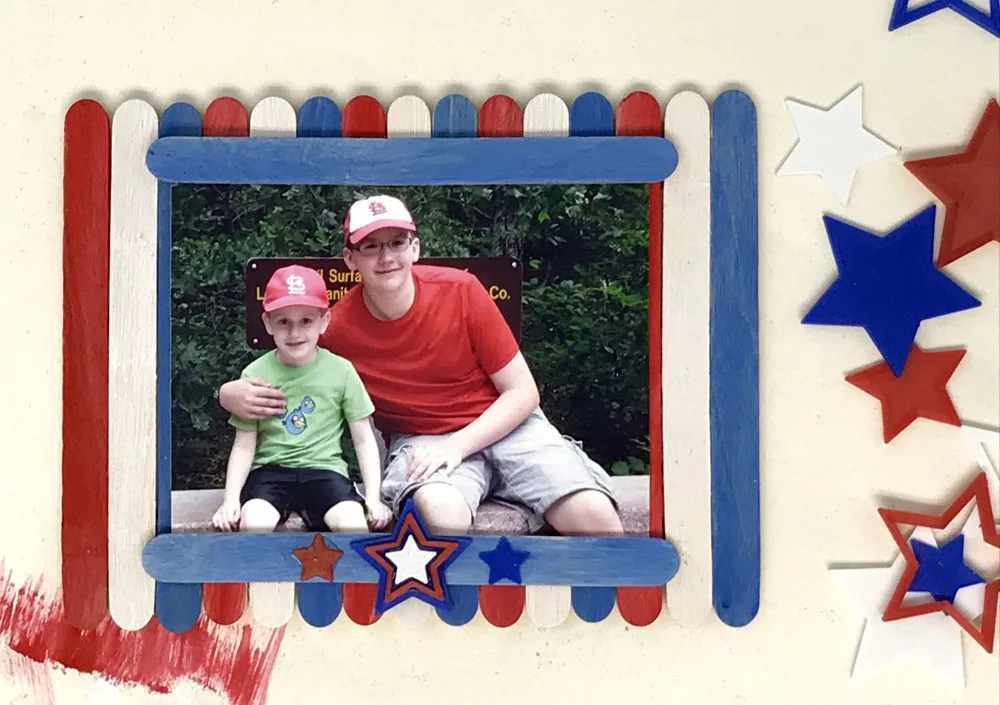
- Paint the sticks. You'll need 5 red, 5 white and 7 blue sticks to make the pattern shown.
- While the sticks dry, trim your photo to 4x3 inches.
- Arrange sticks in a red-white-blue pattern.
- Flip over. Glue support sticks in place.

 You'll need four sticks (staggered) to cover the width.
 - Center photo on front of frame base.
- Add a blue craft stick to the top and bottom edge of the photo.
- Decorate with buttons or star shapes.
- Remove wire spring from clothes pins.
- Glue
- Glue to back of frame.
Notes
We used clear school glue for this project, but any glue that dries clear will work.
Hot glue is much faster!