All the toy outlets are going nuts trying to sell us toys for a movie we haven’t even seen yet! Yikes! Why do they do that? Personally, I’m going to wait on these new characters until I know who the heck they are. Until then, let’s save some money and do a little Jedi DYI with these super fun pool noodle light sabers!

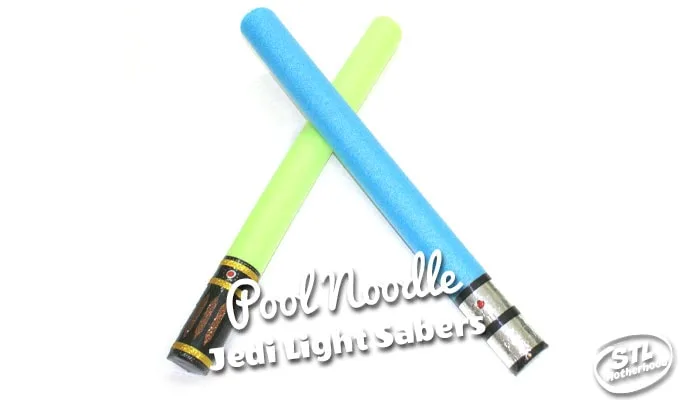
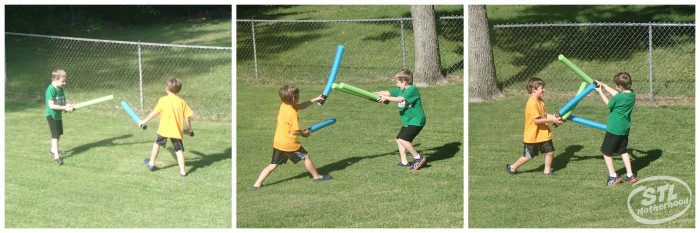
The pool noodle light saber is such an awesome toy! These sabers are soft enough for real dueling–and unlike store bought toys they won’t break when your Jedi kid blocks that attack from the neighborhood Sith Lord.

If you know anything about Jedi lore, you should know that a Jedi crafts his own light saber. Each one is different! So, just like the real thing, your kid can pick the color of the saber’s blade AND trick out the hilt.
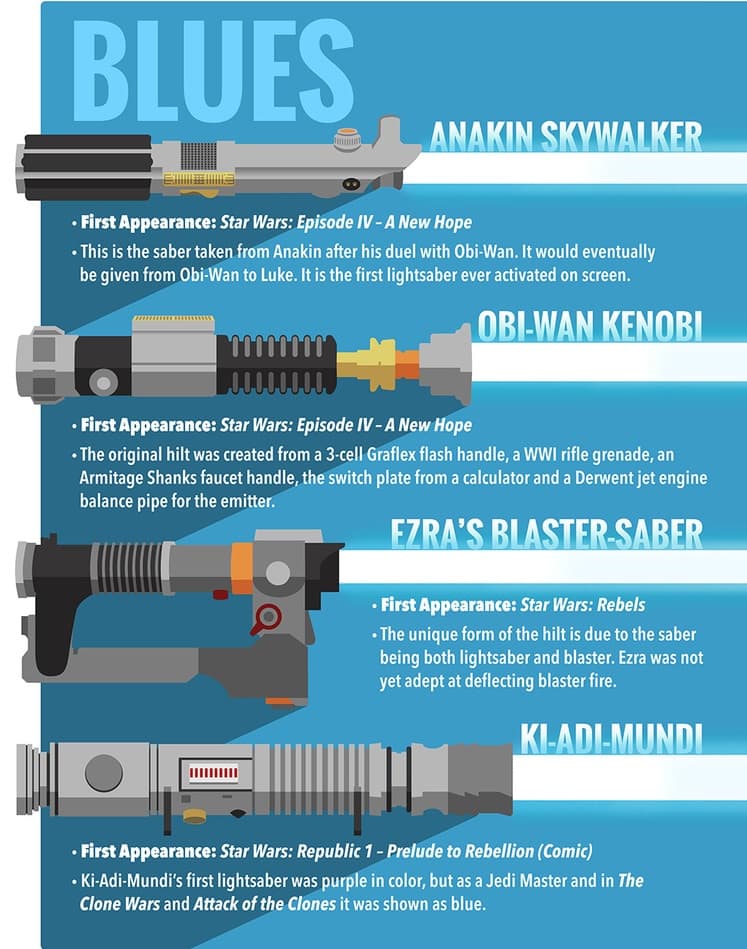

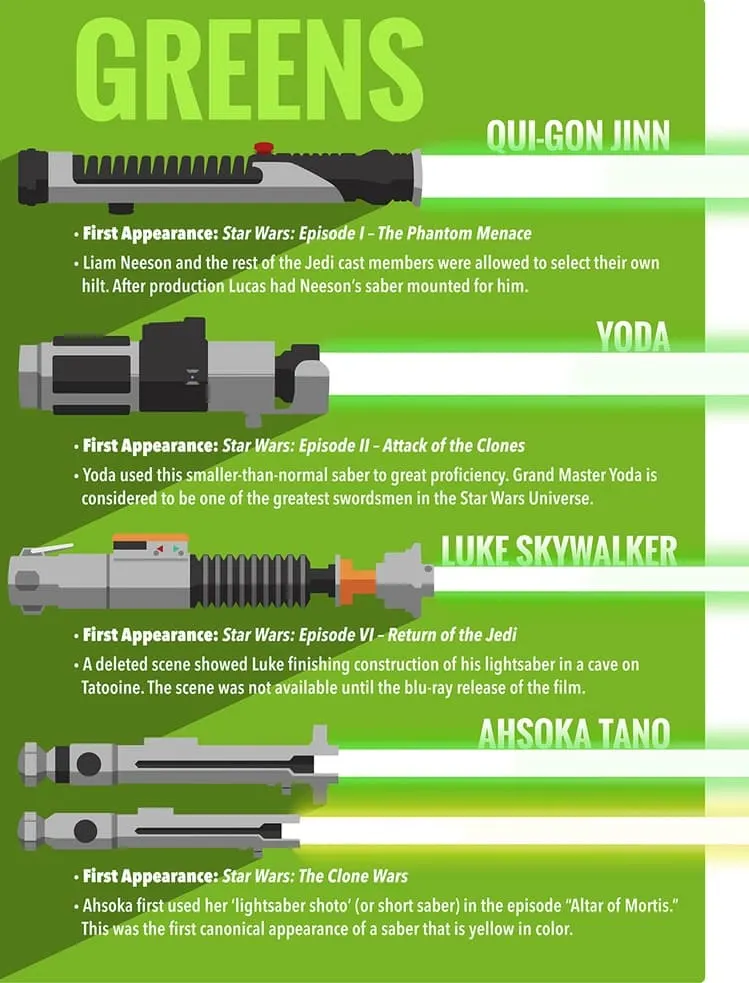
If you like these chart, you should see the others — HalloweenCostumes.com drew up charts for ALL the different colors of Jedi light sabers!

How to Make a Foam Light Saber
This project is pretty simple. You need a pool noodle, colorful duct tape, glitter/washi tape and a Sharpie marker for details. You’ll also need a sharp razor knife to cut the saber. One pool noodle will make two sabers, so you’re all set for a Jedi fight!

First cut the pool noodle in half with the razor knife. Use the knife to round off the end of the noodle–a rounded tip is more authentic looking, and less pointy when your kid hits his friend in the face with it.
Next, wrap the bottom of the hilt with black duct tape. Two pieces in an X pattern will do it.
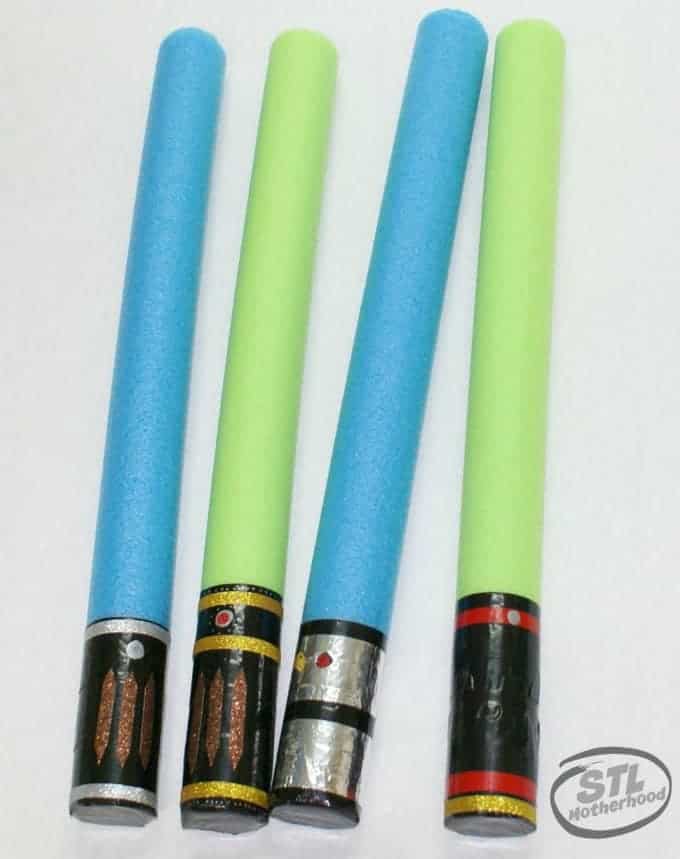
Now decide what color the hilt will be–ours used black or silver tape, but you can use whatever color you have. (There’s plenty of duct tape colors out there!) Cut strips of duct tape and wrap them around the hilt. Overlap each strip of tape for good coverage–we used four strips. You can color the white edges of the tape with a Sharpie so it looks more professional.
Now add details! We added stripes with glitter tape and dots with silver Sharpies. Don’t forget the on/off button too!
Give your light saber a moment to dry before handling it…then let the dueling begin!