
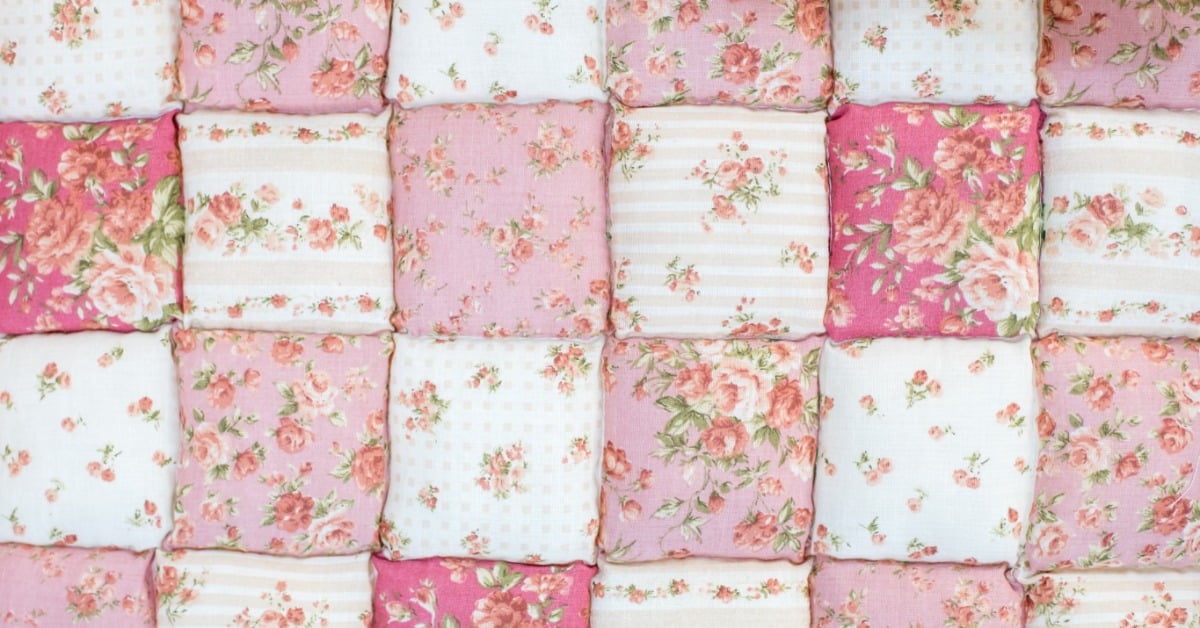
A pile of colorful fabric squares can turn into a fun family project, especially when the finished result is something everyone can use. Puff quilts, sometimes called biscuit quilts, have soft, raised squares that give them a cozy, textured look. They’re also a great way to get kids involved in choosing colors and creating patterns, although the sewing requires some planning. These tips for designing your next puff quilt cover everything from fabric choices to finishing touches.
1. Choose the Right Fabric
Fabric affects how your puff quilt looks, feels, and holds up with regular use. Quilting cotton is a popular option because it’s easy to cut, comes in countless prints, and holds its shape during sewing.
Depending on the look and feel you want, consider these materials:
- Quilting cotton: Easy to sew and available in plenty of kid-friendly patterns and colors.
- Cotton flannel: Soft and warm, although its thickness can add bulk at the seams.
- Lightweight cotton blends: A practical option when the fabrics have similar stretch and care requirements.
- Fabric scraps: Great for adding variety while using leftover materials from other projects.
Try to use fabrics of similar weights so the squares behave consistently during sewing. Your kids can join in by picking their favorite prints or choosing a quilt theme. You could even incorporate fabric from old clothing, as long as it’s still sturdy enough for quilting.
2. Decide on Puff Size
The size of your puffs determines the quilt’s texture and how many squares you’ll need. Smaller puffs create a detailed, closely textured surface, while larger ones produce a chunkier appearance with fewer pieces to assemble. One of the most practical tips for designing your next puff quilt is to sew a sample puff before cutting all your fabric.
If you’re making your first puff quilt, starting with larger squares can keep the project manageable. Think about how you’ll use the finished quilt, such as for a child’s bed or a decorative throw. The final dimensions will depend on your puff size, seam allowances, and the number of rows and columns.
3. Plan Your Color Scheme
A thoughtful color scheme can make even a simple puff quilt look carefully designed. Start with a few main colors, then introduce coordinating shades or prints to add variety without making the overall design too busy. If your child has a favorite superhero, animal, or video game, use that interest to inspire the colors and patterns.
For example, a Minecraft-inspired quilt could feature shades of green and brown, with gray squares arranged to resemble a pixelated landscape. A space-themed design might combine dark blue fabric with star prints and silver accents. Before cutting, lay your fabric choices next to each other in natural light to see how well they work together.
4. Experiment With Different Layouts
Once you’ve chosen your fabrics, spread the cut squares across a table or clean floor to experiment with different arrangements. This is a fun stage for kids because they can move pieces around and share ideas without using the sewing machine.
Here are different ideas for how to arrange the squares:
- Checkerboard: Alternate two colors to create a classic grid pattern.
- Color gradient: Arrange shades from light to dark across the quilt.
- Diagonal stripes: Repeat colors diagonally to add movement to the design.
- Random patchwork: Mix prints while distributing similar colors throughout the quilt.
- Picture-inspired design: Position solid colors to form a simple heart, star, or pixelated character.
Turn this into a screen-free design challenge by asking your kids to create several arrangements using the same squares. Sewing is perfect for parents and kids to do together, since everyone can contribute in ways that suit their age and abilities. Take photos of your favorite layouts so you can compare them before making a final decision.
5. Select the Right Stuffing
Polyester fiberfill is a common choice for puff quilts because it’s lightweight, easy to distribute, and often machine washable, depending on the product. How much you use affects the finished texture: less filling creates softer, flatter puffs, while more produces a fuller appearance. Start with a small amount and compare it with your sample puff before filling the rest.
Aim for a consistent amount of stuffing in each square so the quilt has an even surface. Too much can create bulky seams and make assembly difficult, while too little may leave some puffs looking flat. Kids can divide the fiberfill into equal portions while you handle the sewing.
6. Assemble Your Puffs Into Rows
Once your individual puffs are prepared, you’re ready to start joining them into rows or columns. Align the edges carefully and keep the seam allowance consistent so neighboring squares line up. Depending on your pattern, you may fill the puffs before joining them or add stuffing as you assemble the rows.
As the quilt grows, the extra bulk can make it harder to guide the fabric smoothly through your machine. Quilting sewing machines have unique features, such as larger throat spaces and adjustable sewing speeds, that can make thick projects easier. Work slowly around bulky intersections and check the alignment as you go.
7. Attach the Backing and Binding
The backing covers the construction seams and gives your quilt a smooth reverse side. Choose a fabric that complements the front, feels comfortable against the skin, and has similar washing requirements. Depending on your pattern, you might attach a separate backing piece or use an oversized piece that folds over the edges.
Binding protects the seams and gives the quilt a neat border. A coordinating color creates a subtle finish, while a contrasting fabric can frame the design and make the colors stand out. Before sewing the final stitches, check the corners and edges for loose threads or areas that need additional securing.
One of the best parts of making a puff quilt is watching a simple idea gradually become something special. It doesn’t have to be perfect, either; small variations can give a handmade quilt its own character. When your kids have a say in the design, they’re more likely to appreciate the finished piece and remember the time you spent making it. Whether it ends up on a bed or becomes the favorite blanket for movie nights, your puff quilt can be something your family enjoys for years to come.