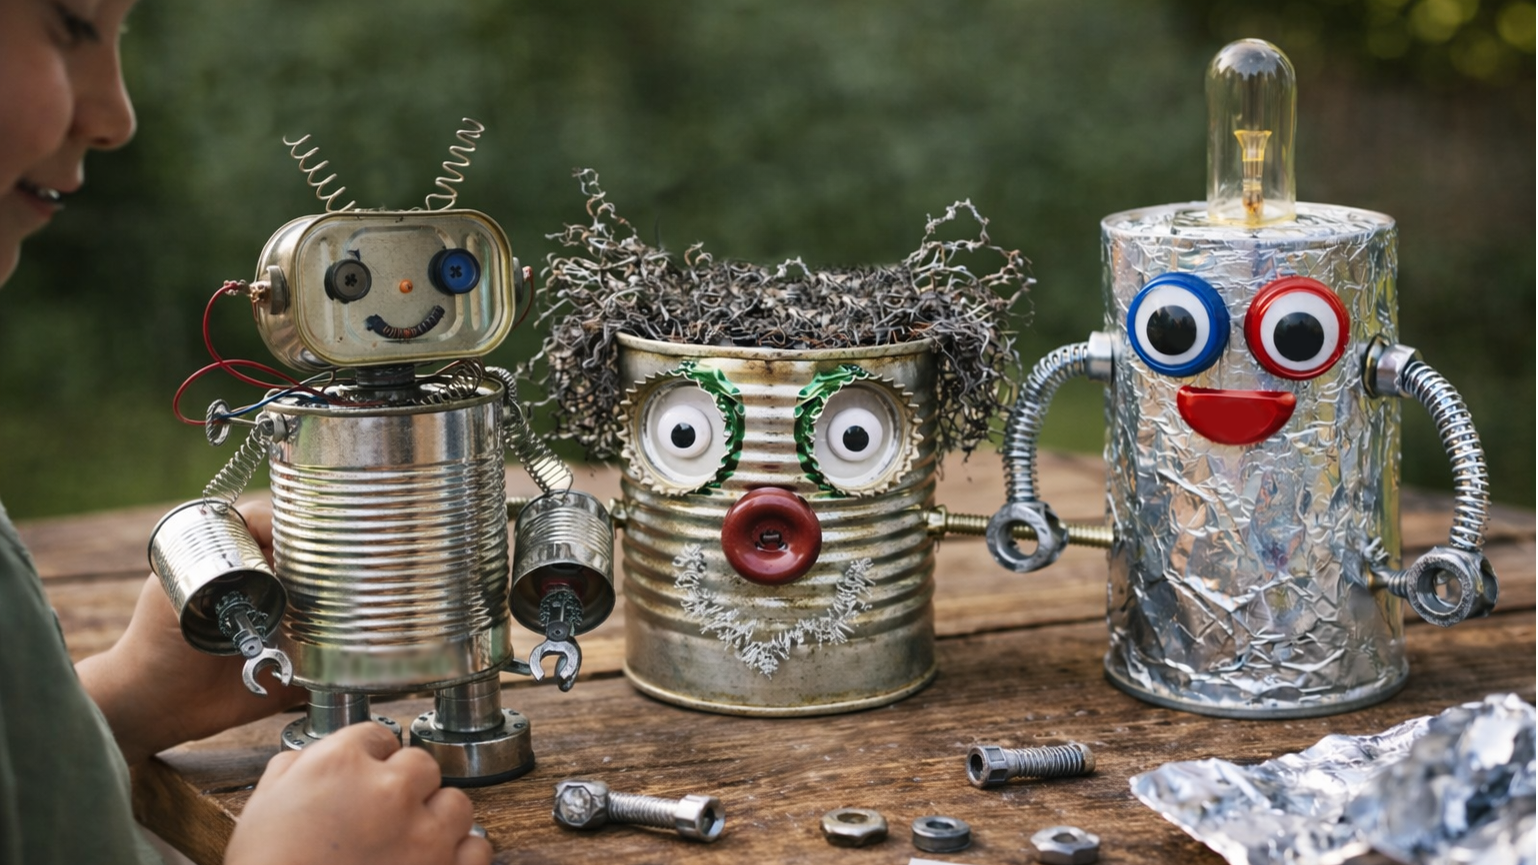

Some of the best kids’ projects don’t come from a store-bought kit — they come from looking at everyday items and asking, “What could this become?” A tin can robot is a perfect example. It’s creative, open-ended, and sneaks in problem-solving and engineering skills without feeling like a lesson.
This project works well for a wide age range. Younger kids will love decorating and naming their robot, while older kids can experiment with balance, joints, and movable parts. Best of all, you probably already have everything you need.
What You’ll Need
Use what you have — these are suggestions, not rules.
Robot Body
- 1 clean tin can (soup, vegetables, or coffee can)
- Optional: smaller cans for arms or legs
Arms & Legs
- Cardboard tubes (paper towel or toilet paper rolls)
- Bottle caps
- Craft sticks
- Scrap cardboard
Face & Details
- Googly eyes
- Buttons
- Nuts, bolts, or washers
- Pipe cleaners
- Pom-poms
- Aluminum foil
Adhesives & Tools
- Hot glue gun (adult supervision required)
- White school glue or tacky glue (for younger kids)
- Tape
- Scissors
- Hole punch or nail (for adult use only, if making holes)
Decorating
- Paint or markers
- Stickers
- Washi tape
Step-by-Step Directions
Step 1: Prep the Can
Make sure the tin can is clean and completely dry. If there are sharp edges, cover them with tape or a strip of cardboard.
Step 2: Decide on a Robot Design
Before gluing anything down, let kids lay out their pieces.
Where will the arms go?
Does the robot need legs or will it sit?
This planning step is simple engineering in action.
Step 3: Attach Arms
Use hot glue (or strong glue) to attach cardboard tubes, craft sticks, or pipe cleaners to the sides of the can.
Hold pieces in place until the glue sets.
Tip: Pipe cleaners are great for bendy robot arms.
Step 4: Add Legs or a Base
You can:
- Glue bottle caps to the bottom as feet
- Stack small cans for legs
- Skip legs entirely and make a tabletop robot
Encourage kids to test balance and adjust if it tips over.
Step 5: Create the Face
Glue on googly eyes, buttons, or draw a face with markers. This is usually everyone’s favorite part — robots with personality always win.
Step 6: Decorate
Paint the robot, wrap it in foil, or add stickers and tape. There’s no wrong way to decorate a robot.
Step 7: Let It Dry
Set the robot aside until all glue is fully dry before play.
Safety Notes for Parents
- Hot glue guns should be handled by adults or closely supervised older kids.
- Younger children can use school glue, but drying time will be longer.
- Always check cans for sharp edges before starting.
Why This Project Is More Than Just a Craft
This activity encourages:
- Creative problem solving
- Fine motor skills
- Early engineering concepts
- Confidence in building something from scratch
And most importantly, it reminds kids that they don’t need fancy supplies to invent something amazing.