Baby Yoda–aka, The Child–is just to darn cute, don’t you think? The kids and I have been soaking up episodes of the Mandalorian on Disney’s new streaming service, waiting to see what the tiny Yoda-like toddler will do to get, or stay out of, trouble while tagging along with a bounty hunter.
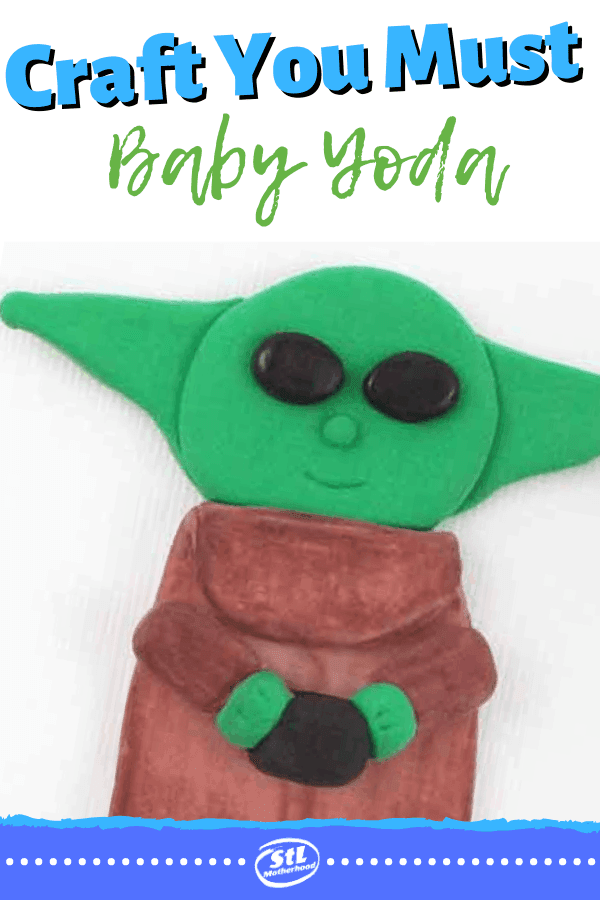
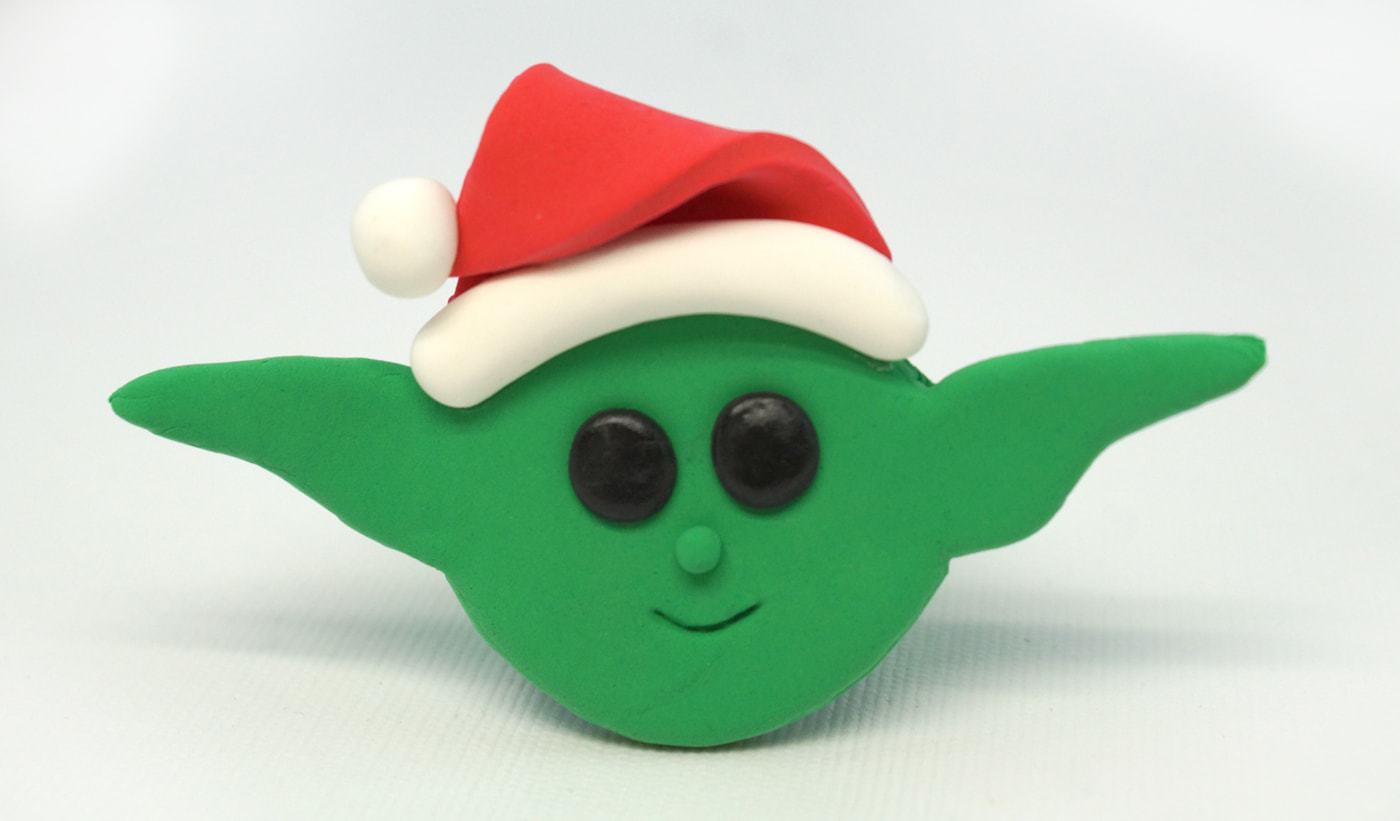
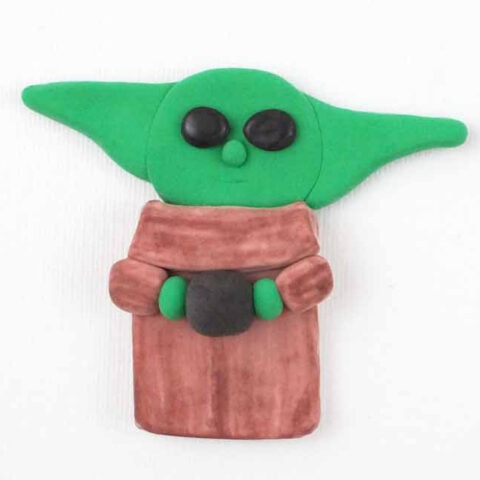
I’m not THAT great of an artist, so I was pretty happy when Mitch helped me make a TinkerCad Yoda head cookie cutter earlier this month. We made a couple awesome Baby Yoda ornaments for our Christmas tree. But now we’re taking it a step farther and making The Child’s whole figure. He’s holding a cup of soup–but now that I think about it, it would be cute to give him a gift wrapped box too! This figure is still made of Model Magic, which is a great medium for making light weight clay figures. There’s no mess, it doesn’t stick to your hands but it still sticks to itself pretty easy. We build this little guy during a snow day, so it wasn’t worth risk to drive over to the craft store for brown air dry clay. But guess what? We had plenty of white from making Santa hats! And Model Magic clay is super easy to color with markers–while wet or dry. I opted to color the clay while wet. After the clay is shaped there would be too many nooks and crannies a marker couldn’t reach. Note: if you color Model Magic while wet, the color will dry to a lighter shade. I guess the clay absorbs some of the marker? We added a magnet to the back of one Baby Yoda so he can be cute on our refrigerator. The other got a Santa Hat and joined the Christmas tree. A Baby Yoda to make into a refrigerator magnet made with Model Magic air dry clay. Model Magic sticks to itself extremely well. Use care when placing elements together, they are nearly impossible to separate. If creating this ornament with kids, let them make a practice smiley face first. Press the magnet into the backside while the clay is still wet. Glue into place after it's dry. Add a Santa Hat to make into a holiday ornament. If don't have brown Model Magic, white Model Magic can be colored with a marker. As an Amazon Associate and member of other affiliate programs, I earn from qualifying purchases.Baby Yoda in Clay


Directions for making a Flat Clay Baby Yoda Figure
Baby Yoda in Robes Clay Figure
Materials
Tools
Instructions
Notes
Recommended Products