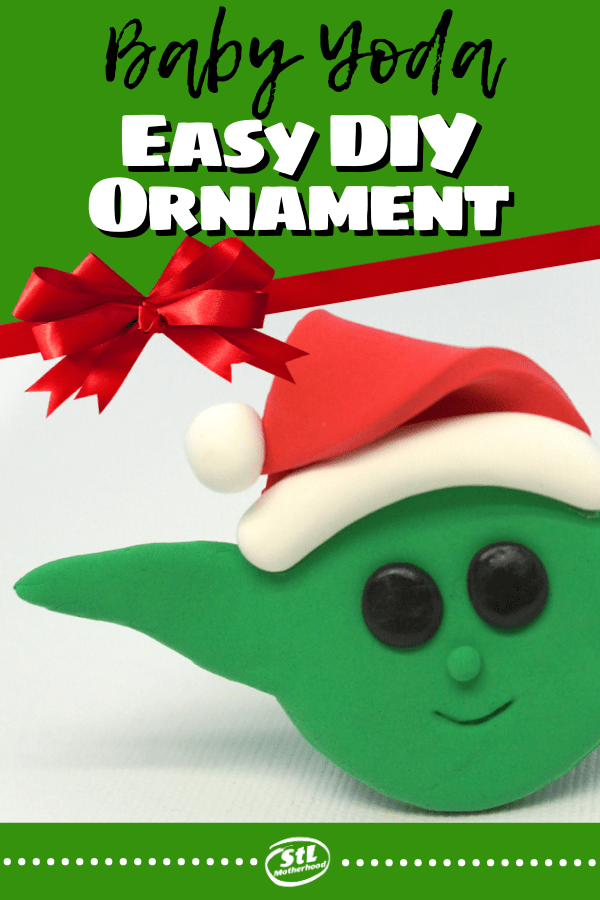
Baby Yoda is the surprise star of Disney+’s The Mandalorian, and Star Wars fan’s can’t get enough of him. I know we can’t!
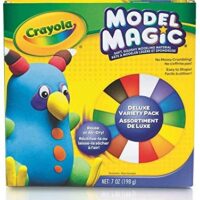
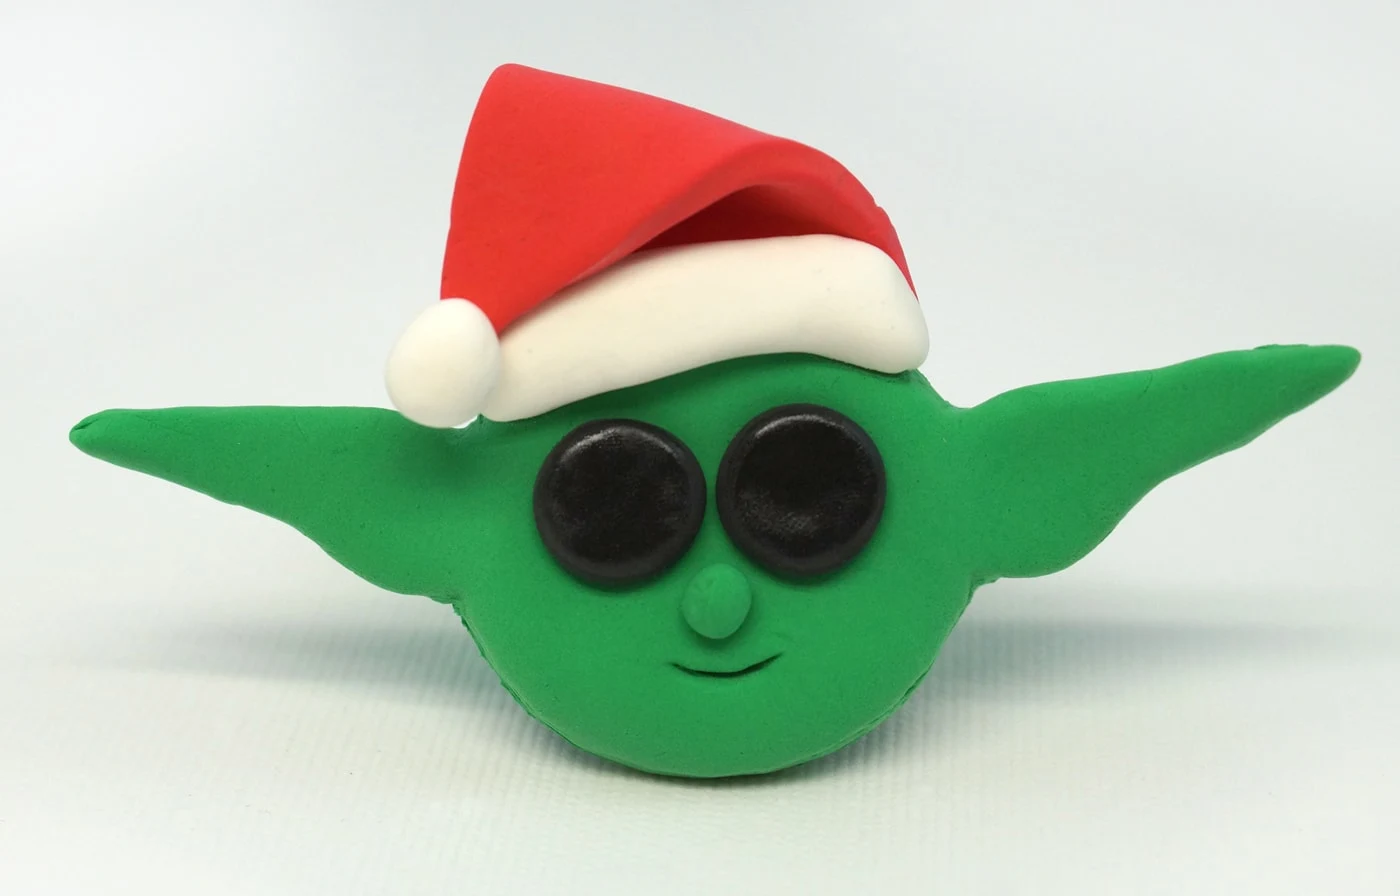
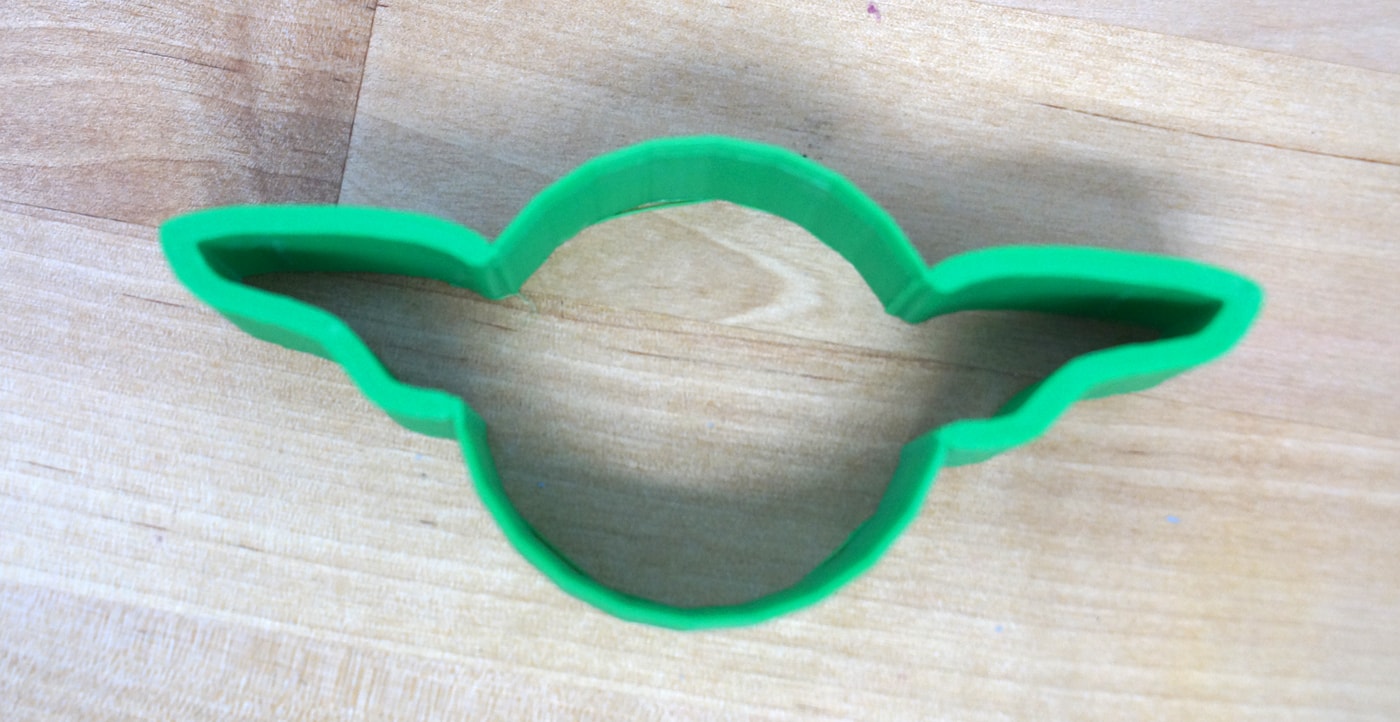
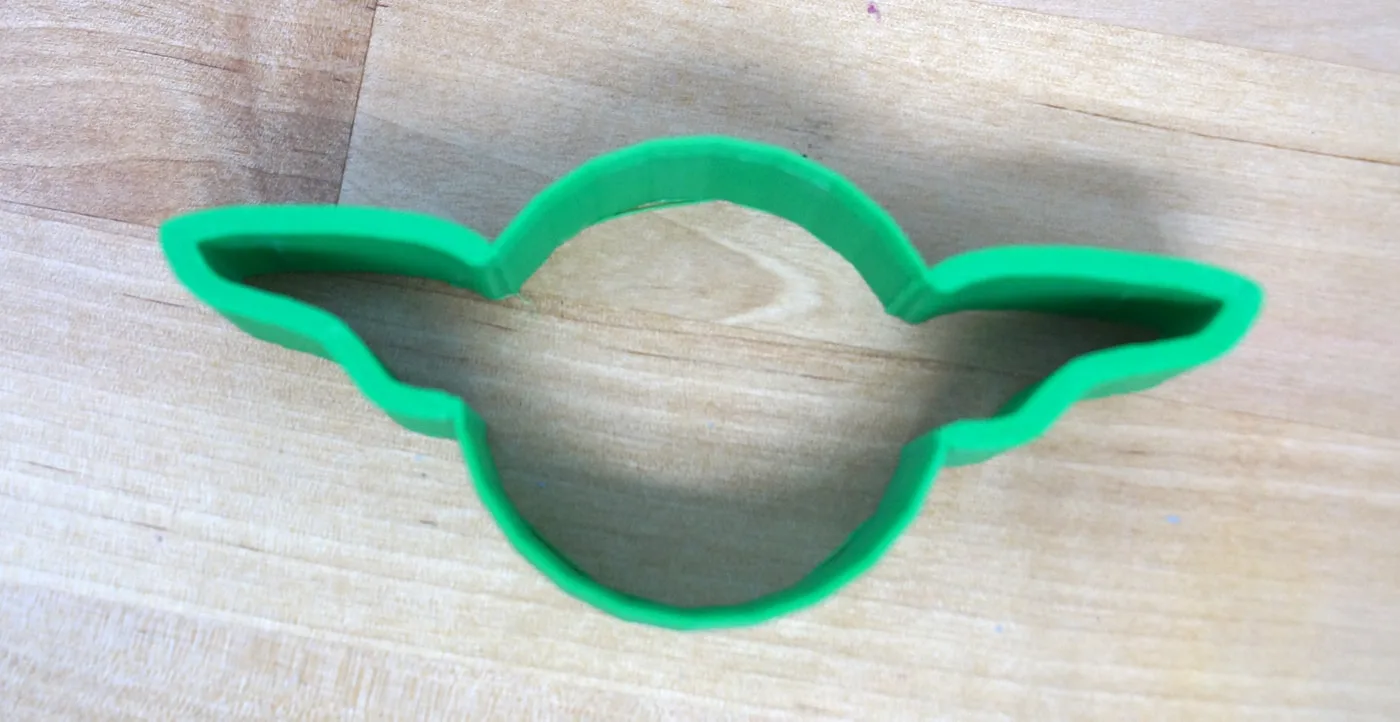
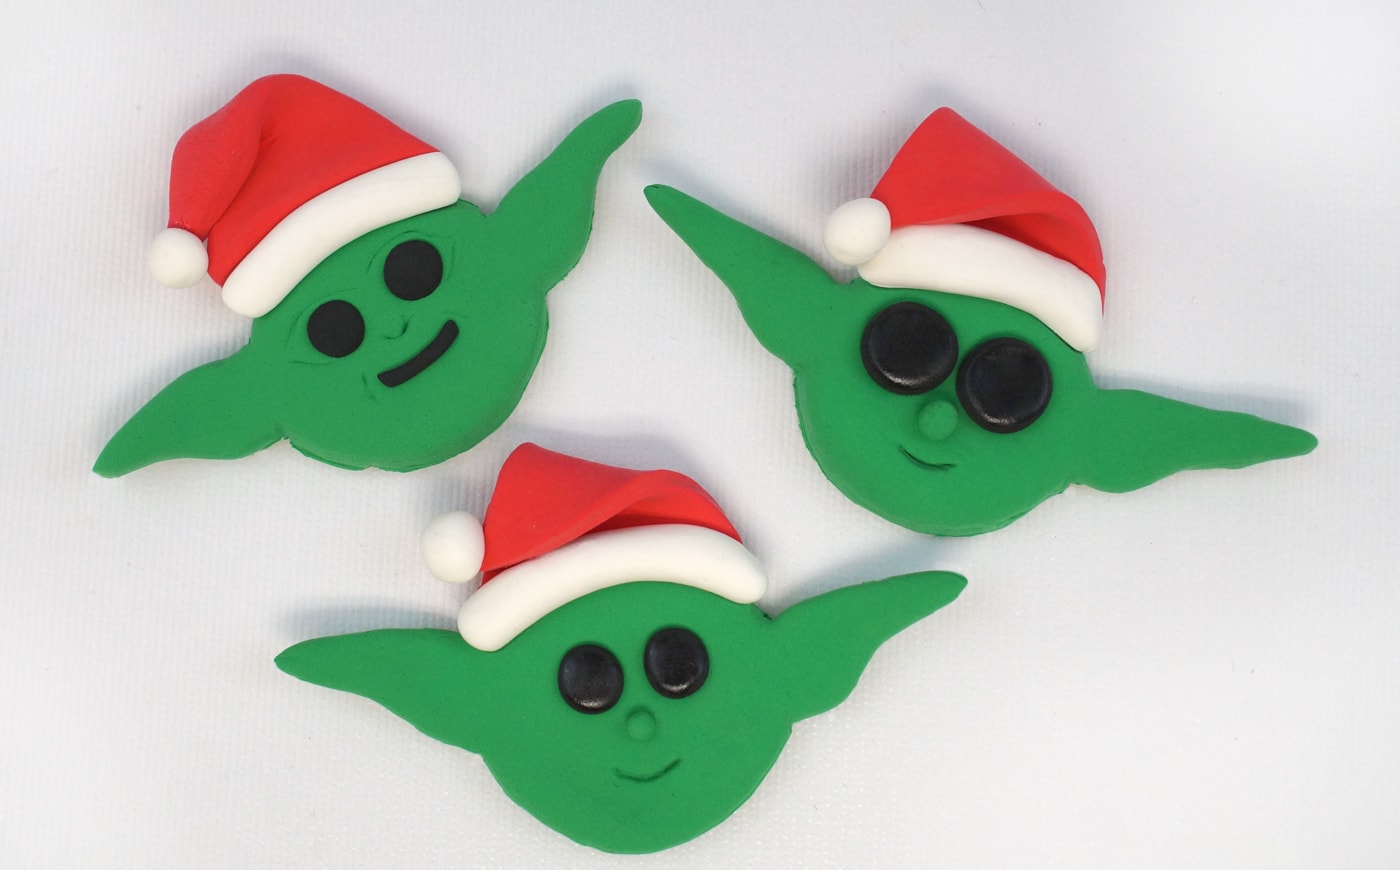
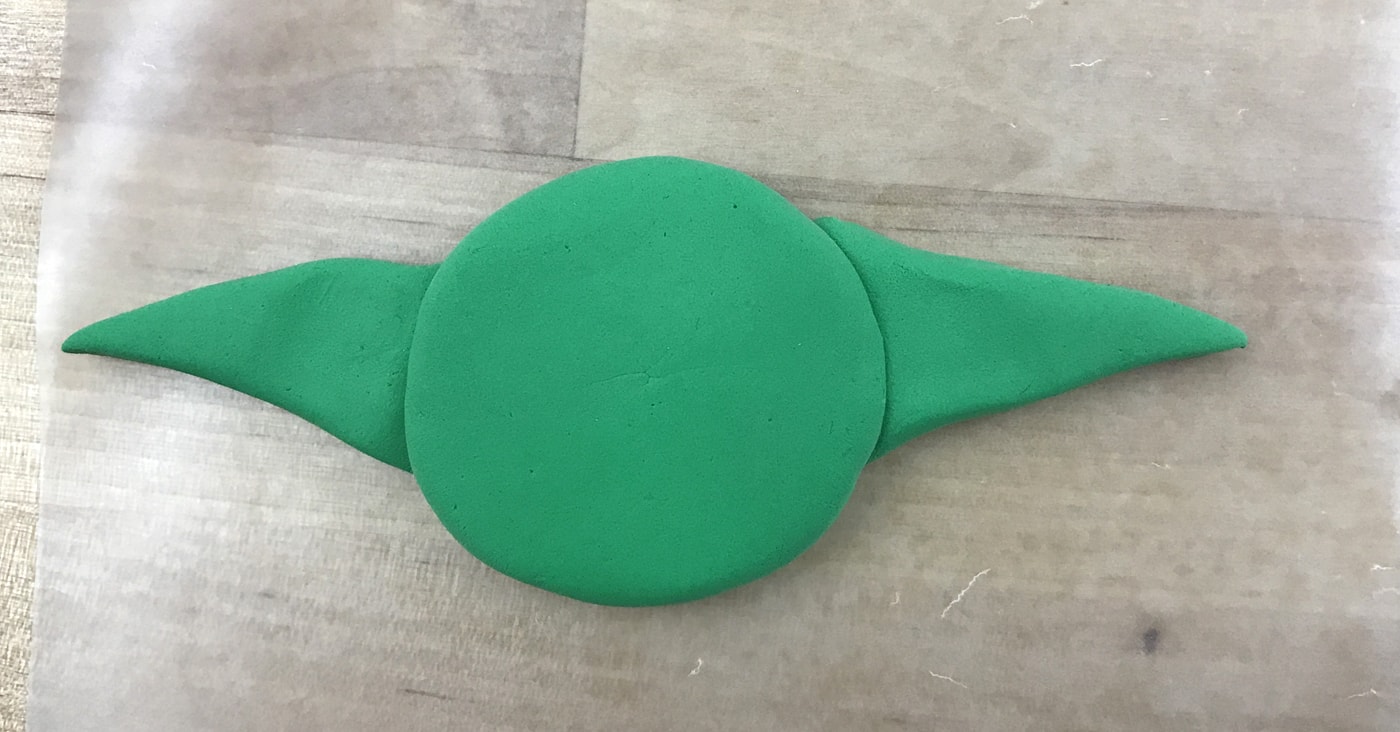
Yes, yes, the baby is not really “Baby Yoda,” but even the biggest Star Wars geek has no better name for him. See, Yoda’s race was never identified. And here we are, four episodes into the SECOND season (as of this writing) and the show has yet to give him a name. Sadly, Disney wanted to keep The Child (his only official name at this point) a secret…which means they didn’t get any merch ready in time for Christmas 2019. Now that it’s nearly Christmas 2020, we have lots of merch options. But I still like this ornament I made last year! He may not be a perfect likeness, but this version of Baby Yoda is easy enough for kids to make! The Child is the same race as Yoda, who’s been around since the 80’s. It’s not THAT hard to find a set of Star Wars cookie cutters with our favorite Jedi Master. One with a simple outline is best. What’s the difference between Yoda and the Child? Wrinkles! We decided to make our own cookie cutter with a 3D printer. Mitch learned TinkerCad at school — it’s a free program for designing 3D models. And the Magic House @MADE has 3D printers that kids can use. Mitch love’s any excuse to go to MADE to play around in their maker workshop! Psst: Keep reading, I’ll let you know how to make him WITHOUT a special cookie cutter too! If you feel like making a TinkerCad Yoda head, it’s not that hard. Mitch helped me make this by adding some squiggles to a circle. Got access to a 3D printer, like the one’s at MADE? Then feel free to grab our TinkerCad file here on Google Drive. You can use the cookie cutter to make cookies…or a long lasting Christmas ornament. We’ve done both! We’re using Crayola’s Model Magic to make our ornament. It’s easy to work with, colorful and dries overnight without needing an oven. You’ll need four colors: green, black, red and white. You’ll need to cover your work surface with a sheet of wax paper or foil. Model Magic is very soft and flexible. Avoid handling the Yoda head too much before it’s dry so you don’t warp him out of shape. Plus, the wax paper will keep him from sticking to your table. Roll out a sheet of green clay, then use the cutter to make a Yoda head. Make the eyes from small balls of black Model Magic, and the nose from a tiny ball of green. Carve a smile with a sharp tool, like a tooth pick. I used a nail file because it was handy. I made the hat from a triangle of red Model Magic with white trim. Model Magic dries to a foam like dull finish. To liven up our Baby Yoda, I brushed clear nail polish on his eyes for shine. After the ornament is dry we can add a loop of ribbon to the back. I think I’ll glue it on. Here’s a hack for making a Yoda head without a cookie cutter! Make a ball from your green clay. Flatten it by hand, then smooth it with a couple passes from your rolling pin. Make a sheet of green with the rolling pin, and cut out two triangles about the same size. Place the triangle ears behind the head and gently press into shape. Now shape the ears by hand to complete the look. Tada! A Baby Yoda for your Christmas Tree made with Model Magic air dry clay and a cookie cutter. Model Magic sticks to itself extremely well. Use care when placing elements together, they are nearly impossible to separate. If creating this ornament with kids, let them make a practice smiley face first. (I made FOUR Yoda's for this tutorial!) As an Amazon Associate and member of other affiliate programs, I earn from qualifying purchases. 

Start with a Yoda Cookie Cutter

Now Grab Some Model Magic
Wax Paper is a Must

No Cookie Cutters? No Problem!

Watch the Video for Detailed Instructions

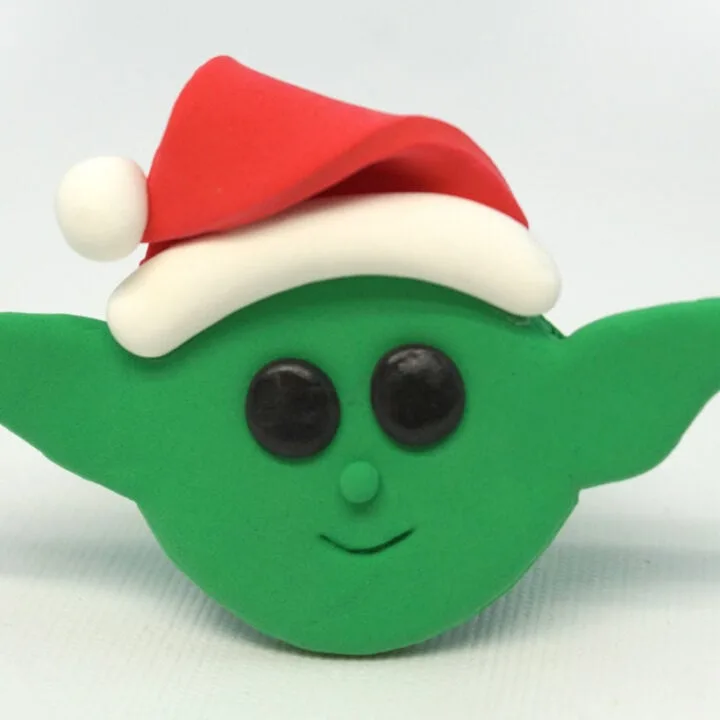
Baby Yoda Christmas Ornament
Materials
Tools
Instructions
Notes
Recommended Products