
Turn camping into a science adventure! Learn how to build a simple weather station with your kids using basic supplies for hands-on outdoor learning.
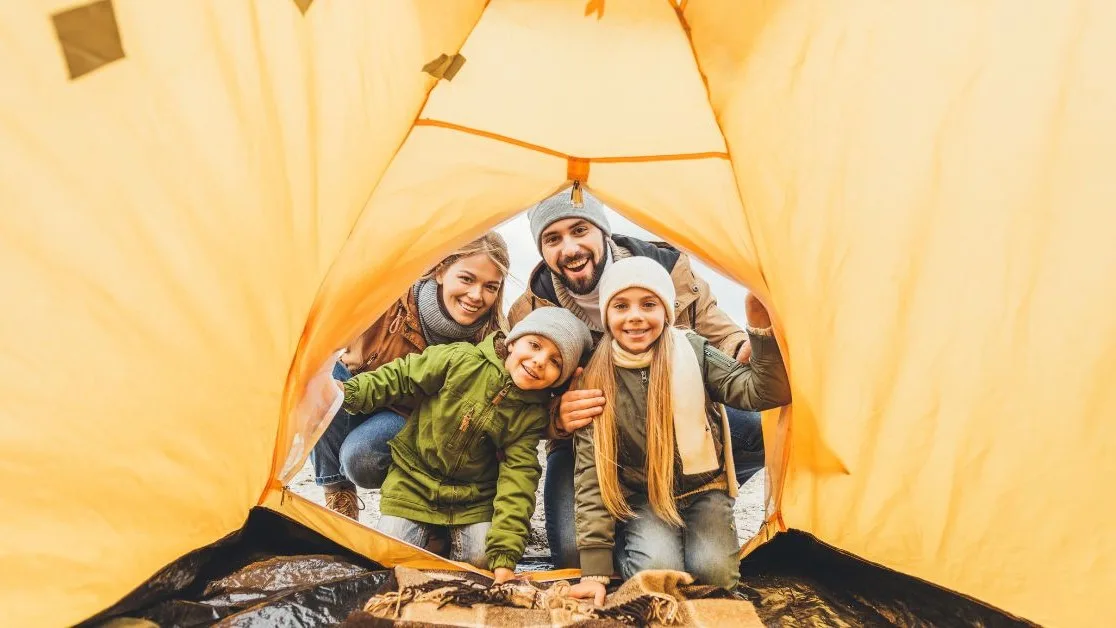
Is there anything worse than bored kids on a camping trip? You planned this amazing outdoor adventure, but they’re already asking for their screens just a few hours after arrival. Finding activities that are fun and educational can feel like a real challenge. That’s why we love the idea of helping your kids build a mini weather station while camping. It’s a creative way to blend science, crafts, and nature all in one project.
Items You’ll Need
- Empty plastic bottles (2-3 different sizes)
- Small rocks or pebbles
- String or yarn
- Clear plastic cups
- Permanent markers
- Ruler or measuring tape
- Small notebook and pencils
- Compass (or smartphone compass app)
Don’t worry if you forget something; part of the fun is improvising with what you have on hand!
Step 1: Create Your Wind Direction Indicator
Start with the easiest instrument. Take an empty plastic bottle and remove the cap. Help your child poke small holes around the top rim, then thread colorful strips of fabric or plastic through each hole.
Mount this on a stick or hang it from a tree branch. When the wind blows, these streamers will point in the direction it’s going. Your kids can use their compass to record which direction the wind comes from each day.
Step 2: Build a Simple Rain Gauge
Grab a clear plastic cup and use your permanent marker to create measurement lines every quarter inch up the side. Place this cup in an open area away from trees or your tent.
After each rainfall, your kids can check how much water has collected. They’ll love comparing daily totals and predicting which days might bring more rain based on cloud patterns.
Step 3: Construct a Basic Barometer
This one’s a bit trickier but super rewarding. Fill a clear plastic bottle about one-third with water, then carefully invert another bottle and insert its neck into the first bottle’s opening. The water level in the inverted bottle will rise and fall with air pressure changes.
Mark the initial water level and have your kids check it twice daily. Rising water often means storm systems are approaching, while falling levels suggest clearer weather ahead.
Expand the Project
Once your basic weather station is running, challenge your kids to add more instruments. Small pinwheels can show wind speed variations, while older kids can graph their data and compare it with official forecasts. To make your project feel even more official, set up a dedicated monitoring hub.
Using durable camping and outdoor supplies like a tarp or small tent can create a sheltered base for your weather station, allowing you to check on your instruments and record data no matter the conditions.
Building a mini weather station with kids while camping doesn’t end when you pack up. Your children can recreate their station at home, comparing backyard weather patterns with what they observed at the campsite. Next time storm clouds gather, they’ll be the first ones excitedly checking their instruments!
Keep the Curiosity Going
Your weather station doesn’t have to end when the camping trip does! Recreate it at home to compare backyard weather patterns with what you saw at the campsite. Next time storm clouds gather, your kids will be the first ones excitedly checking their instruments — and maybe even predicting the forecast.