Do your kids get flustered making paper hearts and they turn out … lumpy? Lopsided? Squashy? Yeah…that can happen when you don’t use this simple hack for cutting out PERFECT paper hearts!
Lemme tell you a secret! My mom is a retired 4th grade teacher. We are talking LITERALLY old school. She started teaching in the 70’s when the only way to jazz up your classroom was to break out the scissors and giant sheets of bulletin paper.
I remember helping her set up her room every summer and she had some of the BEST decorated classrooms around. Not a thing was store bought, everything was sketched out with a pencil and cut by hand.
One of the many crafty things I learned from Mom was how to handle some scissors.
Mom Rule #1: Always carry scissors by the blade, point down. That way when you trip and fall, you stab your leg and not your eyeball. That’s some genuine 1970’s parenting right there.
Mom Rule #2: Always fold your paper in half when cutting out hearts!
How to Cut out a Paper Heart like a Pro
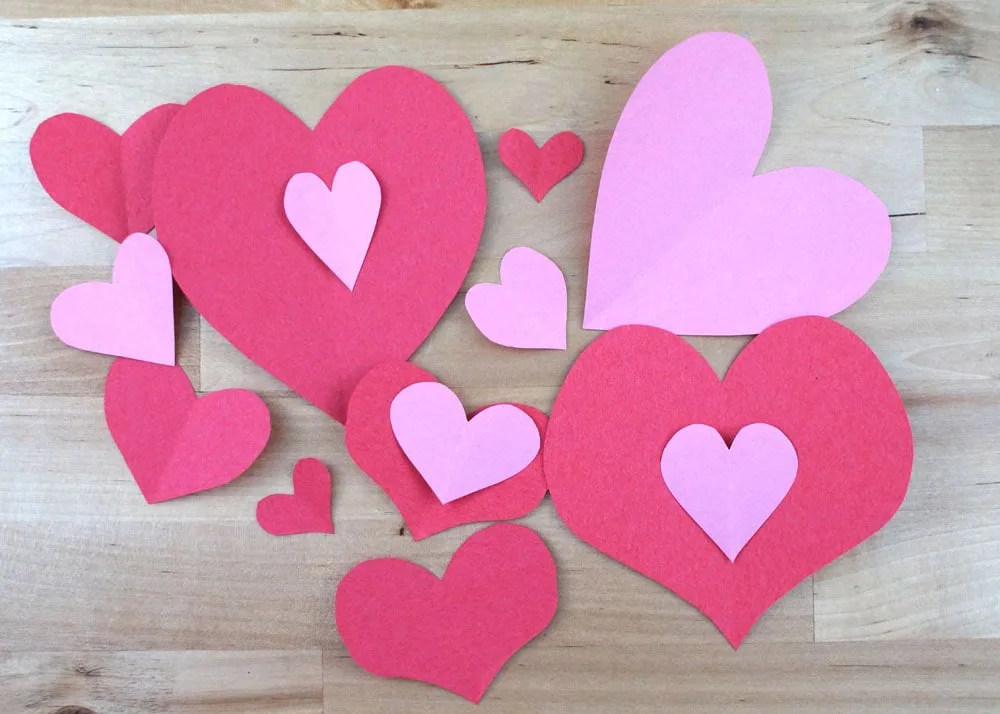
Here's a simple hack to making PERFECT paper hearts.
Materials
- Paper
Tools
- Scissors
- Pencil
Instructions
- Fold a sheet of paper in half.
- Lightly pencil half a heart, with the fold in the center.
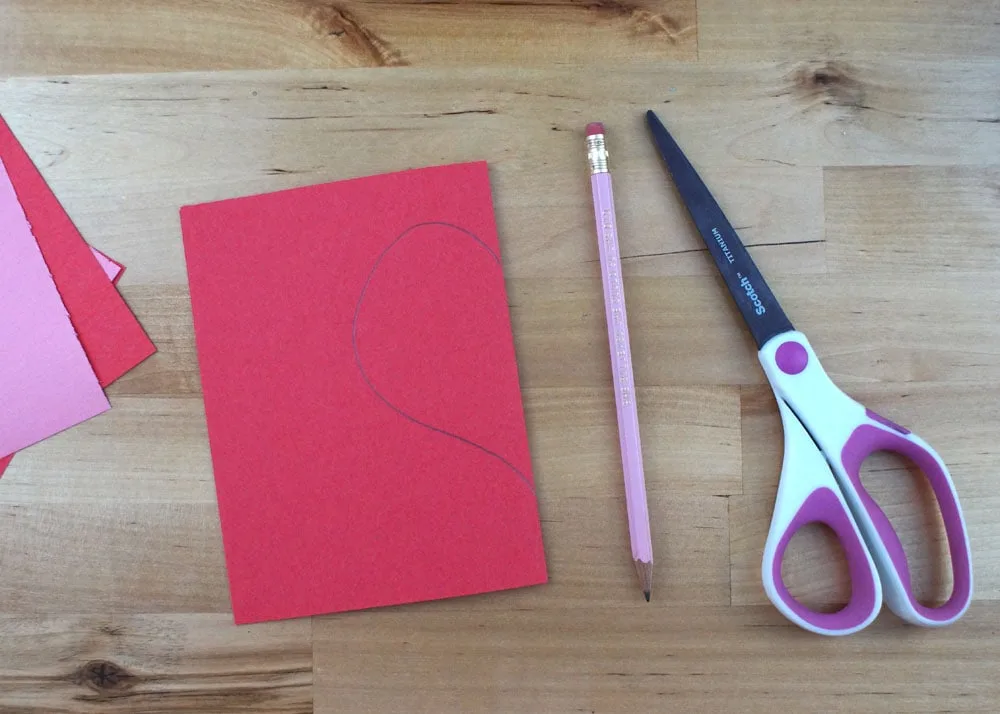
- Cut on the line.
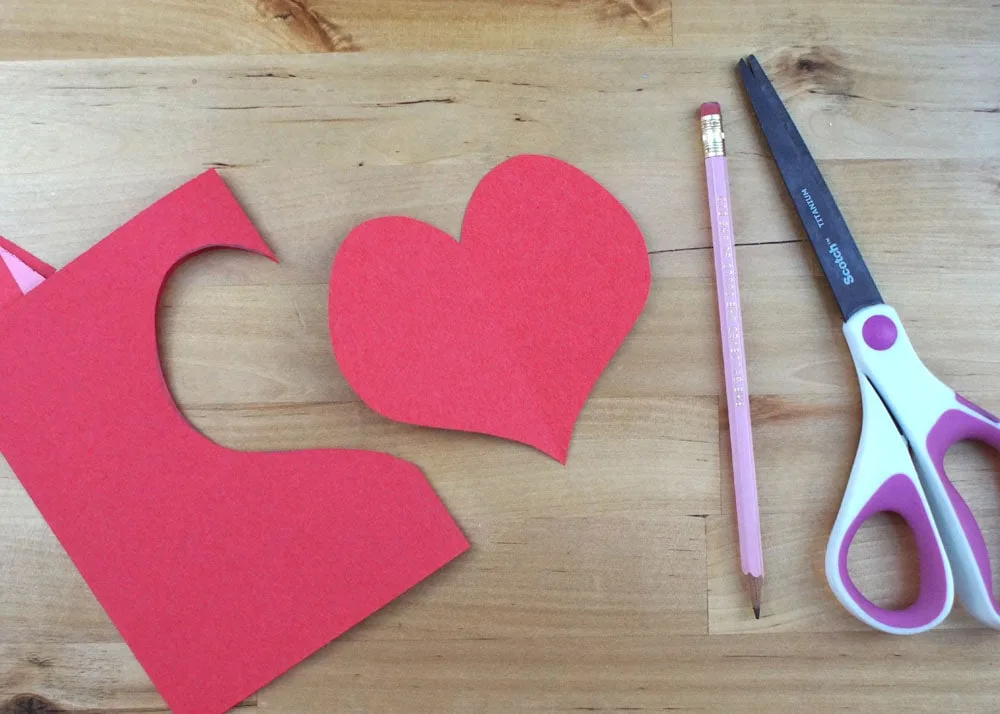
- Erase any part of the line that's still on your paper.
Notes
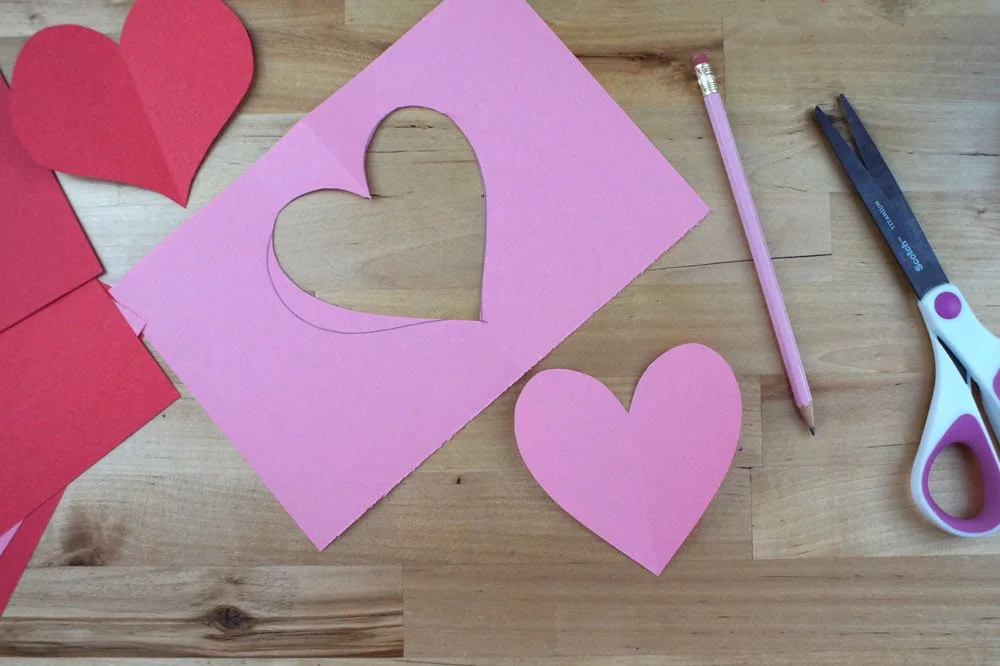 Little kids might want to draw a WHOLE heart, then fold the paper in half down the center. Chose the best looking side, and cut that part out.
Now that you know how to cut out perfect paper hearts you can use your skills to make AWESOME Valentine’s Day cards and more!
