Do you want to create an heirloom that’ll be in your family for generations? Consider making a family quilt patched together by blissful memories and love.

How special would it be to have a keepsake filled with your family’s love and memories to pass down to your kids? A family quilt is, as the name suggests, a quilt that represents your family’s heritage and history. It often contains different fabrics and patterns that represent each family member; for example, dad’s old work shirt, mom’s wedding dress, or baby’s blanket.
Making a family quilt is a fun activity the whole family can work on, and once completed, it becomes an heirloom you can pass down for generations. If this is a project that interests you, here are some tips to help you get started.
Step 1: Learn To Sew
If sewing is new to you, we know this first step might feel a bit intimidating! But don’t worry—you don’t need to be an expert. With just some basic sewing skills, you’ll be ready to start your quilt. Consider joining an in-person or online sewing class to learn the fundamentals, or even just watching some tutorial videos on YouTube. Once you have a basic understanding of sewing techniques, you’ll be ready to move on to step two.
Step 2: Gather Materials
After mastering the basics of sewing, the next step is to collect all the materials required to make your family quilt. This includes a sewing machine or needle and thread, fabric for the quilt top, batting or filling material, backing fabric, scissors, pins, and a ruler. You can purchase all these items from a local craft store or online.
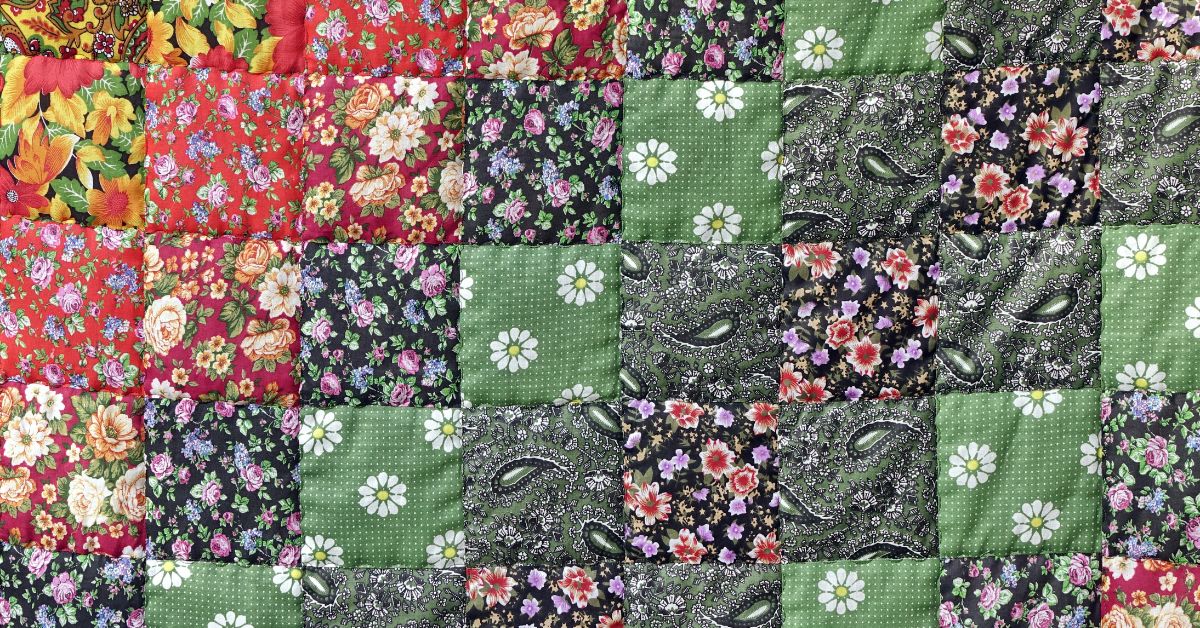
However, we recommend sourcing the fabric from your own home if possible! Pull out some old clothes or linens that have sentimental value to your family, such as your child’s favorite T-shirt or a tablecloth from your grandparents, and cut them into squares or rectangles to use as quilt pieces.
Of course, we completely understand if cutting up sentimental items doesn’t feel right for you. Instead, you could purchase new material and make it a fun family activity! Bring everyone along to pick out fabric that represents them or holds a special memory.
Step 3: Sewing Your Quilt
Sewing your quilt is where the real magic happens. You get to take all of those individual pieces and transform them into a cohesive, beautiful quilt! Here are some simplified steps to follow when sewing your quilt.
- Arrange your pieces in the desired pattern.
- Sew pieces into rows, then join rows to form the quilt top.
- Cut batting and backing fabric slightly larger than the quilt top.
- Layer batting between the quilt top and backing, keeping them flat.
- Pin or baste layers together, then stitch along each row to secure.
- Trim excess batting and backing fabric.
- Create binding by sewing fabric strips together, folding lengthwise, and pressing.
- Attach binding to the quilt edges, mitering corners as you sew.
- Fold binding to the back and hand-stitch to finish.
Keep in mind, there’s no rush to finish your quilt. Family quilts are often a work in progress, growing over the years as new memories are created and new family members, like in-laws, children, or even grandchildren, join in. What you want to focus on is building a strong foundation that you, your kids, their kids, and so on can build upon in a never-ending legacy of love.