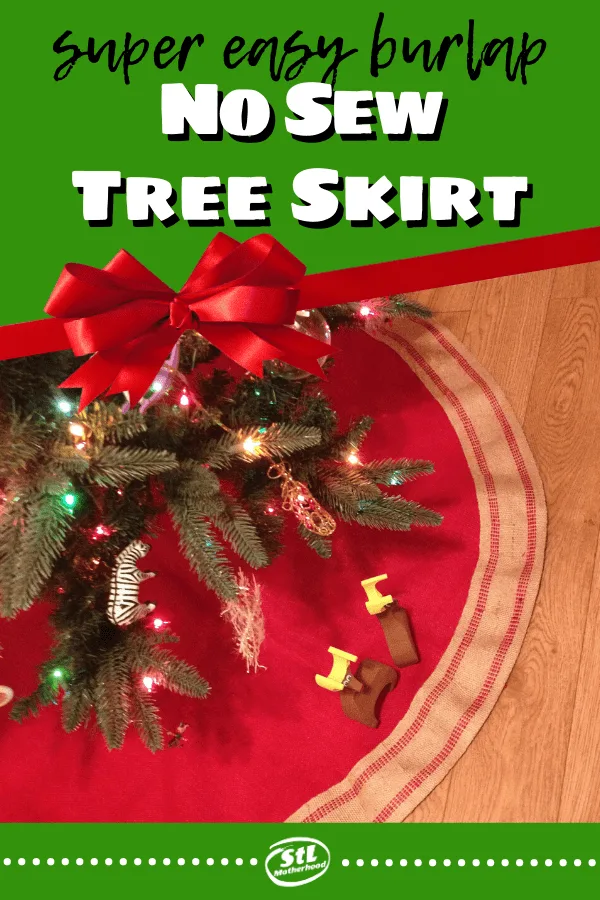
When it’s time to decorate for Christmas, I love projects that are super easy but look way fabulous! This year I tossed my old fluffy “blanket of snow” Christmas tree skirt and whipped up a new one out of red burlap. I didn’t even break out the sewing machine!
All you need is a hunk of burlap, scissors and hot glue.

You can grab burlap at your local fabric store, but mine came from BurlapFabric.com, a shop in Chicago. They have tons of burlap fabric (naturally!) and rustic ribbons of all sorts.
It’s a great place to shop for country craft material! I used red burlap fabric and a striped jute webbing. Apparently the webbing is more sturdy than ribbon, which I found out after trying to get it to curve around a circle. (More on that bit later.)
3 Ways to Make a No Sew Burlap Tree Skirt

Tuck and Run
The first, and easiest way to dress up your Christmas tree is to just wrap the base with the fabric and tuck all the raw ends underneath. It takes about a minute and your tree looks ready for a country Christmas photo. It’s big and puffy and totally hides all the wires and the tree stand.
You can even slap this under the tree as a temporary measure if you plan on making a “proper” tree skirt later…you know, after the Christmas cards are done and the kids are in bed. However, it might be hard to use on a live tree that you need to water…so let’s move on to something more structured.
The Big Burlap Circle Skirt
The second way to make a no sew tree skirt is cut a nice big circle from your fabric, add a hole in the middle for the trunk and a slit up the side so you can slide it on the tree. I actually made one years ago that lacked the slit up the side–I thought I could add the skirt while we were assembling our artificial tree.
The next Christmas, I forgot where I packed the skirt and by the time I found it, my hubs had the tree put together. Thankfully it was made of felt and I was able to add the much needed slit.
Making a near perfect circle from 10 feet of burlap is just like making a paper snow flake, but on a larger scale.
Spread out the fabric on your floor and grab one corner. Fold it over like the photo below and cut.
You should now have a fairly perfect SQUARE.
Fold the square into a right triangle, then fold it again so it’s a narrow triangle with 8 layers, or 45 degrees. You know what I mean because you’re looking at my photo collage below, right? It’s been a long time since geometry…

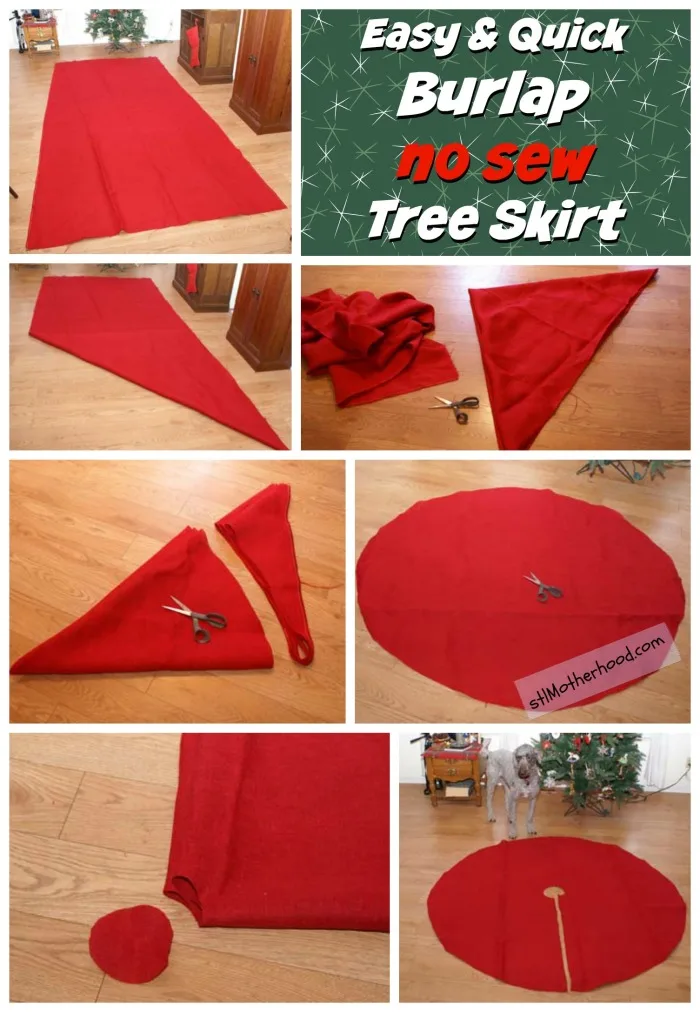
Anyway, cut a curve into the triangle’s square end and when you unfold you’ll have a nice circle! My scissors were not sharp enough to go through 8 layers of fabric, so I cut a couple layers at a time.
Next cut a small circle into the tip while it’s still folded. You just need a tiny circle–it only needs to be big enough to fit around the trunk of your tree. Remember, you can make a hole bigger, but not smaller!
Add a slit from the center hole to the outside edge so you can slip it onto the tree.

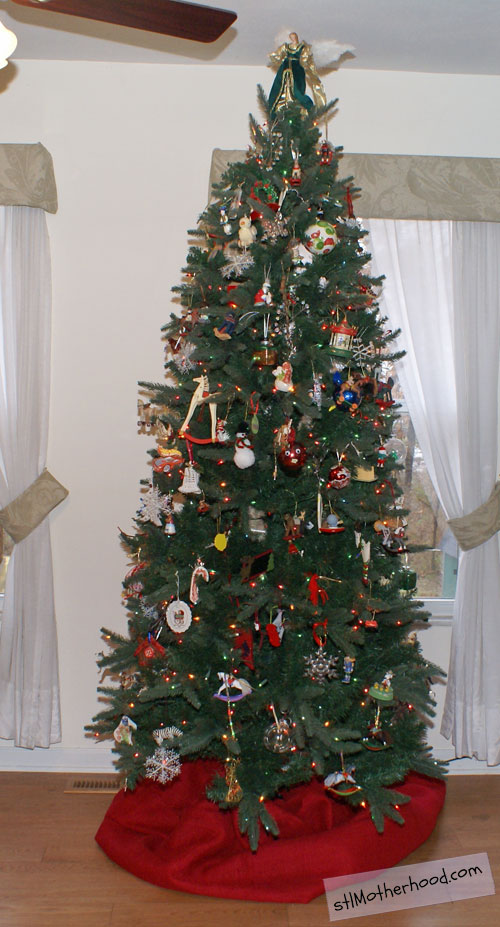
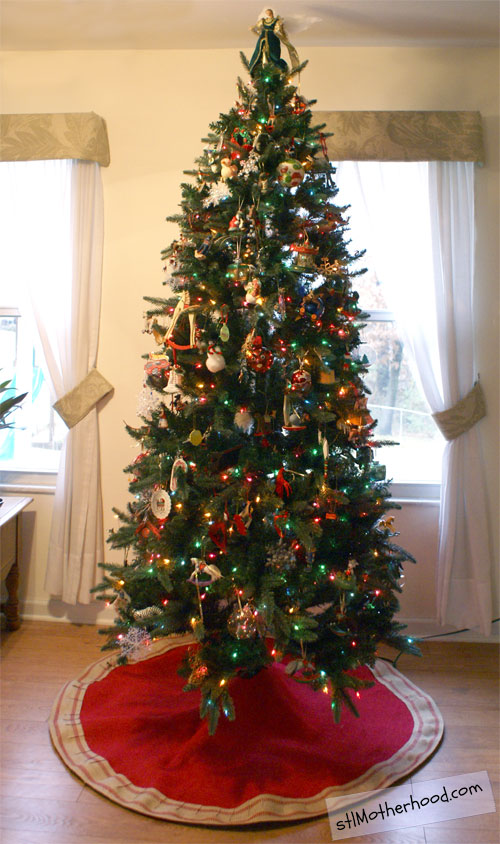
You can slide this simple tree skirt right under the tree and call it done! Doesn’t look too bad, does it? But just a little embellishment and it will look grand! I hot glued almost 10 feet of jute ribbon around the edge of my tree skirt for a finishing touch.
No Sew Circle and Burlap Trim Tree Skirt
To figure out how much ribbon you’ll need, you’ll need to break out some basic geometry or grab a middle schooler who’s a decent math student.
Basically, you need to find the circumference of the tree skirt, and measuring a circle is no fun. Just measure the diameter (that’s the distance across the middle) and multiply by 3.14 (pi).
My skirt was a bit to large, so I hacked it down to three feet wide. 3 x 3.14 is 9.42, so my 10 feet of ribbon will do the job!

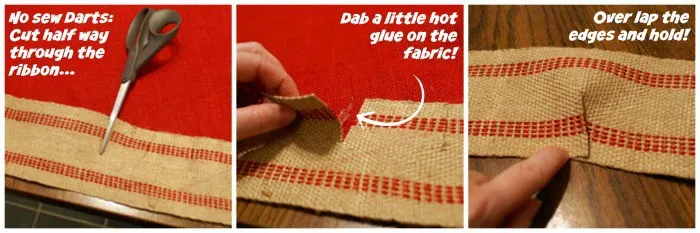
The next problem was that jute is very, very stiff and won’t bend into a circle. So I added darts! (Sorry the last photo doesn’t match…it’s hard to work with a camera AND a glue gun.)

You’ll need to space the darts about 2 to 3 inches apart. I cut three darts at a time, glued them down, then flipped over the skirt to make sure I was staying on track.
Space the darts wider to have less of a curver and closer together if you need to curve more. By doing just a few darts at time you can keep your ribbon following the edge. And remember, this is a rustic craft, NO ONE WILL NOTICE if it’s not a perfect circle.
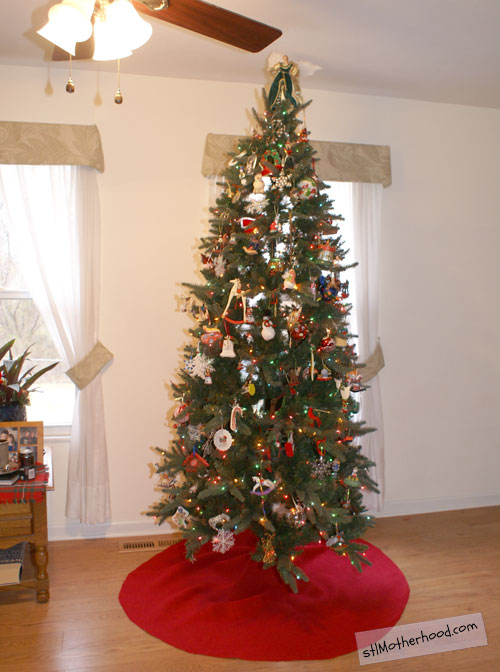
Ta da! Now your tree is ready for Christmas!
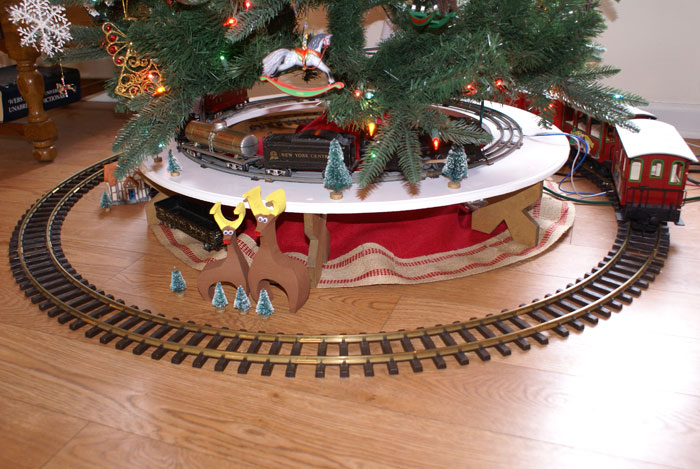

Another nice thing about this tree skirt is how adjustable it is! My hubs got out our train set after I made this skirt and I realized it was too big–we like the tracks to sit right on the floor.
I was able to make some quick adjustments: I overlapped the edges of the circle more and rolled under the extra fabric. Soon I had the skirt at half the size and it fit snuggling inside the track.
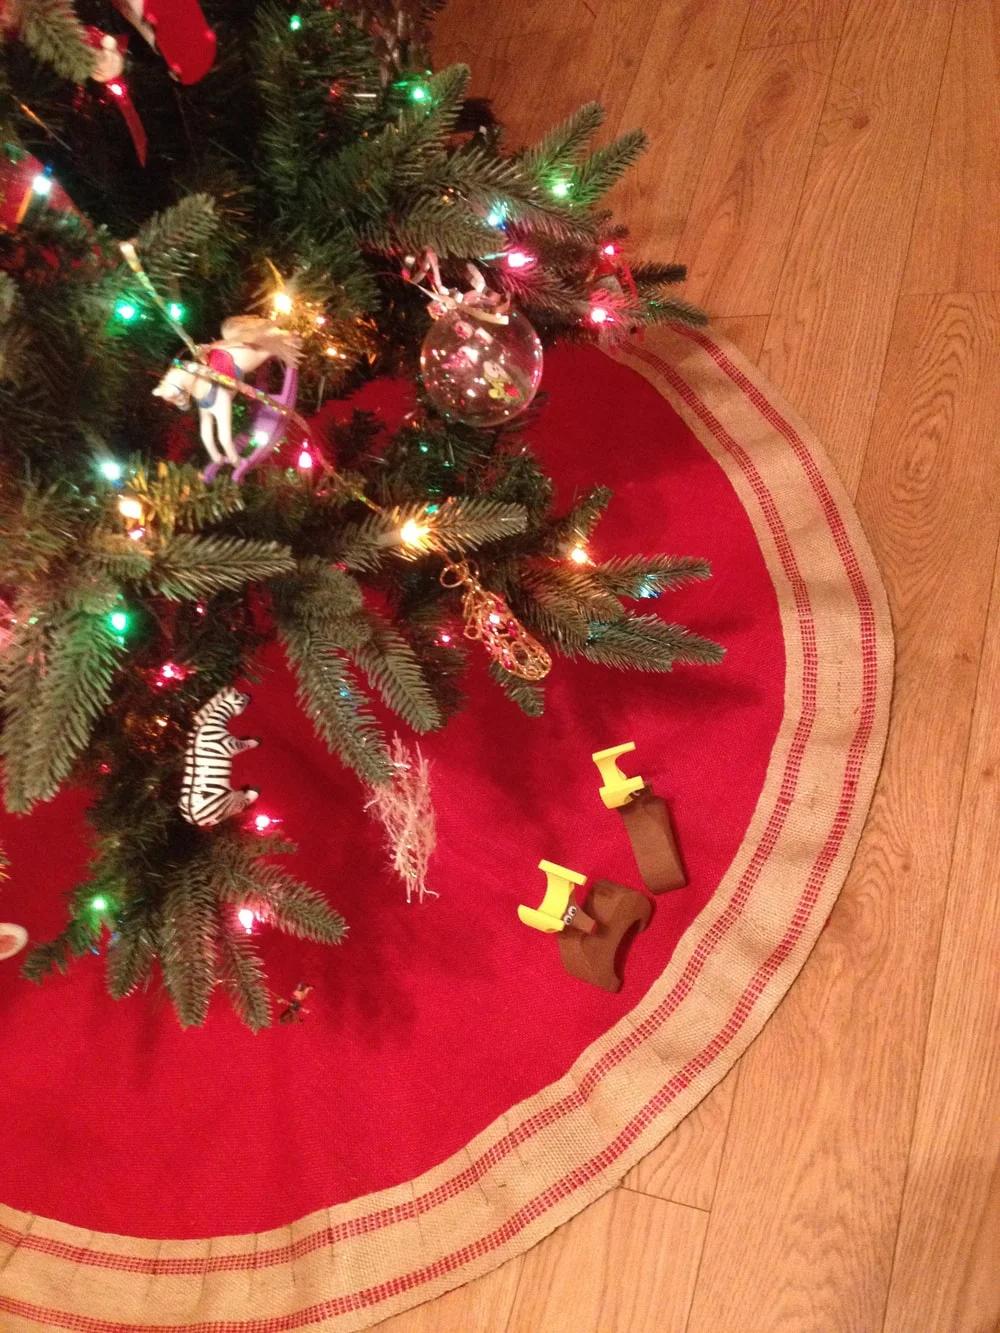
The extra fabric is hidden on the wall side of the tree, so you don’t even notice. Ok…it’s not perfect, but YOU try to smooth out a tree skirt underneath a fully decorated tree and a 75 year old train on a plywood trestle. Personally, I think it looks charming next to Mitch’s googly eye reindeer.

If you’re looking for more ideas on how to use burlap for Christmas decorating, then follow BurlapFabric.com’s Burlap Christmas on Pinterest.