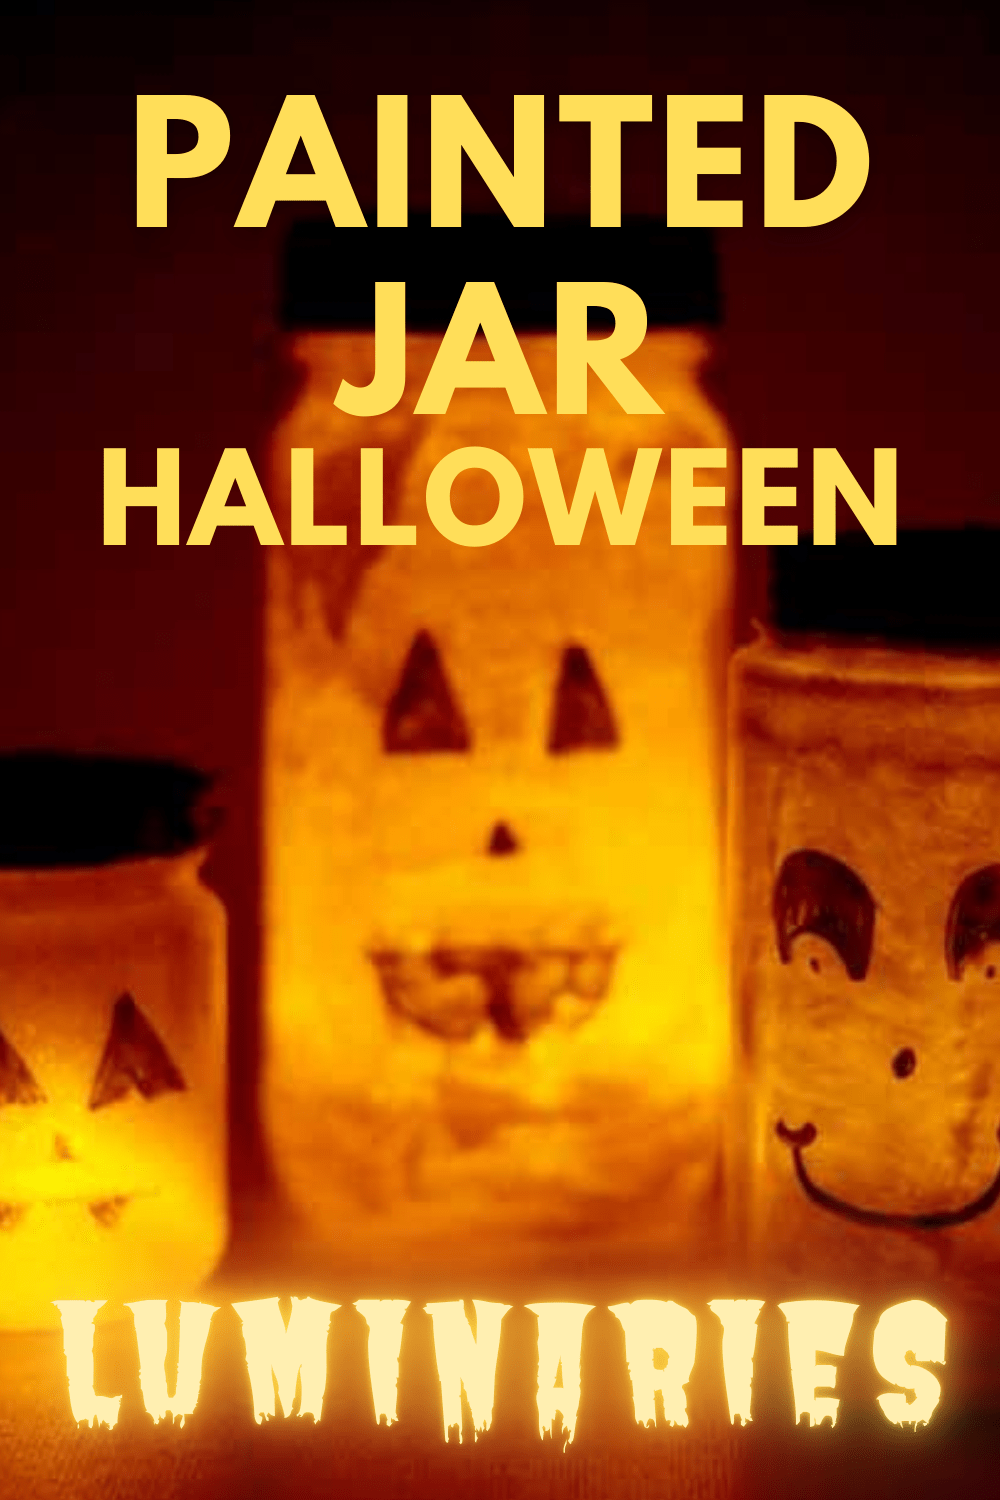
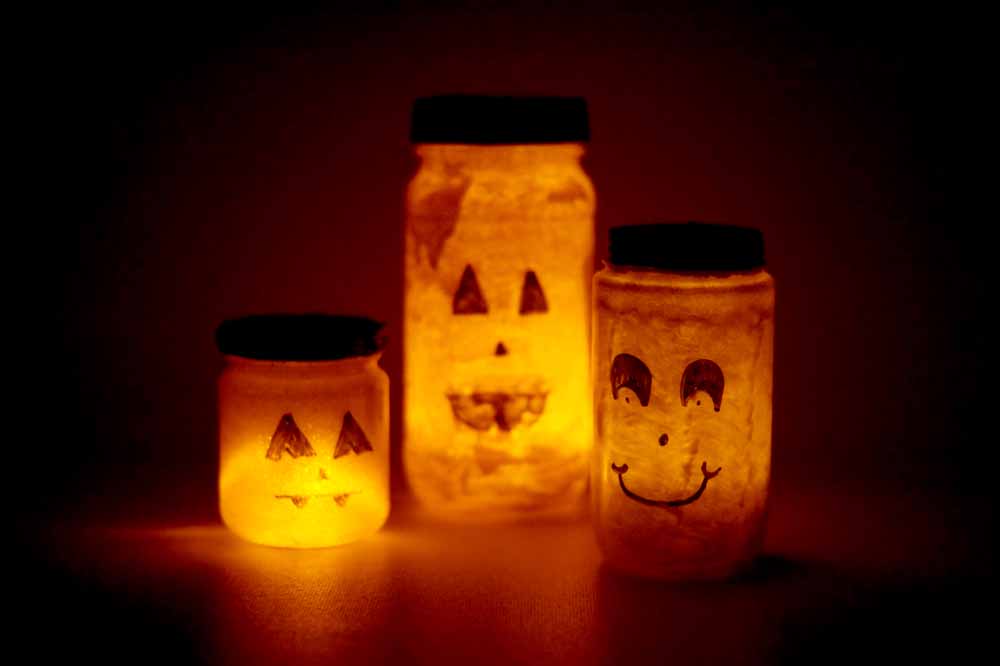
Recycle those old jars into cool, kid safe, LED powered painted luminaries!
We used recycled jars from the kitchen, acrylic craft paint, old brushes and LED tea light candles to make these awesome little pumpkin lights.

What kind of Jar make good Luminaries?
Any kind that’s big enough to hold a candle! I’ve collected quite a few jars, from small garlic jars to family sized pasta sauce jars. They all make great candle holders.
The smaller ones are perfect for indoor displays or setting on your window sill. Bigger mason jars are great for lining your sidewalk and lighting up your porch.

Prep your Recycled Jar for great results
You’ll definitely want to give your recycled jar a good scrubbing before turning it into a candle holder! Though I admit, I never did get the garlic smell out of one of my jars…
First rinse out the jar, then soak it in warm soapy water. If you have a giant sink like I do, feel free to soak your jar inside a clean pot or mixing bowl. Let it soak for 20 minutes…or if you’re distracted like me, overnight.
Most of the time the label will slide right off after a good soak.
But if the label left a nasty sticky residue you’ll need to get more intense. I love to use Goo Gone to remove the sticky ick quickly, but there’s a DIY recipe that works too: baking soda and cooking oil!
How to Paint your Recycled Jar
I really wanted to paint the INSIDE of my jars, leaving the outside nice and shiny. Turns out that’s tougher than I expected! I’ve seen people on Youtube who claim they can pour in paint and swirl it around, but that seems to use a whole heck of a lot of paint and more patience than my kiddo has got.
Watering down the paint doesn’t really work, because it doesn’t really stick to the glass. Don’t ask me how I know this.
So we broke out the brushes and painted the inside the old fashioned way.
Use a long handled paint brush–preferably one you don’t mind if the bristles get messed up.
I do NOT recommend cheap plastic bristle brushes, even for kids, but they do make inexpensive brush sets for kids like this great collection. The set is under ten bucks, but has 25 brushes to fit any painting need!
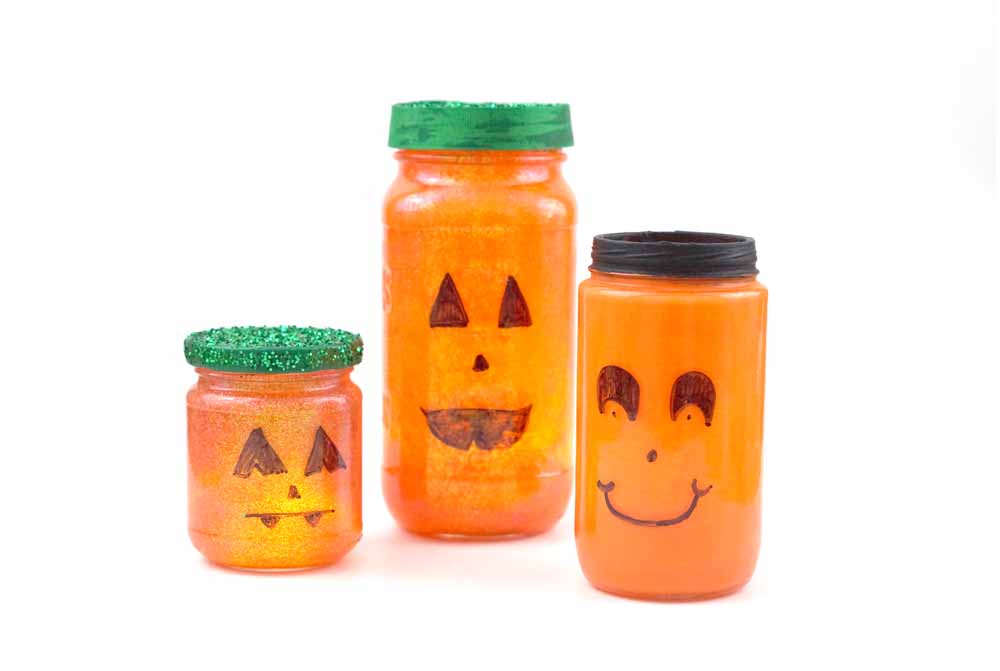
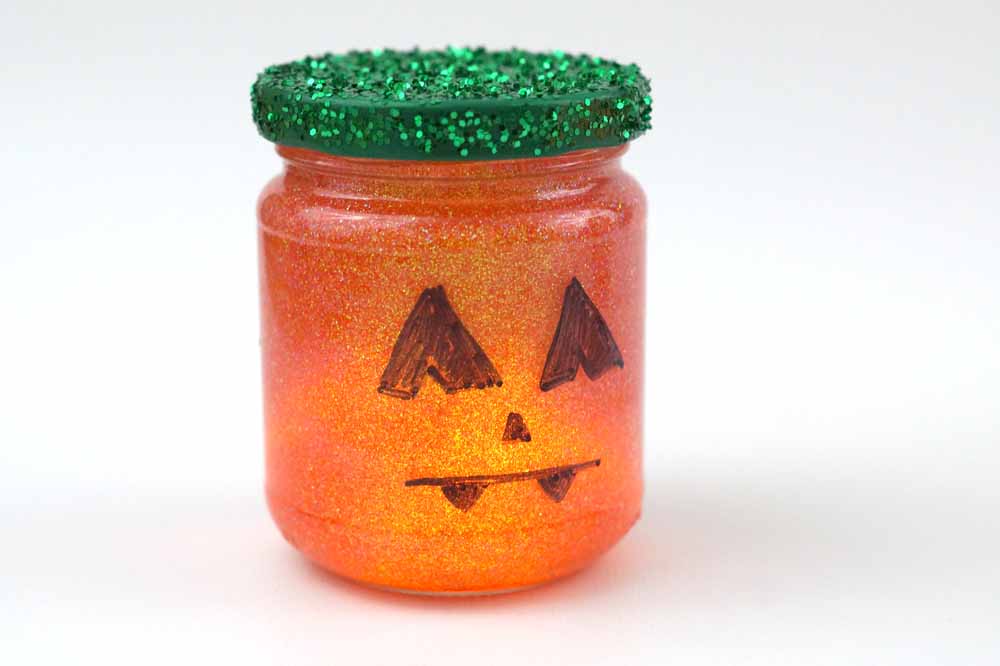
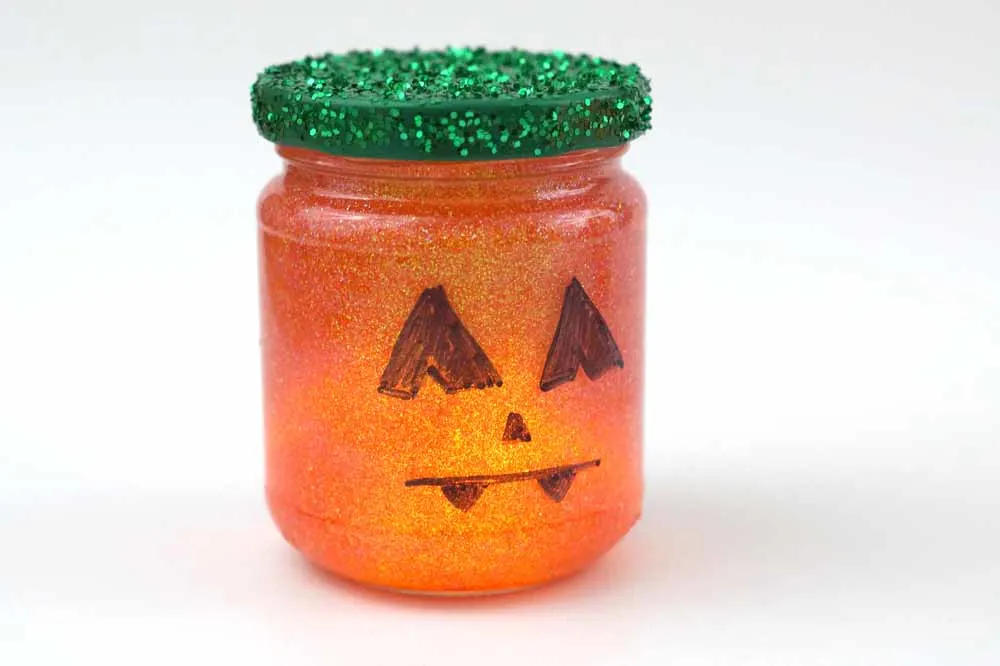
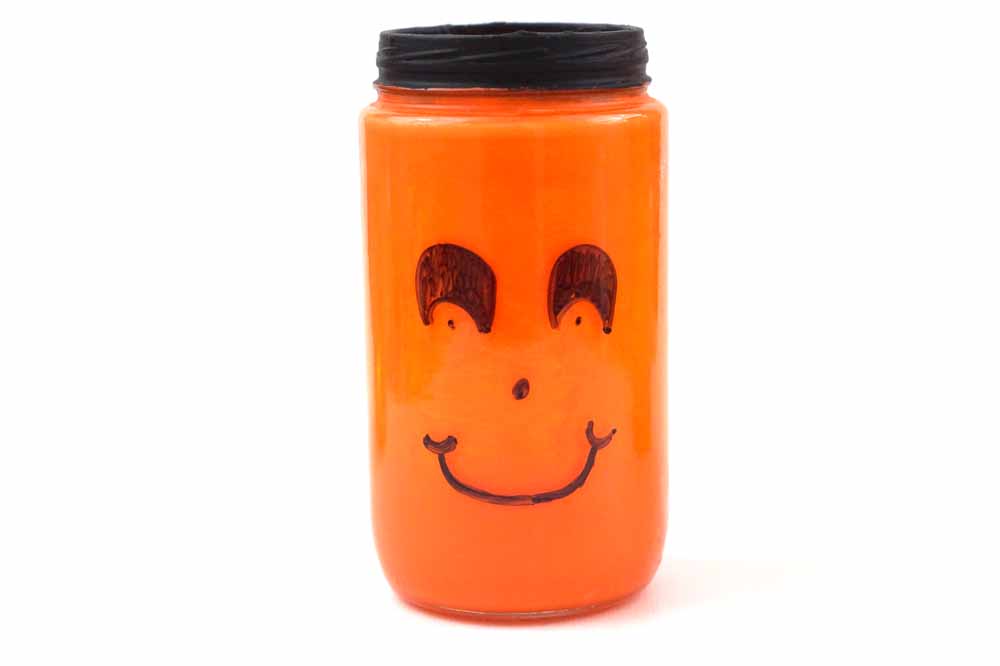
Next grab your paint: ordinary cheapo craft acrylic in a nice pumpkin orange is what we used.
Pour a dollop of paint into the bottom of the jar, then tilt the jar as you swab the brush around. Feel free to add more paint if you need it. Remember to paint all the way up to the top of the jar!
Once you have full coverage, place the jar upside down on a paper plate so the extra paint can run out. I made a little trivet from plastic straws too keep the extra paint from forming a seal around the jar opening.
Let the jar dry for an hour or so. Or overnight if the kids really painted it thick.
Meanwhile, you can paint the lid if you’re going to use it. It will take several coats to get the lid covered in paint.
You can also opt to cover the lid with a paper circle and a piece of ribbon.
Glitter is also a nice touch for the jar lid!

Decorate the Outside of the Jar
Once your jar is dry, you can add a pumpkin face — or really any kind of spooky face — to your jar with Sharpie Markers. Remember, regular Crayola markers are water based, and will not stick to glass.
Note: if your kid messes up their Sharpie design you can help them remove the ink with nail polish remover. Use a Q-tip if you’re just trying to erase a small bit, or a cotton ball if you’re going to take off the whole pattern.
Mommy Speed Tip
Here’s a speed tip if your kid really, really, really wants to finish this project in one sitting, or you’re trying to jam in some after dinner craft time and only have an hour.
After the inside of the jar is painted, put the (unpainted) lid on the jar. Now draw your Halloween pumpkin face on the outside of the jar.
Take the lid off and put the jar aside to dry (upside down on a paper plate with a few straws to keep it from touching the plate).
You can also paint the outside rim of the jar and forget about the lid.
LED Candles and Other Light Sources
Because we’ve painted the INSIDE of these jars you should stick to battery powered candles. Which are just plain safer around kids anyway.
Your pumpkin luminary can also be lit with pumpkin lights or a glow stick.
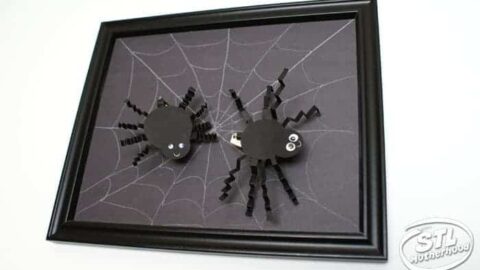
More Halloween Crafts


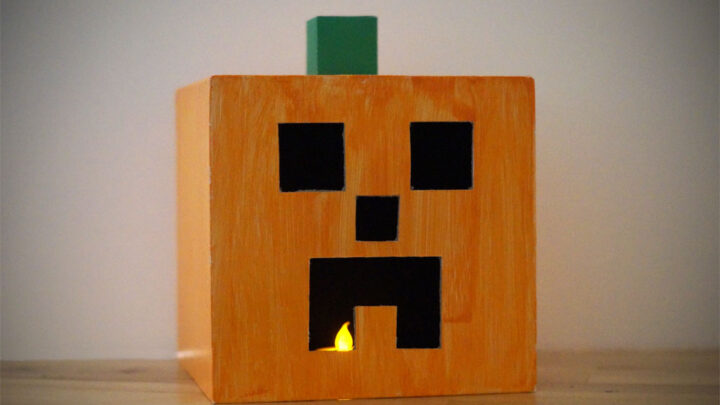

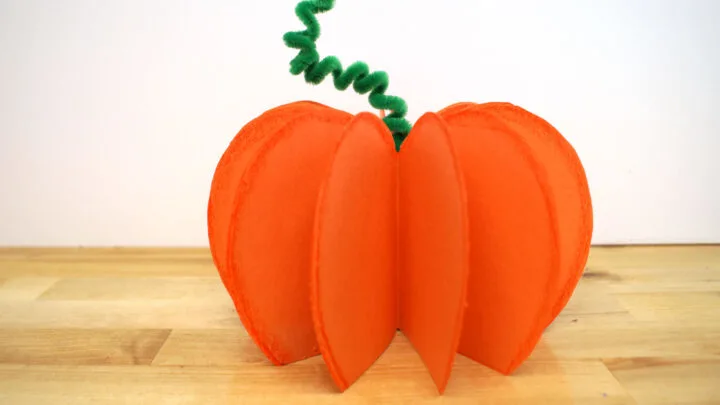
Make a Minecraft Paper Box Halloween Pumpkin
One of my favorite craft combos -- Halloween and Minecraft!


Ghost Ball: A Bean Bag for Spooky Games
A fun yard game, like lawn darts, but without the pointy bits.