Love tiny things? Try this Altoid Tin Garden!
Don’t let limited space keep you from sharing your passion for gardening with the kids. I’m going to show you how to make a tiny mint tin garden that’s perfect for setting on a sunny window sill anywhere in the house!

Bonus! This DIY garden in an Altoid tin is a great way to upcycle packaging and create something beautiful from trash. They’ll want to make these little treasures for everyone in their life.
I bet they’d make a perfect gifts for teacher and grandparents.
Choosing the Right Plants and Soil
When planting a DIY mint tin garden, you’ll want plants that can adapt to that environment. In other words, your desire to grow fresh tomatoes in an Altoid tin is sadly going to go unrealized.
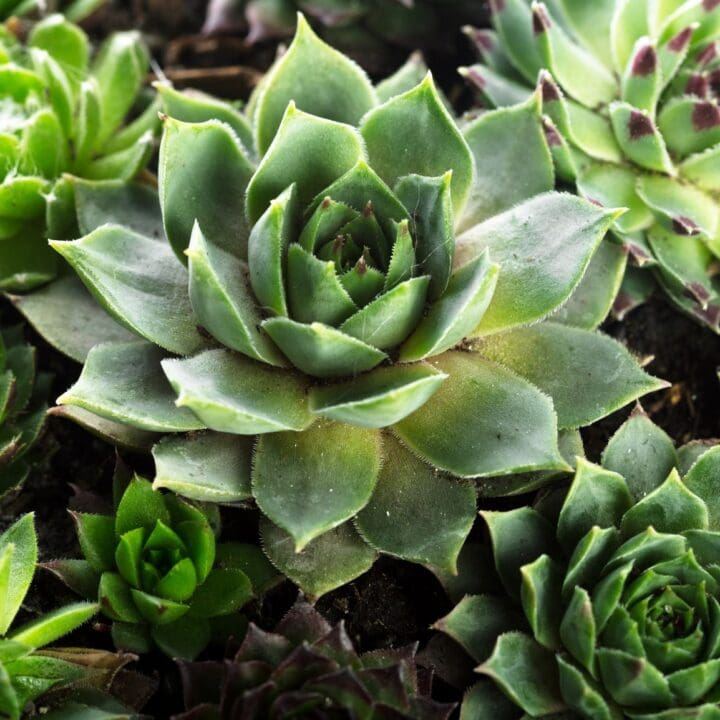
The most common options for DIY mint tin gardens are succulents, cacti, and herbs. Succulents and cacti tend to thrive in a drier environment with more compact surroundings thanks to their shallow roots, whereas most flowers require room for the roots to expand and grow.
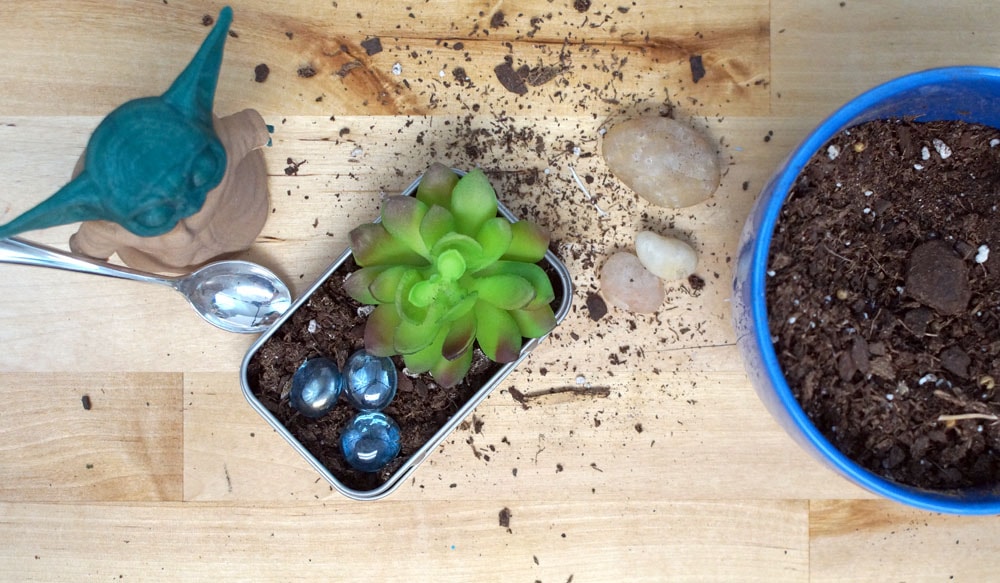
And yes, we didn’t have any real succulents to create a garden today, so we used a fake plant. It’s probably the only plant in the house that will survive my gardening skills.
But…you can get the real thing over at Lowe’s garden department, or just about anywhere plants & seeds are sold.
Here’s how to build your own mint tin garden.

How to Make a Garden in an Altoid Tin
It’s easy to have a garden with just a tiny bit of space when it’s grown in an Altoid Tin!
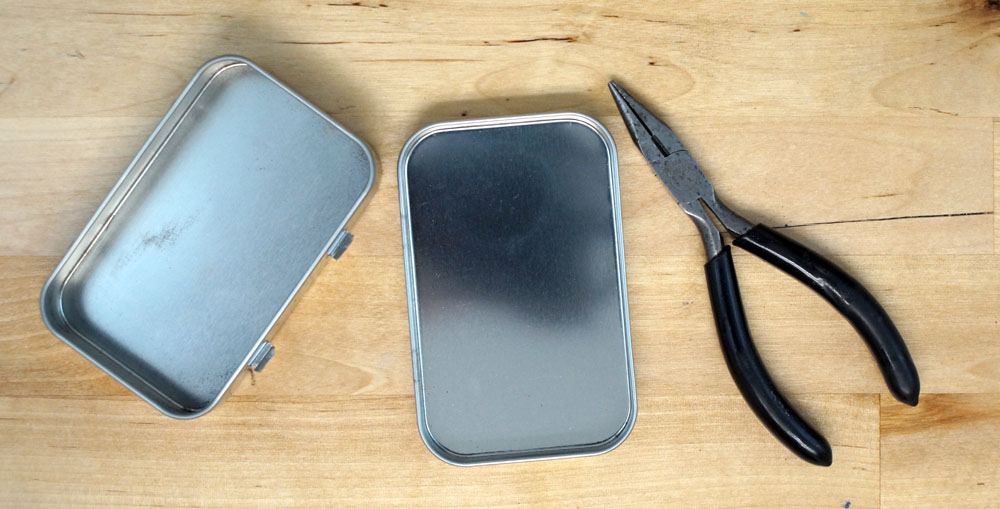
Materials
- Empty tin from mints, like Altoids
- Garden soil
- Small Rocks
- Plants with shallow roots
Tools
- Drill
- Small bit
- OR Nail and Hammer
Instructions
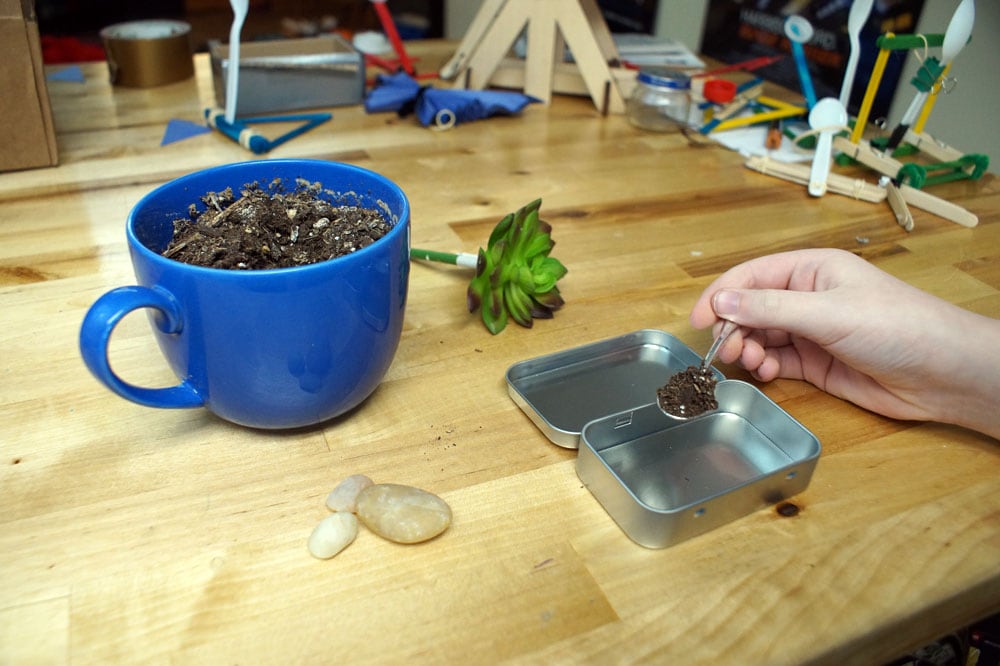
- Remove the lid from the mint tin and set it aside.

- Use your drill (or hammer and nail) to carefully put a few drainage holes in the bottom of the tin. Three or four should be sufficient.
- Place the lid underneath mint tin's bottom section. The lid will act as your drainage tray.
- Scatter a few pebbles into the bottom of the tin. A single layer should do it.
- Loosely cover the pebbles with your soil. Round the dirt up over the edge to allow for settling.
- Gently plant your seeds or transplants in the soil.
- Give your new garden a gentle sprinkle of water and set it in a sunny window to sprout.
Notes
If you don't have a drill, you can create holes in the bottom of the mint tin using finishing nails and a hammer over a piece of scrap wood. For the pebbles, think crushed gravel or fish tank rocks. These will be used to help with soil drainage.
If you choose herbs for your mini garden, pick something that emits a calming aroma. Check out this blog article by My Seed Needs on lemon mint, a herb that gives off both a citrus and mint smell for a vibrant blend. You can either sprout these seeds before planting or put them directly into the soil.
When choosing soil to include in your mint tin garden, look for a cactus mix. This tends to have a mix of topsoil, sand, and peat for better drainage that will be beneficial in the small area.
You can make your tiny garden in a matter of minutes with this simple technique. This activity makes for a little party or fundraiser, as well as a way to put together thoughtful DIY gifts.
Tiny Garden Alternatives
Once you master the mint tin garden, you can experiment with other vessels and designs. Swap out your square tin for a cookie can or the shell of an old pocket watch. Dress up your container with rope, wood, or stones glued to the outside.
Rather than just planting, create a little scene, like a miniature fairy garden. You can also create a DIY mint tin zen garden using sand, stones, and a toy rake. You’ll love putting these gardens together and watching them thrive in a seemingly impossible location.