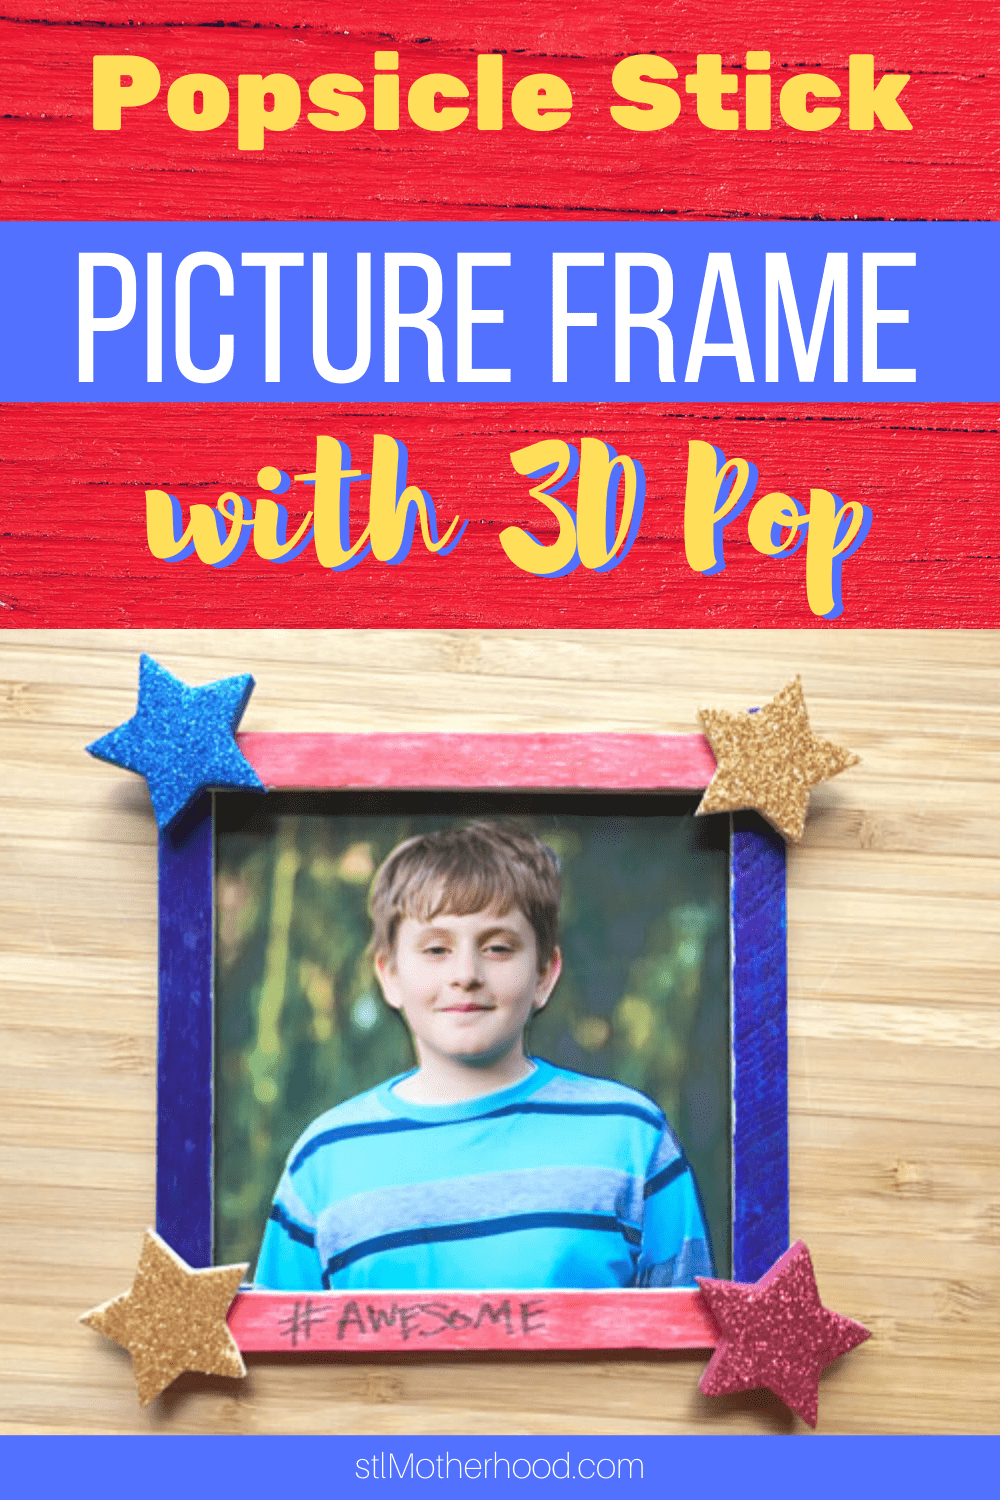
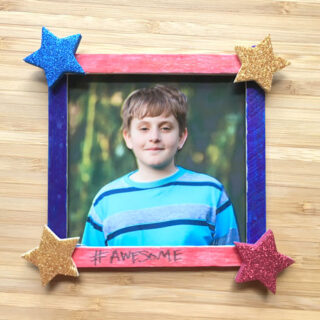
Your kids can make a Popsicle stick picture frame that really POPS with a few simple 3D layering tricks. They make great handmade gifts for mom, dad and grandparents!

This post is sponsored by Popsicle, because the best craft sticks come frozen.
Popsicle stick crafts are awesome and easy–it’s one of the first crafting mediums we give our kids!
They’re so easy to work with too! You can paint them, color them with markers OR crayons, and stick them together with glue, tape or glue dots.
Craft Stick Photo Frames and so much MORE
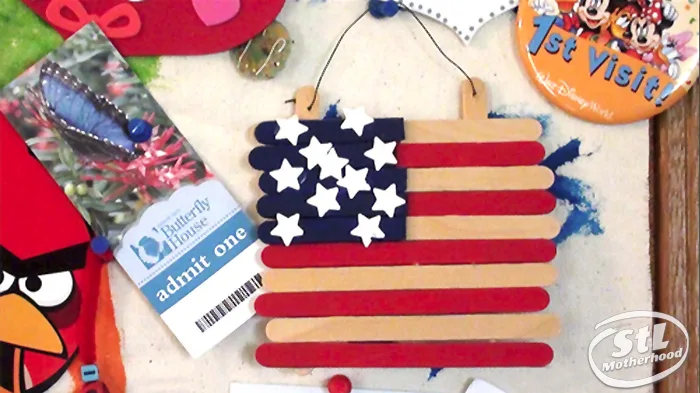
Kids can build a lot of things from crafts sticks, like this flag my oldest made when he was four. They’re also great for making catapults, airplanes, rafts, boxes and of course…picture frames.

Popsicle asked me to make a simple picture frame for this post and even sent me a box of unused sticks. It wasn’t nearly as fun as eating the icy treats first, but definitely quicker.
Question…have you ever saved REAL Popsicle sticks for crafting?
When I told Mitch we were going to make some Popsicle stick frames he rolled his eyes. “Mom, I’m not a baby.”
“Yes you are,” I said in my head. But…the kid’s got a point. We leveled up our crafting skills and made a 3D photo for our project.
It’s still pretty simple, but by adding this one easy step, our project became worthy of a 10 year-old maker.
If you have a young crafter — even a toddler who loves to make Popsicle stick crafts — all you need to do is help with the cutting.

How to make the coolest Popsicle stick picture frame
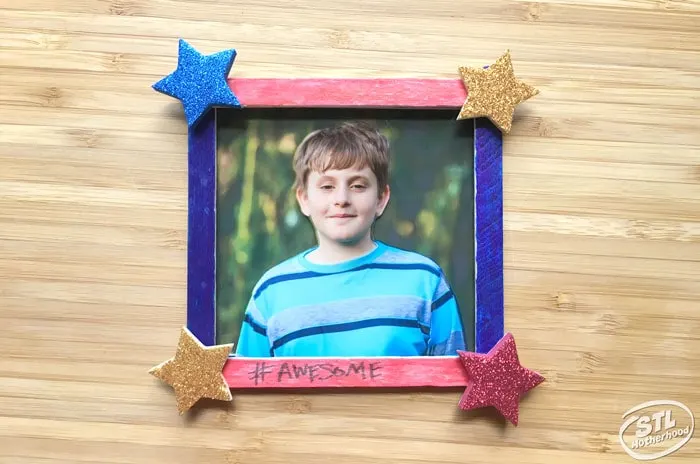
It’s hard to see the 3D effect in a still photo, but the trick is using TWO copies of the same photo. In this case, I cut Mitch from one photo, then layered it on top using foam dots.

(Special thanks to Danielle Morhaus, the photographer who took this awesome photo of Mitch.)

Popsicle stick picture frame
Add extra POP with to your pictures with 3D Layers
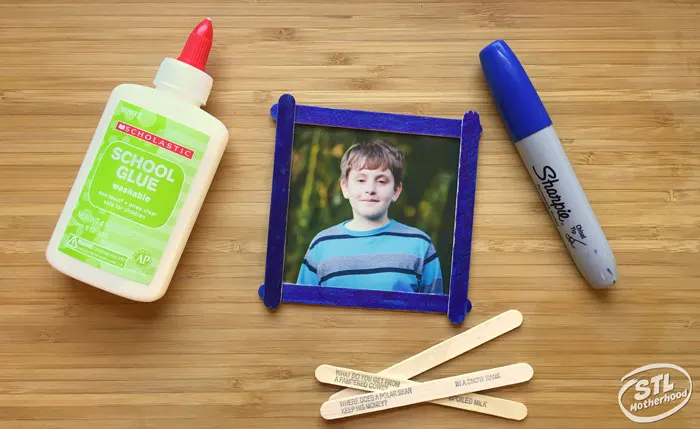
Materials
- 6 Popsicle Sticks
- Markers (we used Sharpies)
- White Glue
- Glue Dots
- 2 Identical Photos
- Foam Stickers
- Glitter (optional)
- Magnets
Tools
- Scissors
Instructions
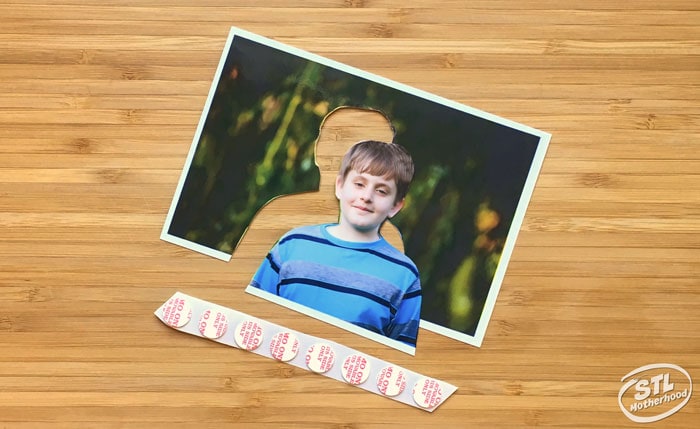
- Select and print your photos. They only need to be about 4 inches square. We printed our out on 4x6 paper and trimmed them down.
- Color your Popsicle sticks. We used Sharpie markers for their bold color and speed.
- Glue the sticks to the trimmed photo.
- Xut out the subject of ONE photo. In this case, Mitch was cut from the photo. Trim the bottom of the photo as needed.

 Younger crafters might need help with this part.
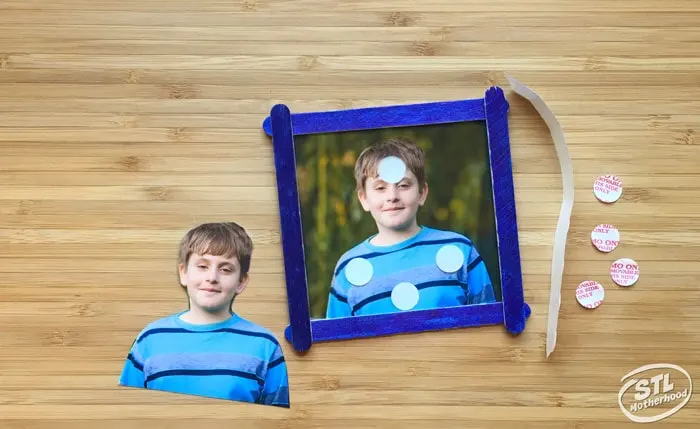
 - Place the cut out on top of the whole photo. Secure in place with glue/foam dots. (We used 2 layers of dots for extra pop.)
- Add a second layer of Popsicle sticks and glue in place.
- Sprinkle on extra decorations, like foam sticks and glitter!
Notes
Mitch hates waiting for paint to dry. If your kid has more patience--and you want to use a washable medium-- craft paint works great for this craft.
Decide how to display your photo–either glue ribbon to the back for displaying on a hook or bulletin board, or glue magnets to make a refrigerator master piece.