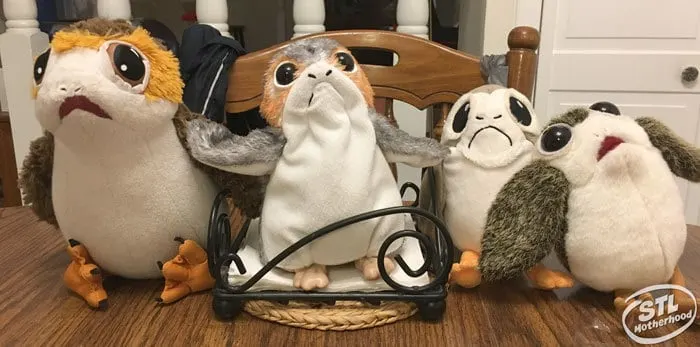
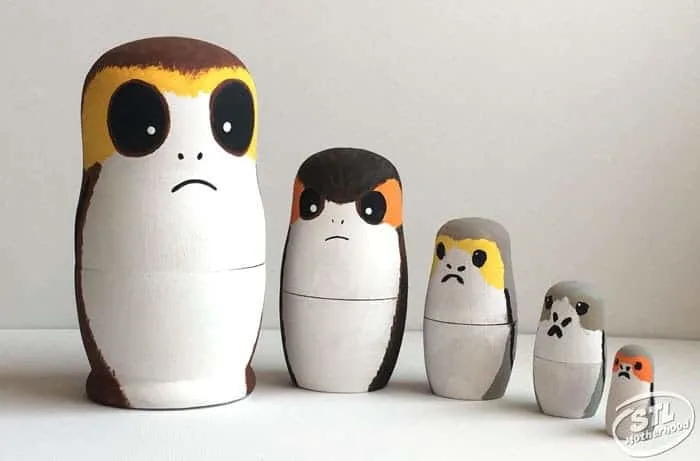
It’s been Porg City around here ever since last Force Friday and the introduction of the mysterious Porg. Mitch was immediately intrigued by the little furry creatures and started a campaign to collect all the Porgs he could get his hands on.
Need more Star Wars Crafts? These are the crafts you’re looking for!
I admit, I was a little put off by the Porgs sad little faces, but Mitch has a way “animating” his stuffed animals. He fills them with imagination and personality and makes his creatures lovable.
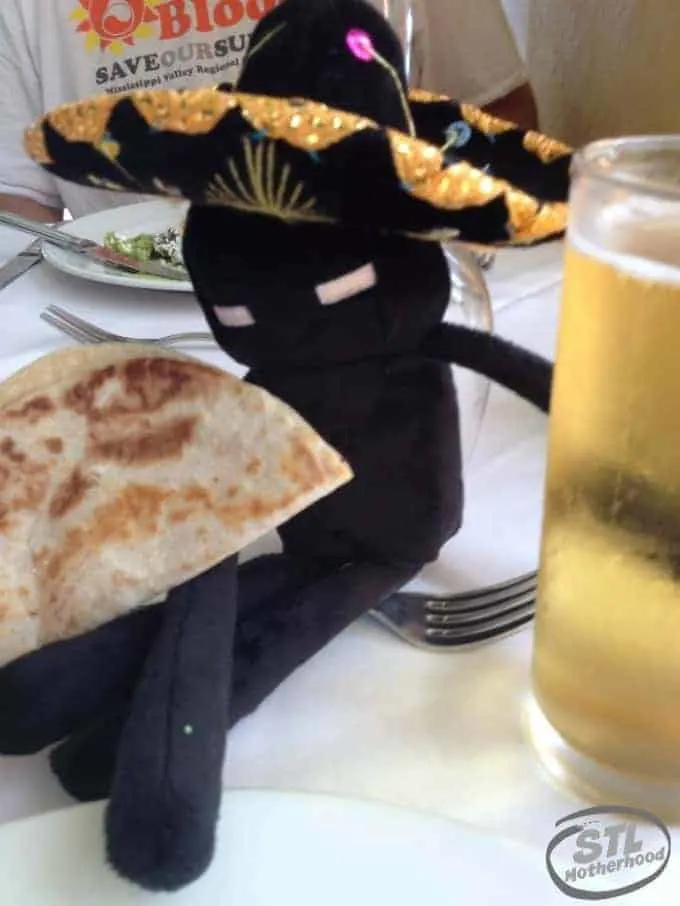
Which also explains why I’m generally confused when Minecraft Endermen attack me in game–Endy is one of our best buds around here.
As you might guess, there’s only so many Porgs a mom can buy her kid–even under the guise of Santa. And believe me, Santa came through with two new members of the Porg flock, some themed stationary and a freakin’ Pez dispenser.
Addicted to Porgs
We’ve been battling our Porg addiction with crafts. We made Shrinky Dink Porgs, Minecraft block Porgs, and even a rather disastrous one out of felt. I mean really, they’re pretty much beakless penguins when you get down drawing them.
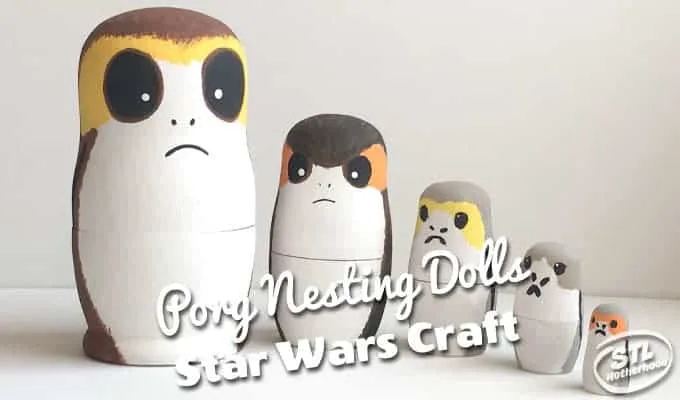
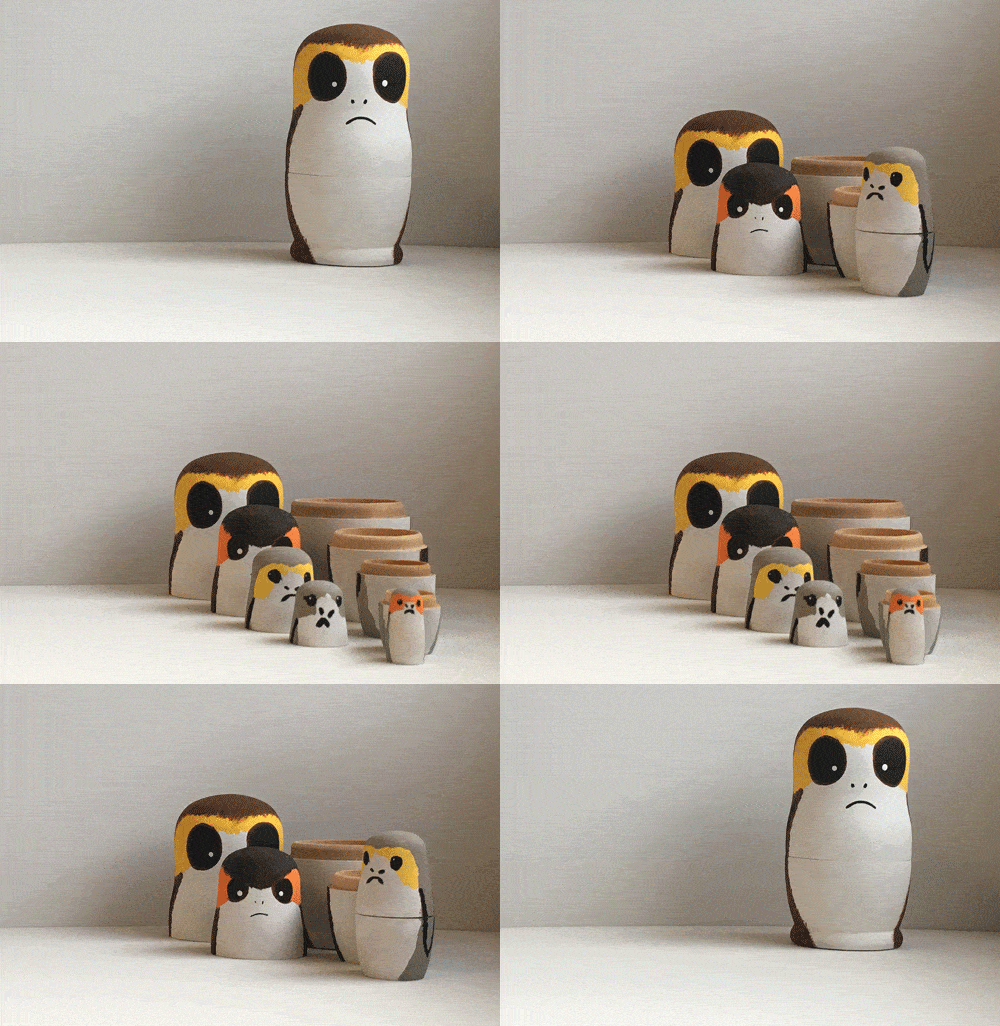
I found a new twist on the Porg craft over at Star Wars’ official website: Russian Nesting Doll Porgs. They’re made by freelancer Kelly Knox at The Start Button who has tons more great geeky kid crafts on her blog.
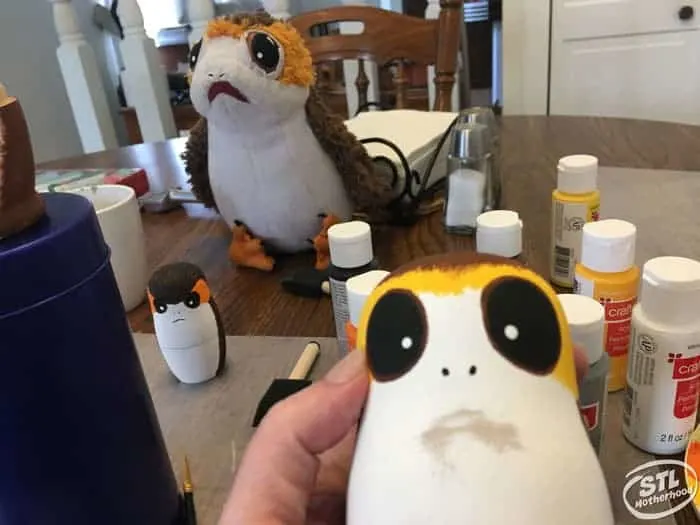
Our Porgs turned out a little different, mainly because Mitch was involved the kid cannot bear to repeat the same pattern over and over. Each of our Porgs have different looks–some are girls, some are boys–and no two sport the same color pattern. Like our own flock who were pleased to serve as models for our painting.
Obviously, this project is a little advanced–something for kids who love to paint and have a bit of skill.
If you want to try this craft you’ll need some craft paint, good brushes, maybe some painters tape (optional) and a blank Russian Nesting Doll. We managed to find ours at Michaels, but you can also get a similar set of nesting dolls at Amazon. If you’re feeling super creative, you can pick up a set of 10 nesting dolls too!
How to Paint a Nesting Russian Doll Porg
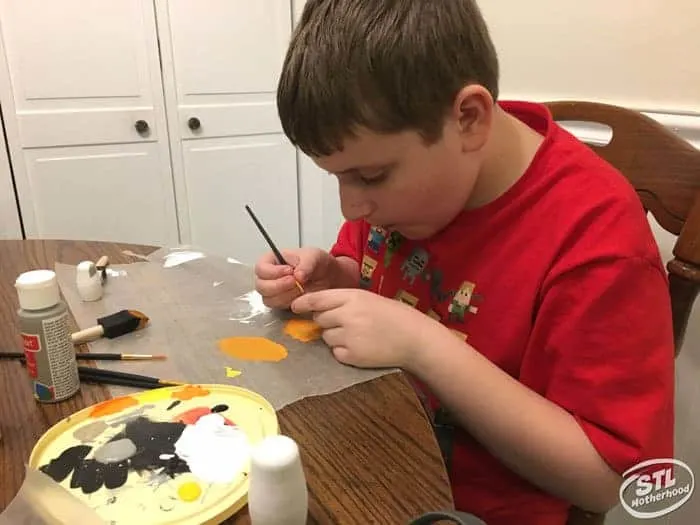
Before you start any painting project with kids, you’ll want to protect your surface. We put down a couple sheets of wax paper.
First you’ll want to check over the wooden figures for rough spots–we sanded a couple nubs off the top with sand paper, but for the size of it, an emery board will due. At the moment, we’re in Pinewood Derby mode, so Mitch is all about using the right tool for the right job.
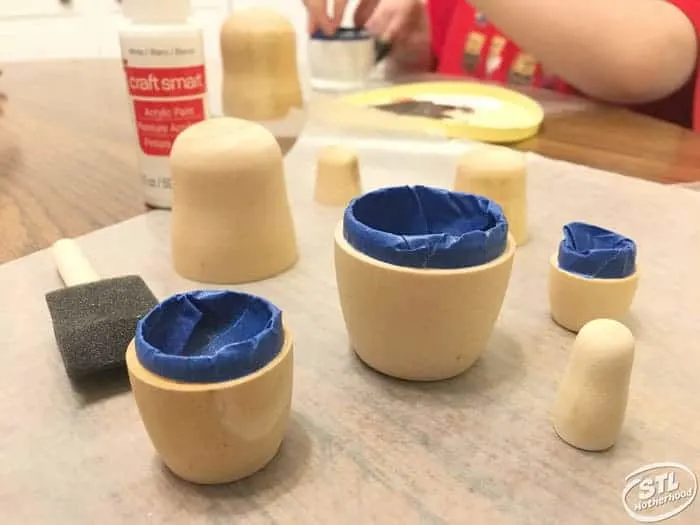
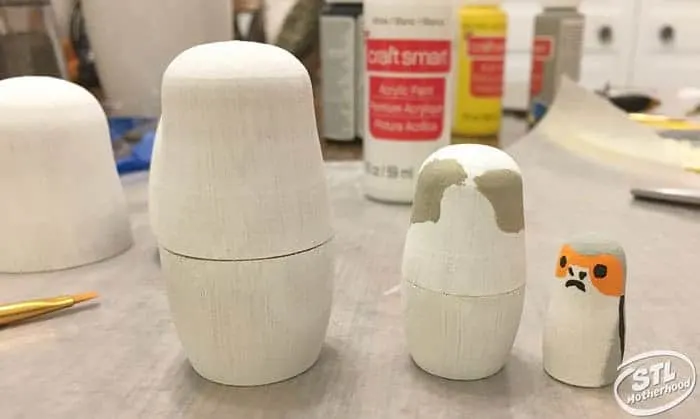
We wrapped the lower bit of each Porg with painters tape to make sure we didn’t gum up the joint, then gave them each a base coat of white paint.
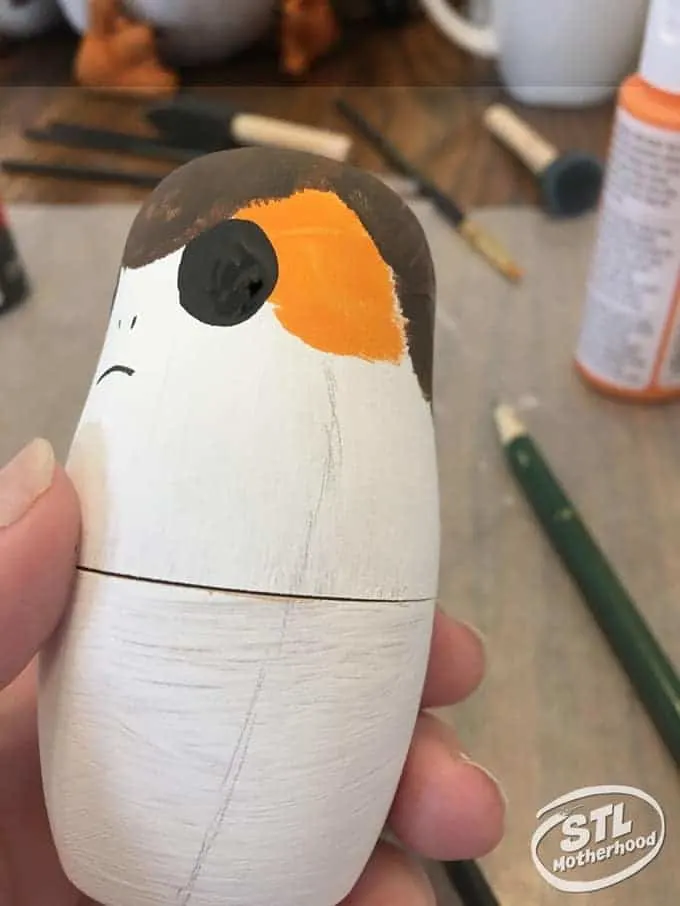
Then you’ll want to work from lightest paint to dark. So we did the color bars around the eyes first, then the face–it’s easier to paint black eyes over yellow stripes than the other way around! Mitch was more comfortable with the little guys, so he took the three smallest and I tackled the two bigger ones.
If you have trouble freehand painting, you can sketch guides (lightly!) with pencil.
And if you make a mistake on the face, it’s pretty easy to just sand it off and start over. But we’re just having fun here, not making art for the museum!
After the face has dried you can come back and paint the rest of the body, leaving a nice white belly. Then add details with dark paint for the wings and tail. I even did a little fluffy texture with contrasting paint.
Don’t forget the white speck in the eye! Otherwise they look…creepy. I made perfect dots by dipping the end of my paint brush handle in paint and lightly dabbing.
When you’re done you might want to add a coat of mod podge or acrylic sealer, especially if they’re going to be handled a lot!
