Garden in a Glove is a fun way to play with STEM and introduce your kids to all the fun science hiding in your garden! You don’t even need a green thumb!
Want your kids to learn more about the science of gardening? See if your school has a garden club!
Mitch and I love doing science experiments together. We’ve blogged about Squishy Circuits and Rainbow Milk, but I’m hoping to get even more of our experiments photographed and on the blog.
STEM = Science, Technology, Engineering & Math
What is a Garden in a Glove?
Have you ever wanted to watch a seed grow? Well, here’s a great way to do it!
You will need:
- 5 Types of Garden Seeds (beans, carrots, tomatoes…)
- 1 Food Service Glove (clear plastic)
- 10 Cotton Balls
- 1 pipe cleaner or twisty tie
- Permanent Marker
- Water
To continue the experiment once the seeds sprout, you’ll want some Garden Soil and Biodegradable planters.
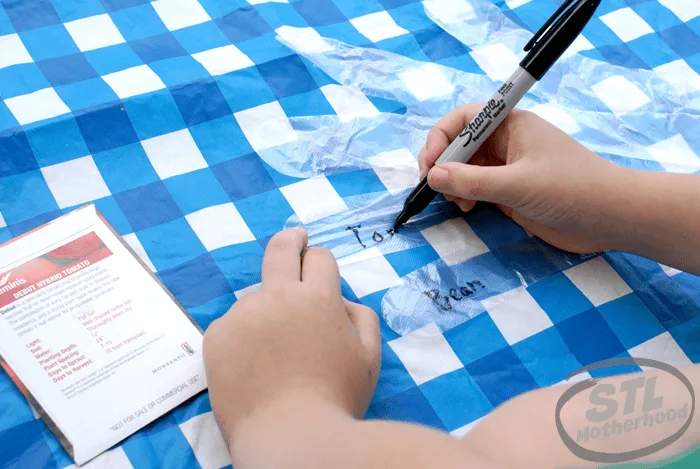
Step 1: Label the Glove! You will plant a different seed in each finger/thumb of the glove. This will help your kid scientist identify each plant as it grows.
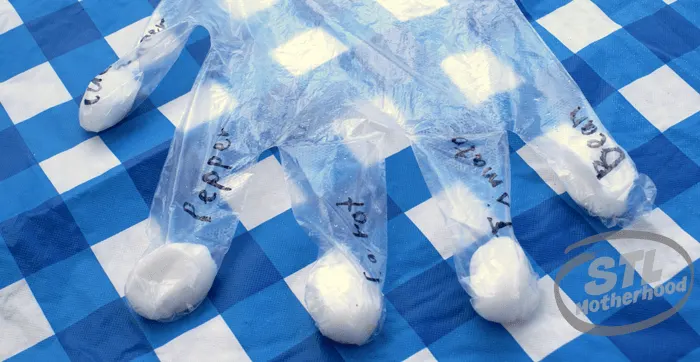
2) Wet five cotton balls with the water, squeeze out the extra water, then place them in the fingers/thumb of the glove.
3) Place 3 or 4 seeds of each plant in the labeled finger. You might need a parent to help with this part!
4) Wet and squeeze five more cotton balls, and place them on top of each group of seeds. The seeds should be sandwiched between cotton balls. Use the marker to help push things in place if you need help.
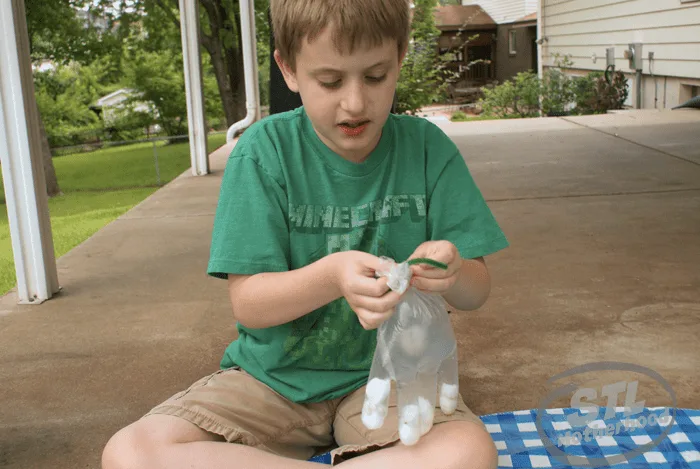
5) Blow air into the glove, then tie off with the pipe cleaner or twisty tie.
6) Hang in a sunny window and wait! We taped our to the glass. In 3 or 4 days you should start to see some plant action.
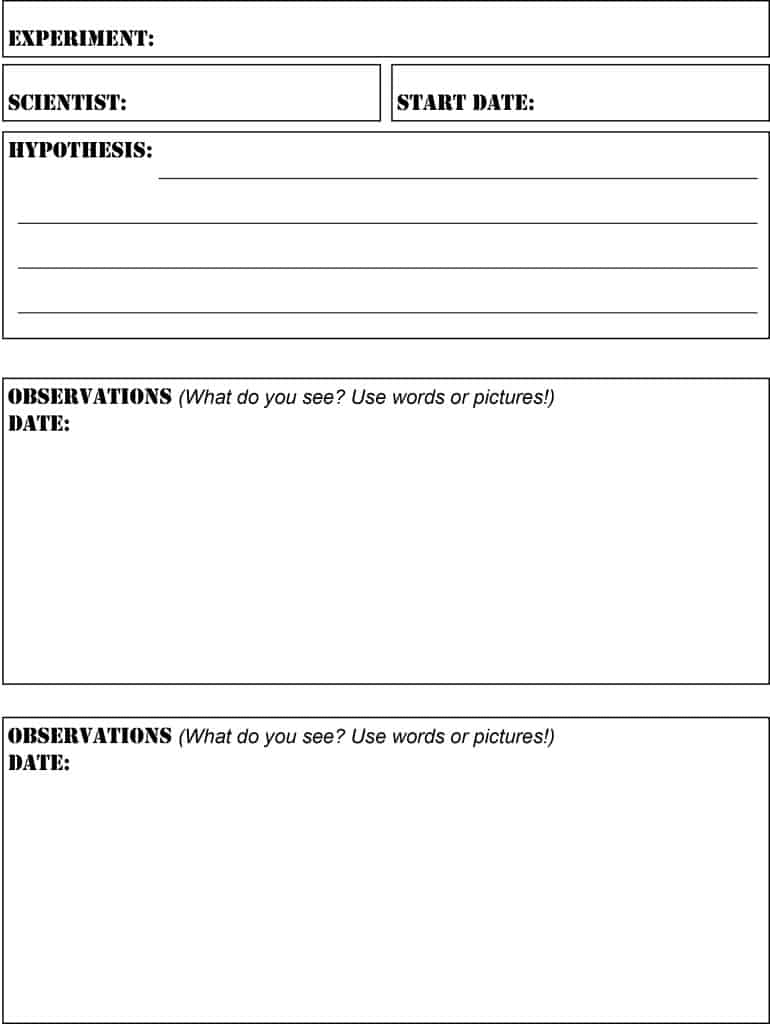
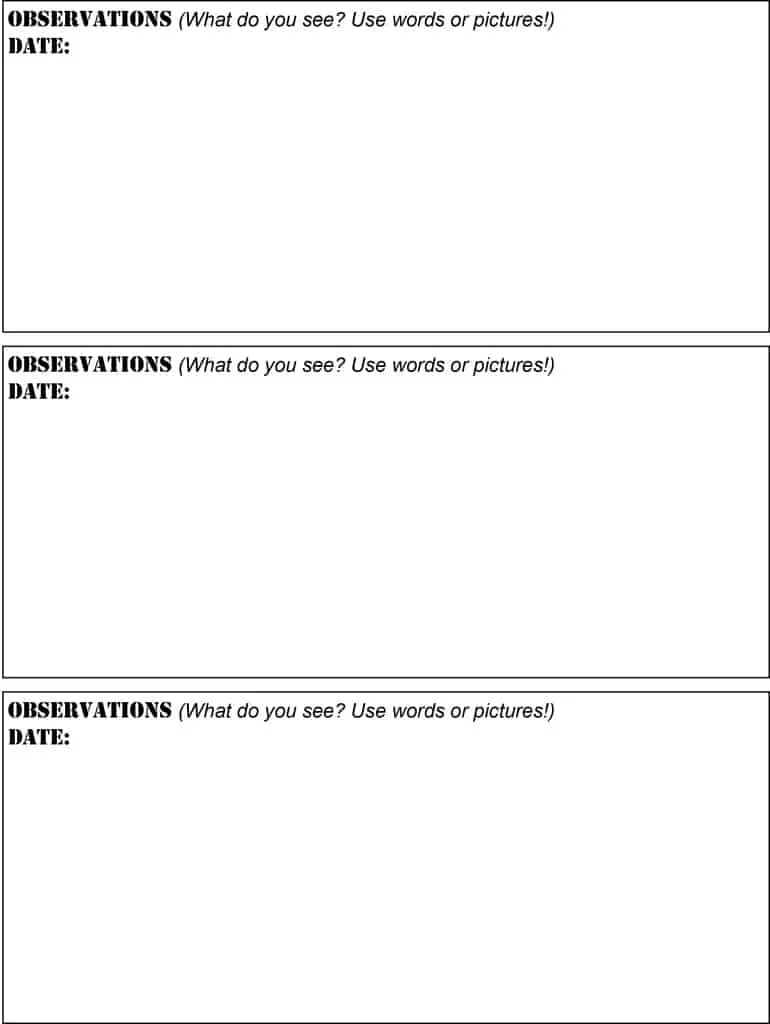
7) Document your discoveries! Use these free printables to track your experiment, just like a real scientist!
