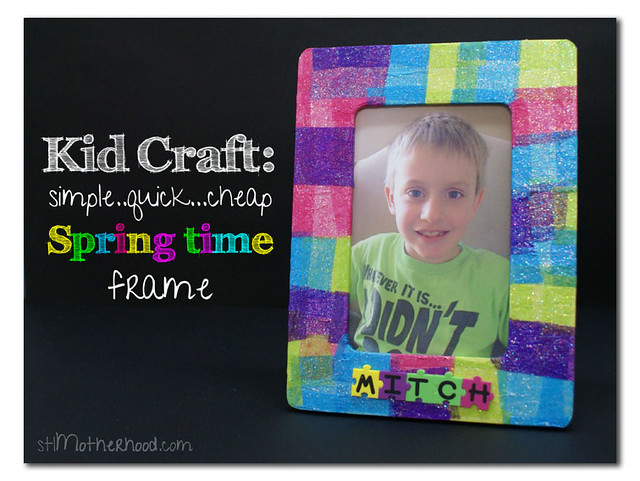
A budget frame with an abundance of color! Your kids will love making this easy DIY frame to gift special memories for Grandma and Mom!
Better make two, because you’ll want one for yourself.
I got the idea for this project after a frame that Mitch made for me in pre-school was…um…”broken” on “accident.” Seriously, I have no idea how my coffee spilled on a frame that’s been sitting on my nightstand for two freakin’ years.
You know what I’m talking about. That youth group/art class frame made of ugly junk and dried pasta with about 5 seconds of effort. The one so UGLY that, well, only a mother could love.
Sure, it was kinda cute when the kid gave it to you, made with his very own unskilled hands. But how long are you’re expected to show it off?
Take my advice. Thank the kid for the ugly frame–tell them it’s BEAUTIFUL–and stash it in a dark corner for a couple weeks before you let the dog gnaw on it.
Now make THIS frame instead!
The truth is, little kids can make REALLY adorable crafts when they’re given the right materials. They need something easy to work with that’s impossible to fail.
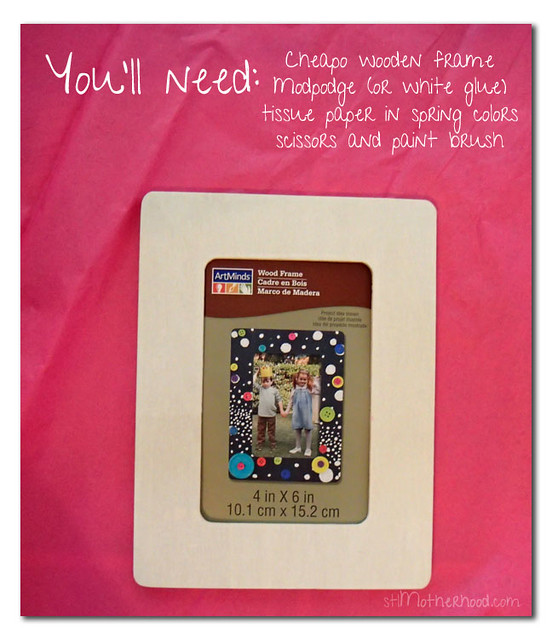
We started with a $1 wooden frame from Walmart’s craft department. It’s so cheap it doesn’t even have glass. You’ll also need some Mod Podge (we used the kind with glitter already in it) or white glue, colorful tissue paper, scissors and paint brush.
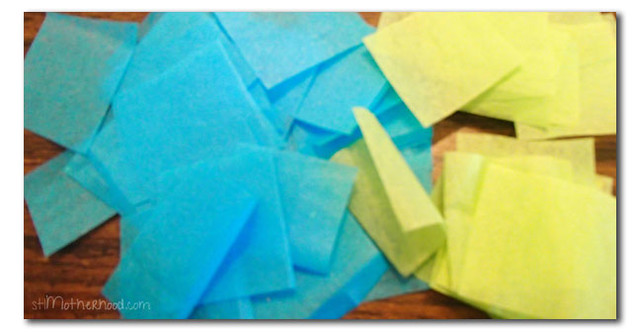
The tissue paper we used came from the craft store in a huge pack of 50 sheets for $5. It’s great for stuffing in gift bags or fun little crafts like this. You’ll want to cut several colors of paper into squares for the kid to glue to the frame. You don’t need to be precise, just cut it up quickly…the squares will be overlapped anyway.
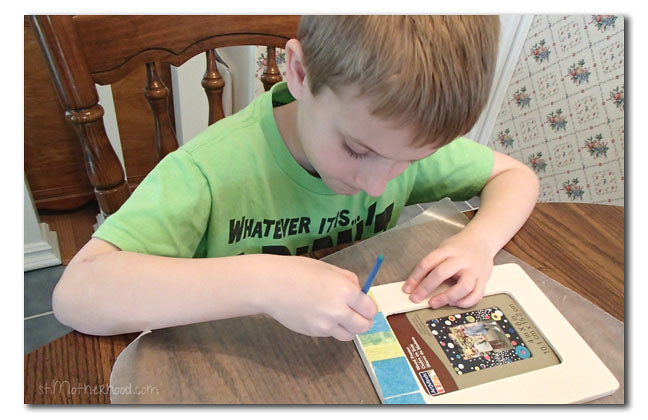
Next is the fun part! Pour a bit of Mod Podge in bowl and have your artist paint a section of the frame. (If you’re using white glue, water it down three parts glue to one part water.)
Stick a piece of tissue paper on the Mod Podge/glue. Lightly cover with more Mod Podge/glue using the brush. Be gentle, or the paper will rip. Work in sections around the frame to keep the sticky stuff from drying before you get to it.
Have your kid work their way around the frame, overlapping the tissue paper anyway they please. Where the tissue paper overlaps you’ll get darker or blended colors.
TIP: Make sure the kid wraps some of the paper around the edges of the frame to cover all the visible wood. This will make the frame look extra nice and professional.
Mitch really glopped the glittery Mod Podge on this frame, which worked out way better than I thought it would. It’s super shiny and extra sparkly. I think the Mod Podge people recommend a thing called “layers” but don’t tell that to a six-year-old artist. Just be patient if it takes longer to dry.
Mitch decided to finish the frame with some foamie letter stickers he dug out of my craft closet, spelling out his name. It would also look great with button embellishments, Easter eggs or flowers in the corners.
Bonus Tip: If your kid gets tired of crafting in the middle of this project, it’s ok to stop and walk away at any time. You can always come back and layer some more tissue paper on!
Happy Spring!