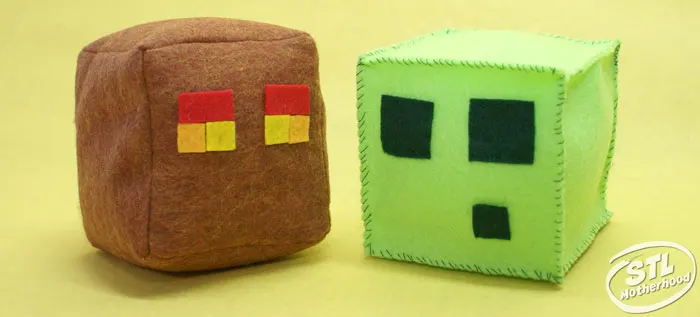
Mitch has a huge collection of plush critters, from the first lamb he got as a baby to the Minecraft cow we picked up last week. The kid is 12 and shows no sign of getting bored with stuffed animals! Granted, he doesn’t snuggle up to them like he used to, but he still loves to collect them.
We made these Minecraft felt cubes a few years ago–and blogged about them on Beer and Gluesticks, a blog that I tried to write for a little while and just totally threw it out the window. It’s hard enough to keep up with one blog. Two was just not in the cards for me. I’ve spent the better part of the morning looking for the original photos, so bear with me, some of them are kinda…scary.
More Minecraft Craftiness!
Make a REAL Redstone Lamp
Make a rolling Minecart for your action figures
Be a Creeper with this great Costume
Make Paper Minecraft Action Figures
Merry Minecraft Ornaments
Real growing Grass Blocks for your window sill
Minecraft Spawn Eggs to Decorate and Play
I’m thinking we’ll revisit this craft soon. It’s a great way to teach a kid some basic sewing skills and I think Mitch would get a real kick out of a new form of crafting. The cubes are easy and cheap to make! They are sewn together by hand using a simple whip stitch. If you need to know how to whip stitch try looking at the directions here.
I made the Magma cube on my sewing machine–it was faster, but Mitch didn’t like how it’s edges were rounded off.
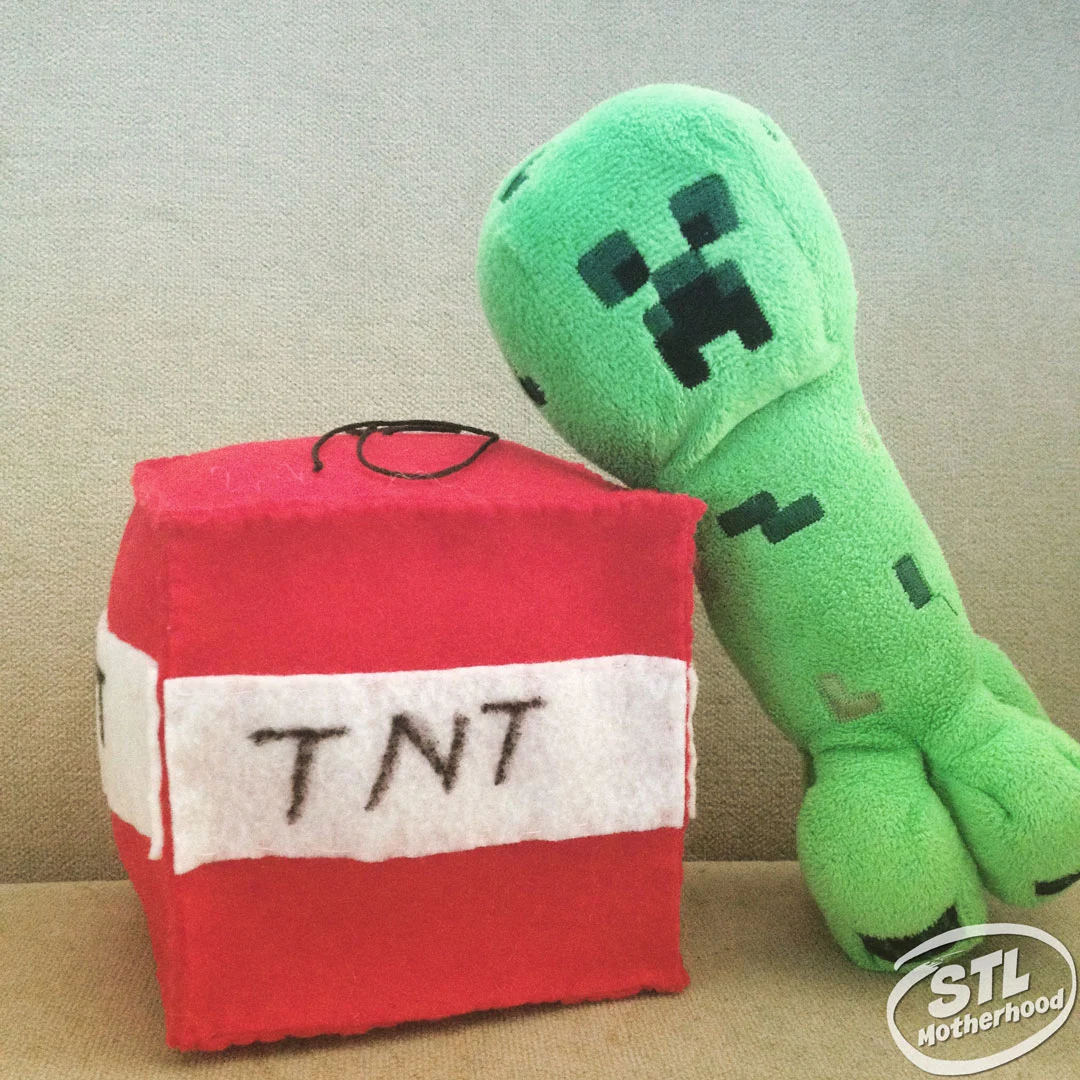
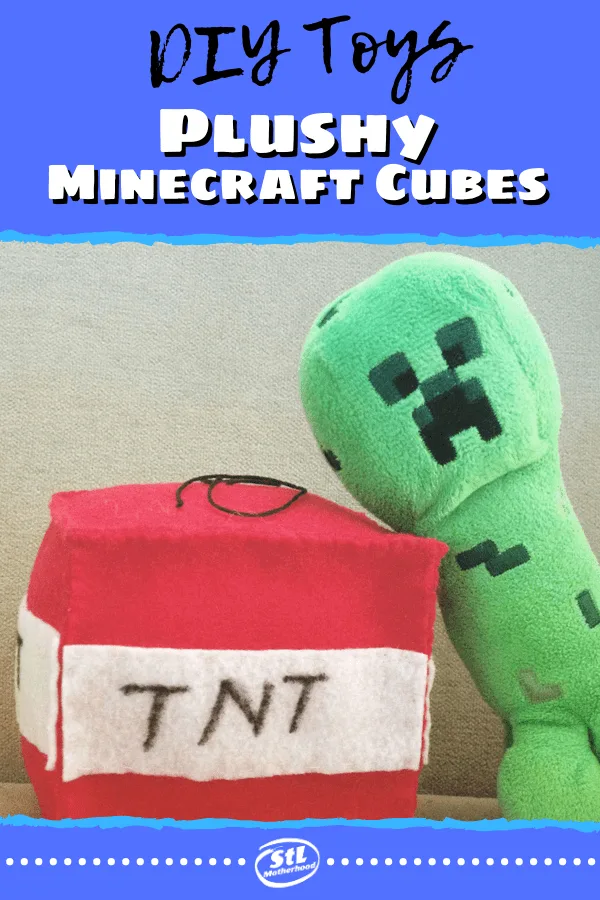
This craft lends itself well to Minecraft Slimes, Magma Cubes and, of course TNT blocks.
Make a Minecraft Cube from Felt
You’ll need these supplies to make your own felt Minecraft toys:
(Amazon links be a comin’)
- Felt
- Pillow Stuffing
- Embroidery Thread
- Embroidery Needle
- Fabric Glue (optional)
- Scissors
- Sharpie (for writing on the TNT block)
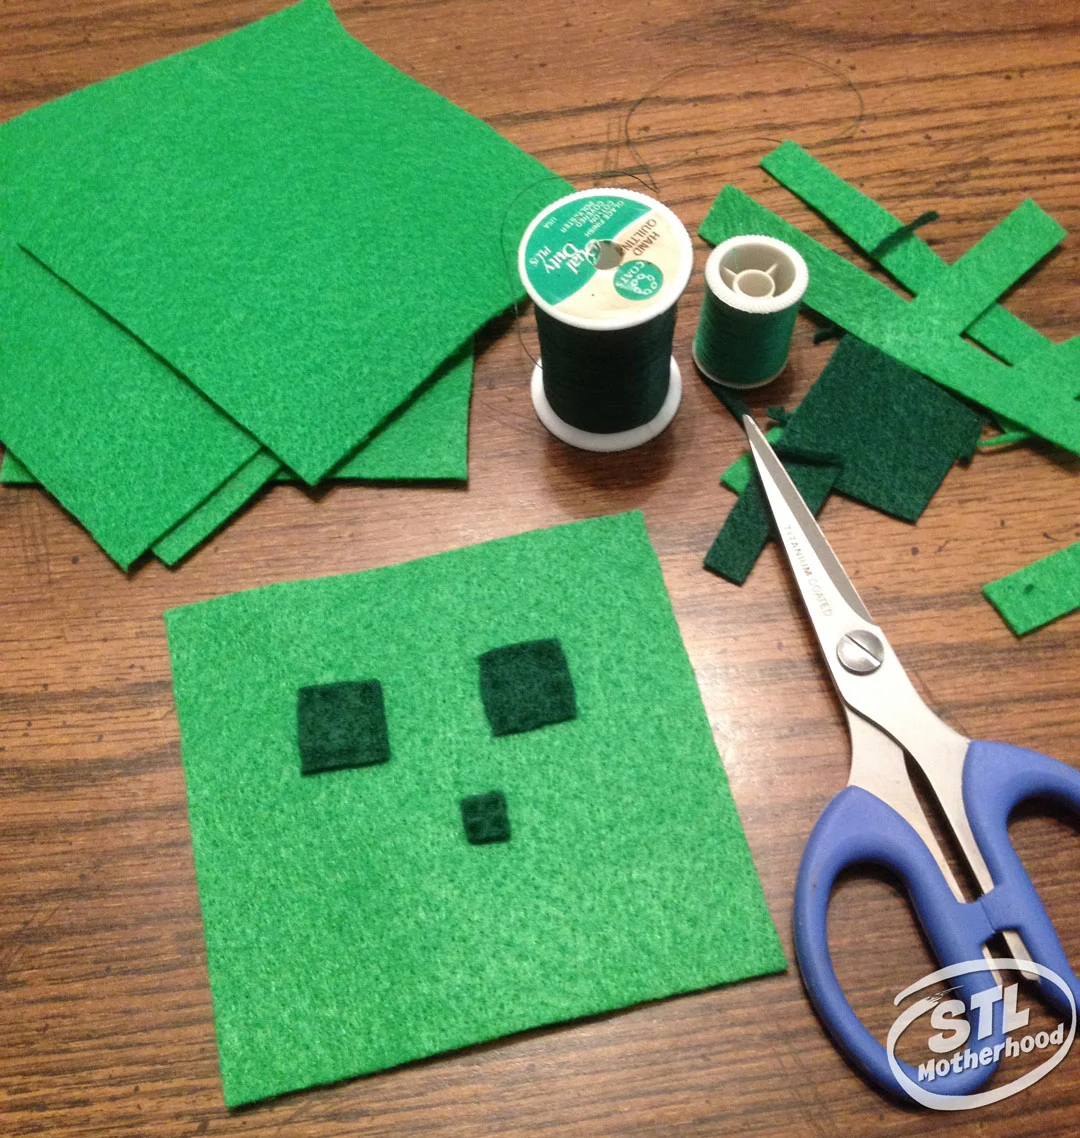
Note: When I made this first batch, I used regular sewing thread. It works, but the embroidery thread looks nicer and will be easier to work with if you’re letting a kid do this craft!
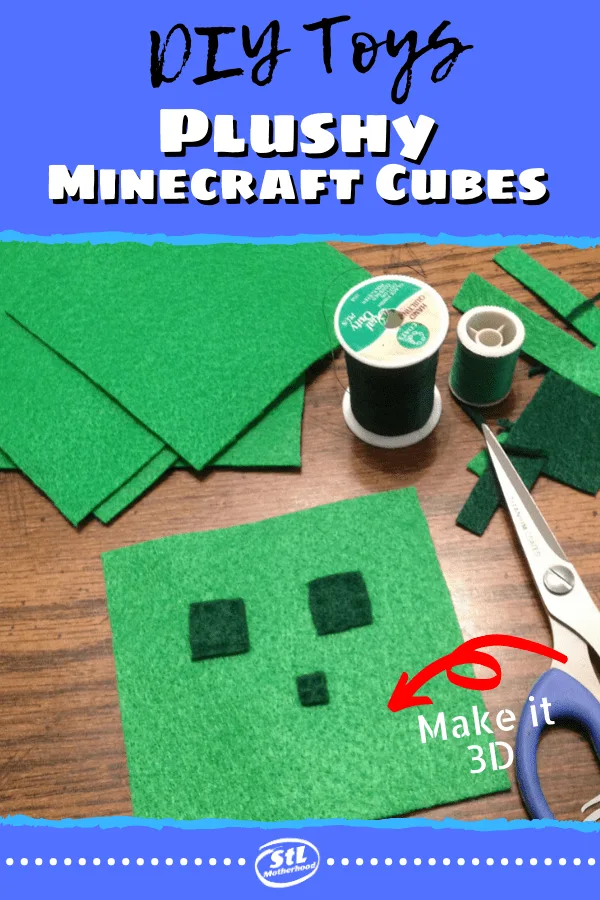
First, cut your squares–you’ll need six for a cube. A standard sheet of felt from the craft store will give you six four-inch squares and a little extra scrap. You’ll also need small squares for the face: darker green for a slime; red, yellow and orange for a magma cube, white and red for TNT. You get the idea.
Second, place the face. We used fabric glue on the magma cube…and that took way too long to dry for Mitch. You’ll need to let it set overnight for a decent bond. Needless to say, I had to keep re-gluing the magma cube because Mitch kept trying to play with him before he dried. The slime was hand stitched–and that works best. You can get an idea what the faces should look like by doing a Google image search, or checking out Pixel Paper Craft.
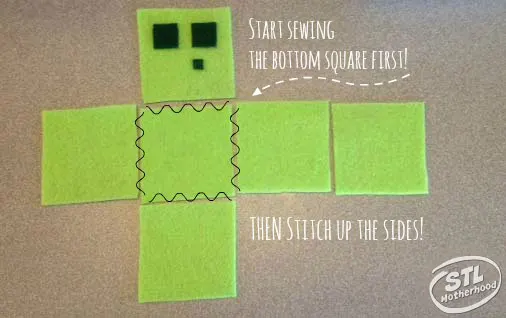
Now sew! The easiest way to keep everything straight is to start with your bottom square and add the sides TO THE BOTTOM FIRST. Then stitch up the sides and finish with the top square of felt.
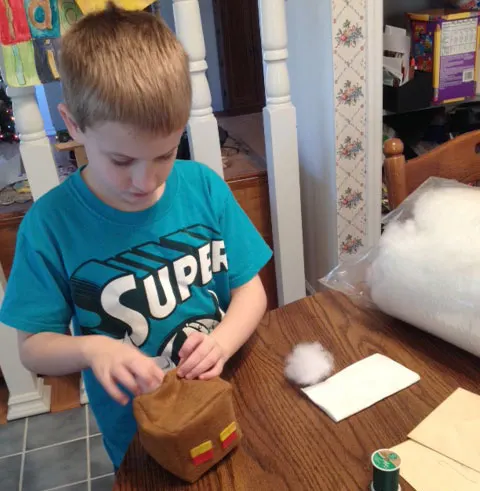
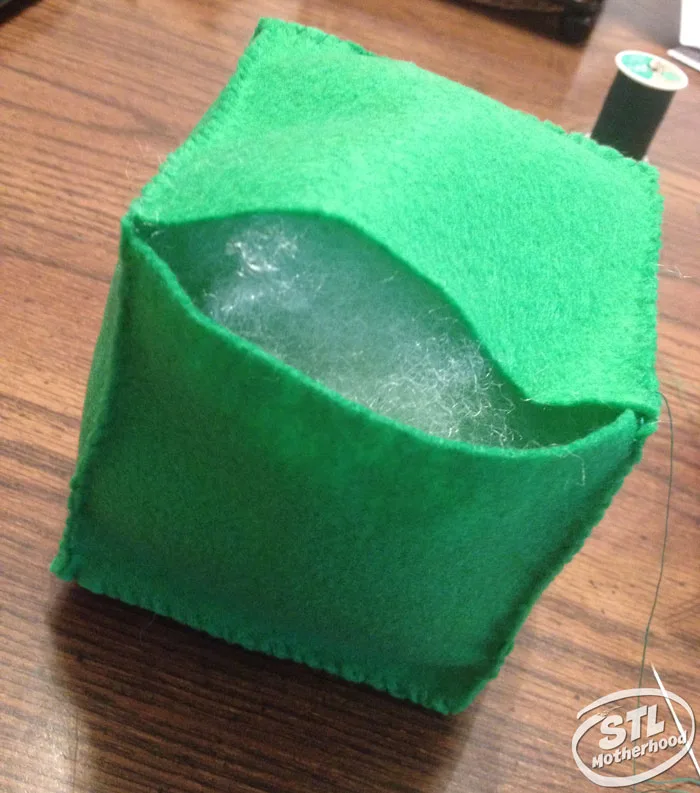
Leave one seam open for adding the stuffing. The magma cube got quite a lot of stuffing, but the slime was kept a bit less full to keep his sides flat.
Stitch up the last seam and ta da! A Minecraft plushy!
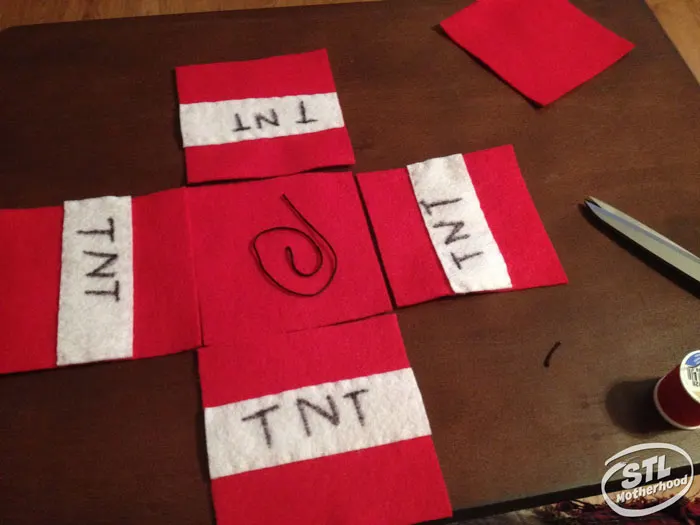
Here’s another look at that TNT block. It’s made the same way, but you’ll want to letter it “TNT” with a permanent marker before you build the cube shape. I added a “fuse” to the top with a strand of black embroidery thread.
What do you think? Will you try to make a few of these with the kids? Let me know! Snap a picture of your creation, post it on Instagram and tag me! I’m @stlmotherhood.
