Brush Bots (or Bristle Bots) are a super simple way to introduce kids to robotics.

What’s a Brush Bot Anyway?
A brush bot is a very simple “robot” that moves by vibration! They are often made of tooth brushes, but any brush will work if the motor is big enough. The bristles act as the legs of the bot and the motor vibrates the whole bot. They have no directional control, but that’s half the fun!
You might be familiar with Hexbugs, which are a commercially made brush bot.
~This post contains affiliate links (including links to Amazon) which may reward me in the event of a sale.~
The motor is the most interesting–and critical–part of the brush bot. These are usually pager motors, which you can find online at places like Evil Mad Scientist or on Amazon.
If you have a MicroCenter in your town (St. Louis peeps, ours is in Brentwood) you can find small motors in their STEM project area.
Are you super handy? Then you can salvage the motors from any (no longer used) device that vibrates. I understand that electric toothbrushes are great for this, but I haven’t tried tearing one down myself.
Make a Brush Bot!

Make a Brush Bot
A brush bot is a very simple "robot" made from a tooth brushes and moves by vibration.
Materials
- Small motor with two wires
- Button cell battery
- Toothbrush
- Double stick foam tape or Sticky Tack
Tools
- Pliers/wire cutter
- Wire cutter, wire stripper (if needed)
Instructions
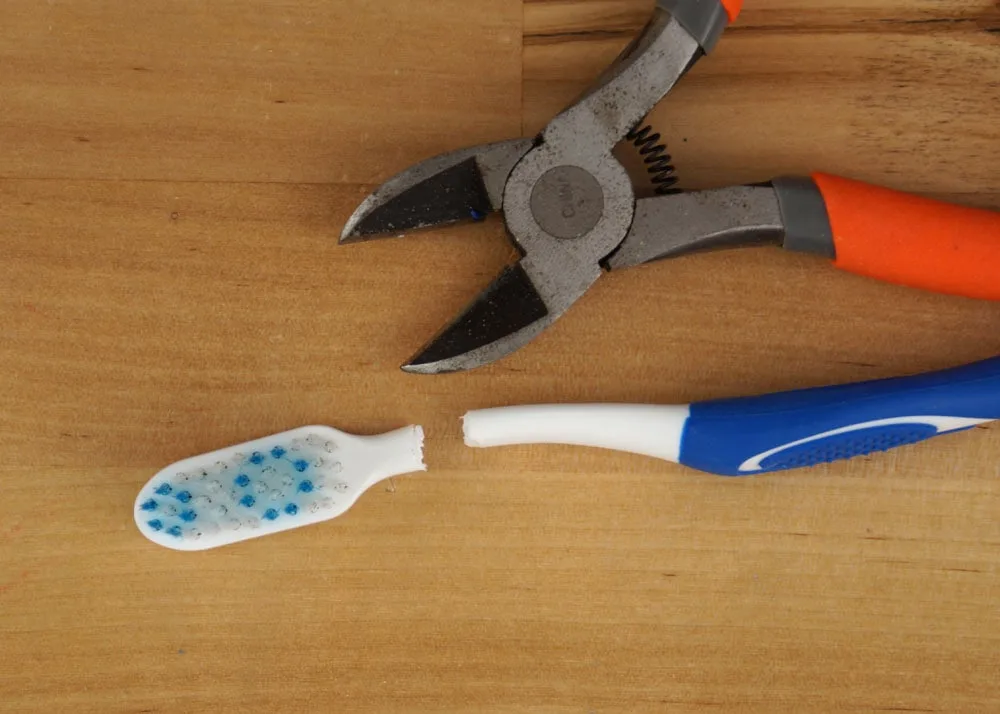
- Cut the handle off a new toothbrush, using the wire snips. Younger kids should let an adult to this.

- If the wires to your motor are covered, use wire strippers to expose them.
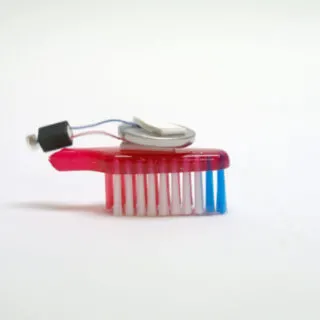
- Place a piece of double stick foam/sticky tack on the back of the brush.
- Place ONE wire from the motor on top of the sticky foam/sticky tack and place a coin battery on top of that.


- Use another piece of foam/tack to stick the OTHER wire to the top of the battery. This will also turn the motor on, so feel free to remove the wire after testing.
- Decorate your brush bot!
Notes
Unfortunately, there's no on/off switch with a home made brush bot. To turn it off, you'll have to pry the tape off too.
Sticky Tack is used to mount posters on the wall, you'll find it where tape is located.
Now is a good time to test your bot. Does it streak across the table? Spin in circles? Fall over?
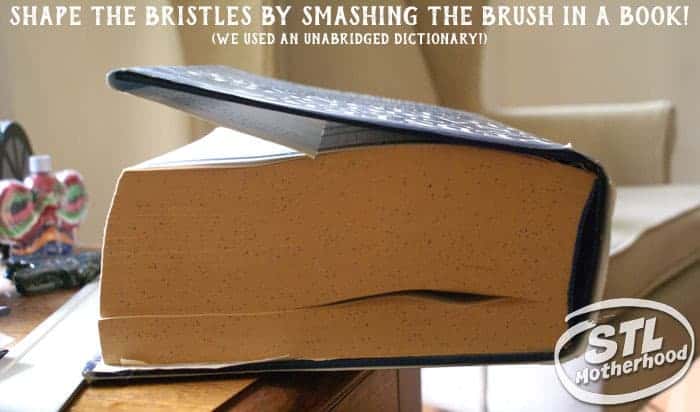
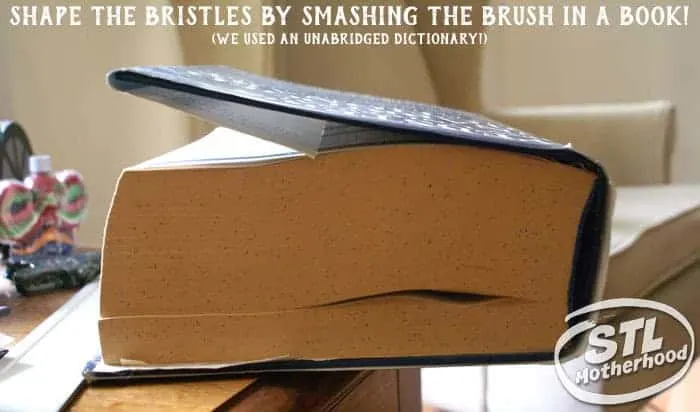
If it falls over, you can make the bot more stable by smashing the bristles into the table–this will push the bristles out and give it a wider stance. If you want to make the bot travel in one direction, try smashing the brush in a heavy book for 5-10 minutes. My favorite smash-stuff-flat book is my 1996 Unabridged Webster’s Dictionary!
At this point you have a functional brush bot. But it’s kinda boring looking, don’t you think? Now you need to decorate it!

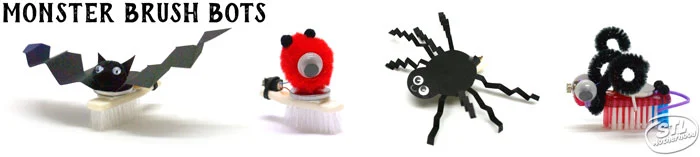
Decorate your Brush Bots for Halloween
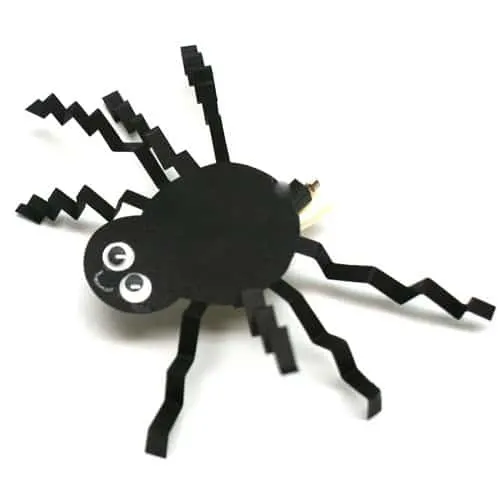
Mitch and I decorated our brush bots with spiders, bats and one eyed monsters! You’ll need black construction paper, googly eyes, glue and pom poms to make monsters like these! We also made one weird little monster bot by gluing eyes and antenna right to the brush.


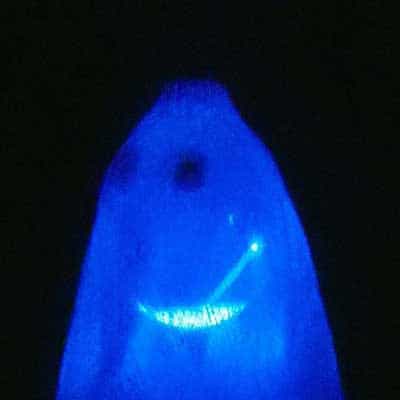
You can also make a fun Ghost Bot by placing your bot inside a small white cup decorated with ghostly features. Use a permanent marker to draw the face! I found these plastic bathroom cups (like Dixie Cups) at Walmart in the paper aisle.
Monster Bots Habitat
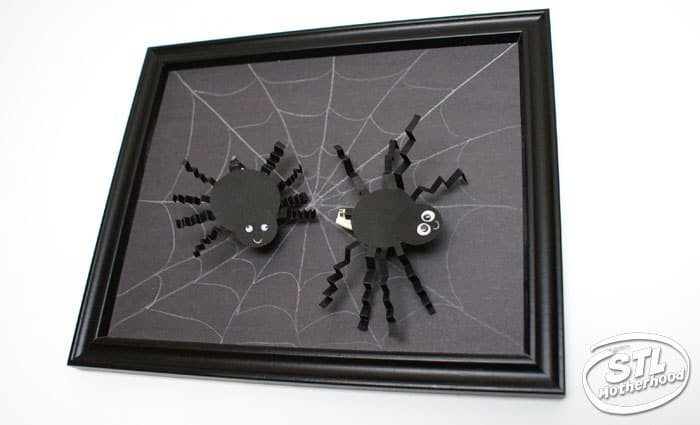
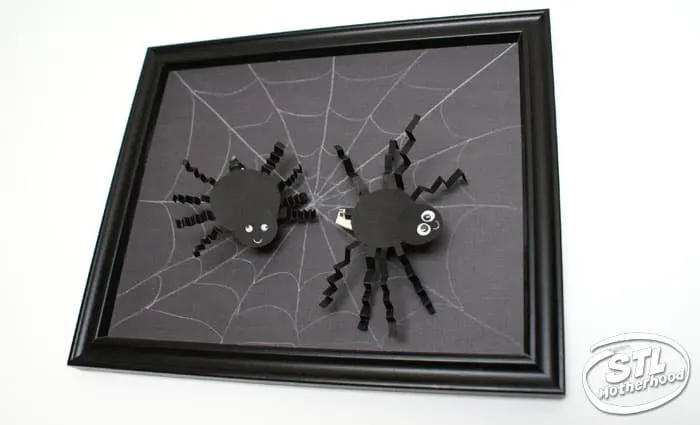
Make your monster bots feel at home by creating a habitat just for them! We let our spiders wander around this spider web we drew on piece of black paper with a white pencil. It’s placed in a cheap-o frame without glass.
More Halloween Crafts


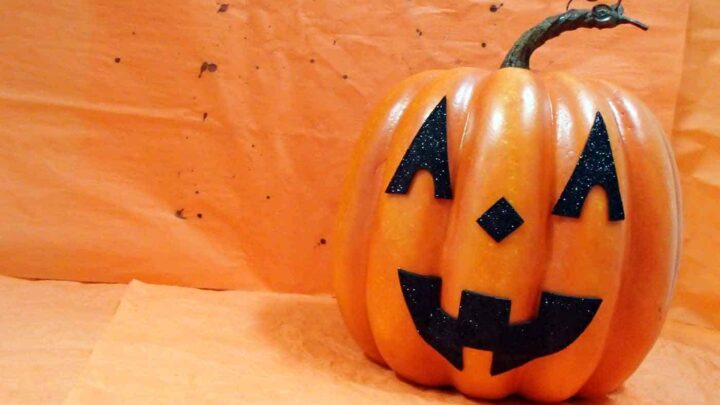

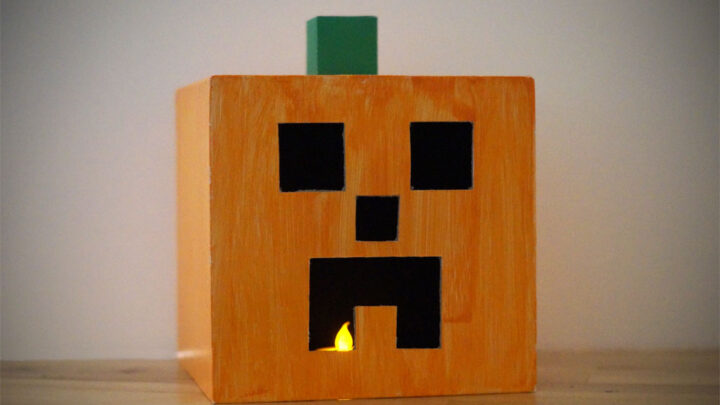

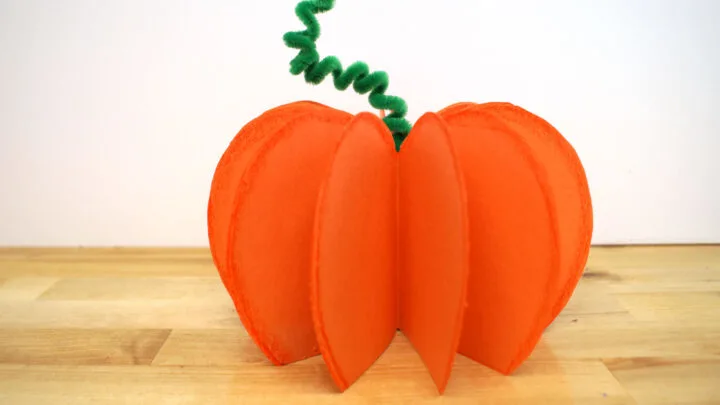
Make a Minecraft Paper Box Halloween Pumpkin
One of my favorite craft combos -- Halloween and Minecraft!


Ghost Ball: A Bean Bag for Spooky Games
A fun yard game, like lawn darts, but without the pointy bits.